When buying an apartment from a developer, they often conclude a contract without finishing or with rough finishing. This is not only a way to reduce payments, but also to do all the work properly. Although the repair of an apartment from scratch in a new building – a matter of long and costly.
Conținutul articolului
Where to start: sequence of actions
If you bought a property from the builder without finishing, you will need a step-by-step plan of works. To a person who is not particularly familiar with construction, the order of repair is not obvious. And since the repair of an apartment from scratch in a new building will require the passage of all stages, the plan is simply necessary.
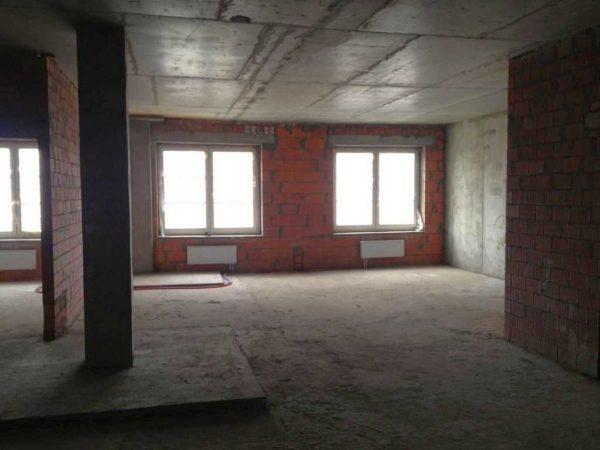
What does it mean “repair of an apartment from scratch in a new building”?
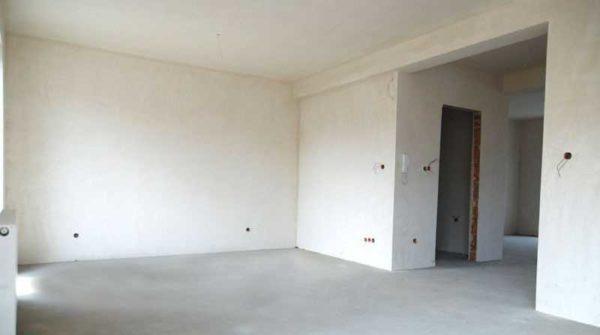
To determine the front of work, you need to know where you will start. What you get after the delivery of the object is spelled out in the contract. Therefore, we take it, read it carefully, then you can start planning the order of works. Usually an apartment in a new house without finishing is handed over in this condition:
- Windows are installed (usually double glazing) and entrance doors (cheap and not particularly reliable).
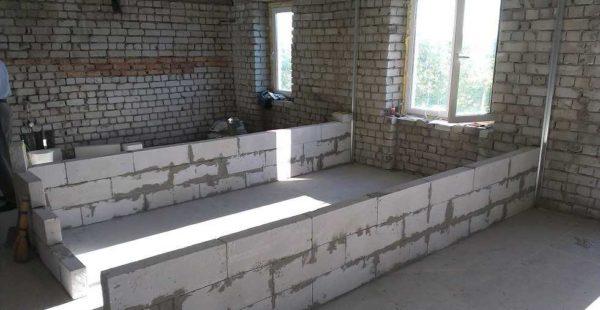
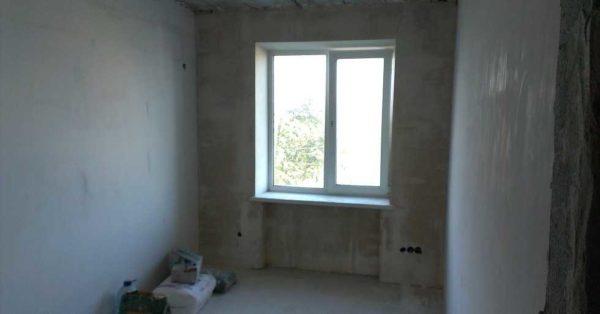
- Walls without finishing (concrete or brick, building blocks), internal partitions – depending on the contract: may or may not stand.
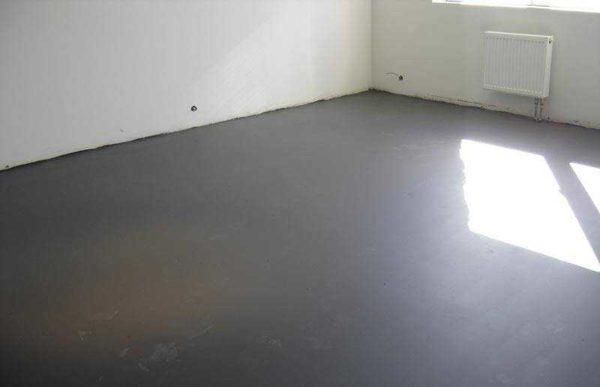
- Floor – concrete slab without screed.
- Ceiling – the bottom surface of the slab without finishing.
- Electricity is introduced into the apartment, there is a small electric board with one automatic circuit breaker. Usually there is one bulb in the hallway (on temporary wiring).
- Heating is installed, there are radiators, shut-off and regulating valves. The heating is the only thing that is ready for use at any time, as it is common property.
- Cold and hot water – risers are brought into the apartment, there are branches, on which there are meters (sealed). After the meters there is a tap to which you can connect if necessary.
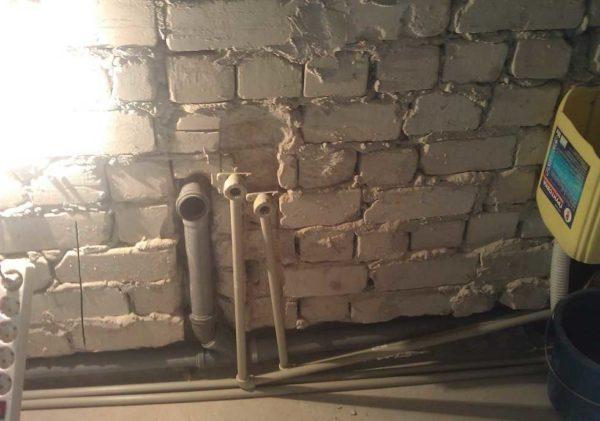
- Sewerage – there is a riser and a branch, closed with a plug. The system is ready for connection.
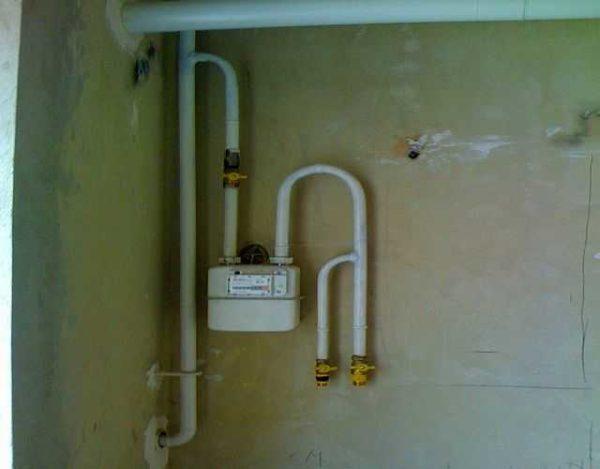
- If gas stoves will be used in the house, there is a gas inlet, a meter, after which a plug is installed. Gas appliances can only be connected by representatives of the state gas company.
Basically, this is all you have before you start repairing an apartment from scratch in a new building. Everything is in its infancy, but all communications are connected.
Repair of the apartment in stages
Immediately you should decide on the partitions. Decide where and what will stand, what will need to be removed / moved. If there are already partitions and you are going to remodel something, you need to get permission and only then proceed to the transfer. If there are no partitions and you are going to put them up yourself, the contract stipulates what materials you can use to make them. It is better to adhere to the recommendations, otherwise you can get penalties, and they are not insignificant.
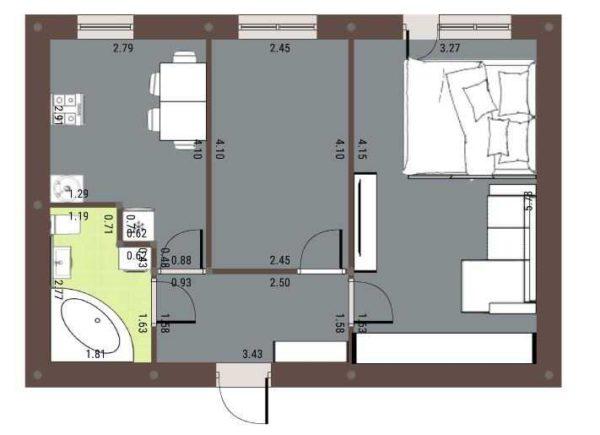
After approval of the apartment plan, you will determine where you will stand large-sized furniture, appliances, plumbing, etc. These data you will need to prepare a plan for laying engineering systems (water supply, sewerage, lighting, if provided – ventilation). When the plan is more or less ready, you can proceed to the repair itself. The order of actions is as follows:
- Installation, transfer of partitions according to the approved project.
- While building partitions, you are engaged in parallel (or order) the development of a plan for electrical wiring. After the partitions are standing, do the wiring of electricity – drilling walls, laying cables (necessarily three-core – with grounding, the cross-section of conductors for electrical wiring is selected individually). Depending on the type of cable it is laid either in a corrugation or without it. Cables are not connected to the switchboard, sockets, switches are not put. Installed only junction boxes, podrozetniki, in them wind the ends of cables. Electrical wiring is laid:
- If you plan to make soundproofing of the walls and ceiling, it is time to deal with this issue. It will be framed or frameless, but you do not need to level the walls under it, so now is the time.
- Piping cold and hot water supply, connection of sewerage. If the walls are not load-bearing, the pipes can be laid in hollows in the walls (if the thickness of partitions allows). Otherwise, try to spend most of the pipes in the bathroom / bathroom, and then close them with a plasterboard box, which is subsequently finished with the same marialom that the walls.
- Level the walls. If you plan to decorate the walls with plastic panels, you can not plaster – they are attached to the crate, which levels all the irregularities. But if you subsequently plan to put tiles, it is better to plaster – there will be less hassle later. Earlier plastered ordinary cement-sand mortar, but recently prefer ready-made compositions based on cement or gypsum (it is easier to work). Plastering can be simple – relying on the eye and construction level, and you can – on the beacons. The second option is preferable, as there is a greater likelihood of getting smooth walls and right angles of 90 °. No more and no less. In any case, before plastering the walls must be primed – to improve the adhesion of the plaster and the base material. Primer is chosen depending on the type of plaster (gypsum or cement).
- If the ceiling will be whitewashed/painted, it is also leveled with plaster (do not forget about the wiring to the chandeliers). If the ceiling is suspended it can also be done at this stage. Stretch ceilings are made after finishing the walls, so if you plan such, this stage is skipped. You can only check the quality of caulking inter-panel joints.
- Puttying of walls and ceiling. This is already a preparation for the finishing. The choice of type of putty depends on the type of finishing. If it is painting – take more expensive materials (Shirok, for example) and achieve a perfectly even surface (check can be backlighting with an LED lamp – the slightest irregularities are visible). Under the wallpaper putty composition take cheaper and ideality here is not so important. For tile walls do not putty at all.
- After removing the dust after grouting putty and all other dirty work, proceed to pouring the floor screed. Here, too, it is necessary to make a number of decisions: whether or not there will be insulation, soundproofing, warm floor (electric, other types in high-rise buildings are not available or require approval). Screed can be made with an ordinary cement-sand mixture, or with poured floors. In the second option, the result will be better – a more even floor due to the effect of self-levelling of the mixture.
- A week after pouring the screed, while it “matures”, we are engaged in finishing the bathroom and toilet. There is usually a lot of dirt and it is necessary to do everything before the finishing in the rest of the apartment.
- Finishing: paint/whitewash the ceiling, paste wallpaper (install stretch ceiling). Flooring, install doors, platbands, skirting boards. We install sockets, switches, connect household appliances.
- Bring in furniture and elements of decor.
This is the order of repair of the apartment from scratch in a new building in the general case. There are specifics, but they are individual. Then, depending on the situation, shift or swap stages.
Brigade or individual specialists
Independent repair of an apartment from scratch in a new building will require a lot of time. If you have it in reserve – not a problem. If you want to move into a new home faster, you will have to hire builders. This is where questions often arise. Who to hire for repair in a new building – a team that promises to do everything “turnkey” or separate specialists for each type of work? This question has already been discussed hundreds of times, but to come to a consensus has not been possible. Both options have their supporters. So that you can decide, briefly about the advantages and disadvantages of both solutions.
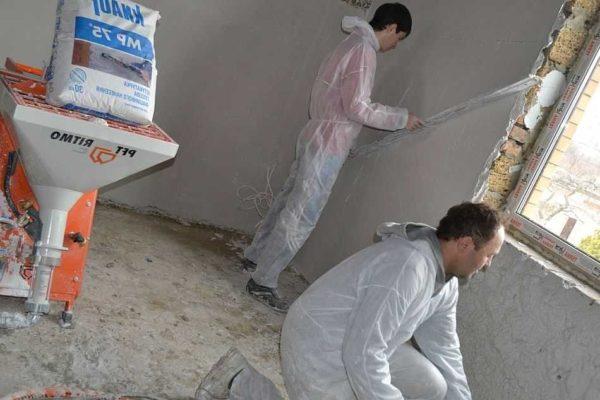
Turnkey?
If you hire a brigade that will do all the work from start to finish, it is not a fact that you will be satisfied with the quality of their work. Everyone promises quality and speed, but few people really do all the work at the proper level. Very often you have to terminate the contract and look for someone who will finish/remodel. This task is even more difficult than finding the first brigade: no one wants to correct someone else’s mistakes. It is long and troublesome. The downsides.

The plus side of this solution: hired people are responsible for all stages of work, up to the finish (if you so agreed). If you do not like something, you can try to make them redo it, but it is better to control each stage of the work. The second positive point: the repair moves faster, since you do not have to look for performers for each new job. These are pluses.
Another moment of the organizational plan. Making a contract, prescribe the cost of each stage of the work. Then at termination you will know exactly how much to pay. Otherwise, you will start to prove that most of the work is done, and the rest is nothing.
Specialists to perform certain types of work
If you decide to hire separate specialists for each stage of the work, it is difficult to predict the final result. Since you have to do a certain amount of work and leave, chances are the workers won’t try too hard. And every next specialist can say (and they usually do) that mistakes were made before him and demand additional payment for their correction. There is only one way out: constant and strict control at all stages of the work, clear execution of agreements with clarification of what you want to have at their end.
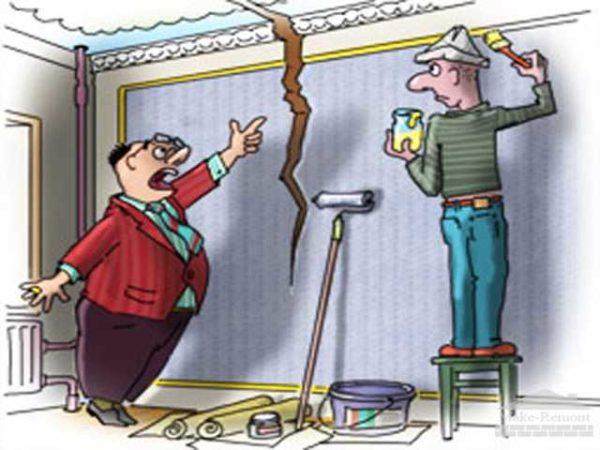
If some work is not done independently, then the total cost of paying for the work of individual specialists will be more. But the plus side of such a decision – you can “stretch” the spending over time. The money appeared – did some amount of work.
Materiale pentru finisare
Repair of an apartment from scratch in a new building has its own peculiarities. A new house for several years will “shrink”, there will be a movement of the foundation, walls, floors. All these movements entail the appearance of cracks, and they can damage the finish coating. Therefore, there is advice: use not the most expensive finishing materials, which will not be a pity in three or four years to replace new, better quality.
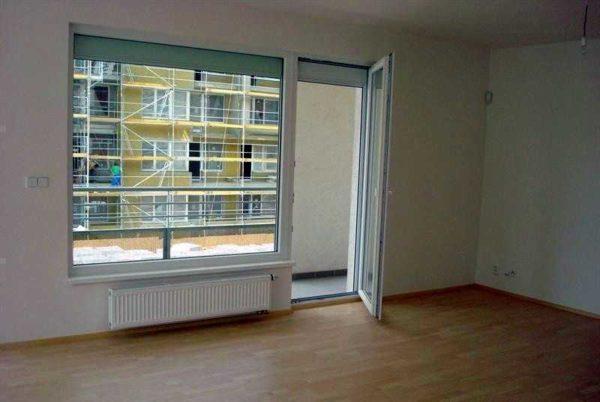
The most questions arise with tiles laid on the walls and screed. In them cracks are most noticeable, and the pleasure is not cheap – both in the cost of materials and the price for the work. Therefore, the screed is made floating – without connection to the walls, and instead of tile on the walls in the bathroom and bathroom finishing vinyl wall panels.
Tiles on the walls and floor are often put in the kitchen, and try to choose the most attractive collections, which cost a lot. There are two ways out. The first – instead of a tiled apron in the kitchen to use plastic or furniture board, and on the floor to lay while linoleum. The second, put tiles, but have some amount of stock, to replace the burst tiles. After all, it is not a fact that in three or four years the same collection will still be produced. And even if so, the color to pick up one in the same is unlikely to succeed.
The need for soundproofing
Many of the owners of new apartments simply do not think about how quiet it will be in their home. It is not up to it yet. But when you move in it will be too late. The current trend in high-rise construction is to make the building as light as possible to save money on the foundation. Lightweight materials are great, but the problem is that they conduct sound well.
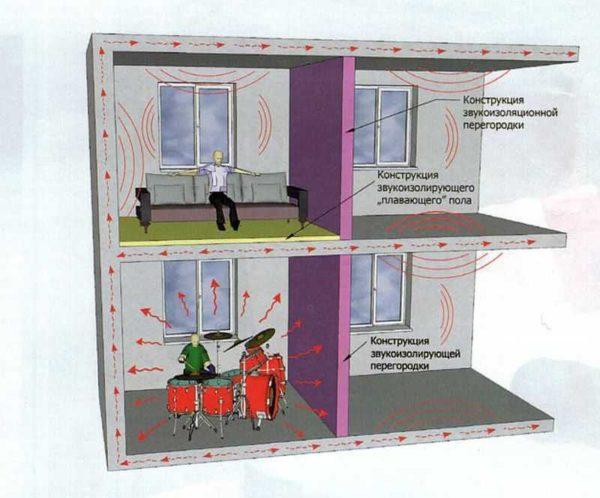
As a result, it turns out that the repair is finished, and you, if you want, can keep notes of conversations of your neighbors, and they – yours. Not a rosy prospect. Therefore, it is worth thinking about soundproofing. Yes, this is an additional expense and not insignificant, but silence is more important.




Renovating a new place from scratch is like crafting a masterpiece! I remember my first DIY project—it was chaos but so thrilling! From picking paint to finally seeing the space come alive, each stage is a win. Can’t wait to tackle my next big venture! Let’s go!
Totally feel you! My first reno was a wild ride too—paint splatters everywhere, and I even glued my hands together once! But when I saw the final result, man, it was epic! Can’t wait to hear about your next project—let’s crush it together!
Totally feel you! My first DIY was a wild ride too. I was painting the walls and ended up with splatters everywhere—total mess! But seeing it all come together was worth it. It’s like you’re creating art! Can’t wait to dive into my next project as well! Let’s do this!
Man, I remember when I renovated my first place from the ground up! It was a wild ride—picking out paint, dealing with contractors, and watching it all come together. Each stage felt like a mini adventure. Can’t wait to do it again someday! So worth it!