

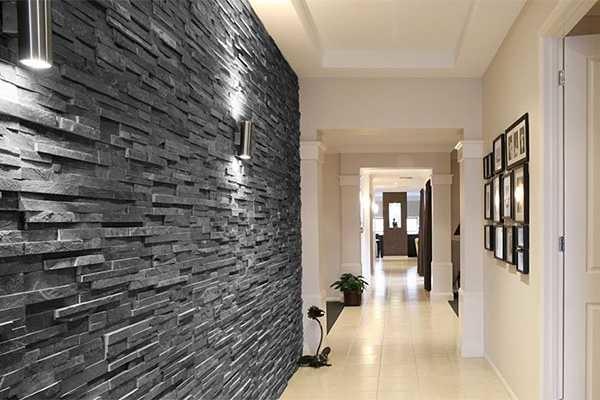
In the design of houses and apartments, you want to use natural materials, but it is not always justified. For example, the use of natural stone for interior decoration. It is expensive, difficult, requires high qualifications. There is very similar to natural artificial stone. It is also made from natural components, but it weighs many times less, and costs much less. And the finishing of the hallway decorative stone can be done with your own hands – special qualification of its laying does not require.
기사 내용
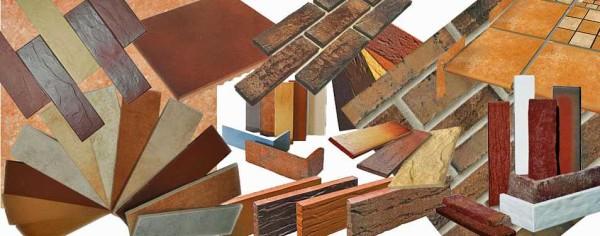
Types of decorative finishing stone
Today there are three types of decorative artificial stone used for interior finishing:
- cement-based;
- on the basis of gypsum;
- agglomerate.
These products in appearance are very similar to natural stone, only weigh much less (from 14 kg/m2 to 50 kg/m2). Much lower and cost (compared to natural), especially if the manufacturer is Russian or Belarusian. To the pluses can be attributed and easier laying – only the front part is textured, the other three are more like a tile or brick.
Actually, there is another type of finishing artificial stone – clinker tiles, imitating brickwork of different kinds. It is produced from clay almost according to the technology of brick – fired in a kiln and glazed. The difference in thickness is 1-3 cm. This type of finish is good in many modern interiors – from high-tech to loft.
Based on gypsum
Gypsum finishing stone is the most inexpensive of this type of materials. Its second plus – it is the lightest. It is used when mounting on drywall, as large loads it simply can not withstand. Minuses – it is quite fragile, hygroscopic, when wet it can collapse. Finishing the hallway decorative stone on the basis of gypsum is possible only if after laying it treated with a special protective impregnation or varnish on acrylic base.
Cement-based
Strong and durable finishing stone is obtained from a gypsum-sand mixture. It can be washed, even with a brush using liquid detergents. Its disadvantages:
- It’s hard to cut. You will need a bolgarka with a diamond disk, so that there is less dust, you can wet the tiles.
- Heavy weight. This is – if you compare with the gypsum analog, and compared to the natural weight is lower by more than half.
- Higher price. In the manufacture of cement decorative stone use high quality cement, and it costs a lot. In addition, the price is affected by the technology of production – the cement takes longer to gain the required strength (28 days), and molded tiles to this point must be stored somewhere, and in certain conditions (at a temperature of about 20 ° C and sufficient humidity of 40-50%). This means that considerable storage space is needed, and this means additional costs.
All these disadvantages are compensated by durability and ease of maintenance, so it is one of the most common decorative stones for interior and exterior decoration of premises.
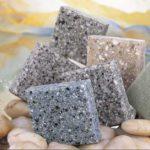
Artificial stone from agglomerate
This type of finishing decorative stone appeared recently. It consists of crushed to crumbs of natural rocks – marble, granite, quartzite – to which are added polymer resins or cement. To obtain bright colors, a dyeing pigment is added. This decorative stone looks great – inclusions of natural fragments, reflections on the facets of crumbs … Really good looking, suitable for finishing work in the premises.
-

- Granite agglomerate
-
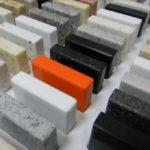
- Samples at the stand of one of the companies.
-
- There are many coloring options: quartz agglomerate

Coloring methods
When choosing a collection of gypsum or cement, pay attention to the method of coloring. Pigment can be added to the solution, and then the entire tile will be one color. On its front surface then apply shade tones, which give the surface a more natural look. With this technology, even with chipping, the difference will not be noticeable, because the shades are close.
In another variant, the pigment is applied only to the surface. Then when chipping or the need for sawing, the color will be very different.
Laying artificial stone with your own hands
Before starting work, it is required to determine the quantity. This is not as easy as it seems. If you look at the collections, you will see that they mainly consist of fragments of several sizes and shapes. The exception is ceramic stone and collections that imitate brickwork. Once you know the size of the fragments, you can estimate how approximately you want to arrange them.
Outline on the walls of the proposed boundaries of the finish. Now you can more or less accurately calculate how many “squares” of decorative stone you need. To the resulting figure, add about 10-15% – for trimming and possible changes in the process. This will be the required amount for finishing.
Preliminary layout
Masters who have experience working with decorative stone, first preliminary “figure out” where to place which fragments, how to turn them. You can make the layout on the floor, you can – in design programs (if you know how to work with them), you can try to draw a plan on the millimetrovka or a sheet in the cell. The main condition: it is necessary to observe the proportions and do not forget about the seam. It can be very small – this type of laying is called seamless or solid, and can have a thickness of up to 1 cm or even a little more.
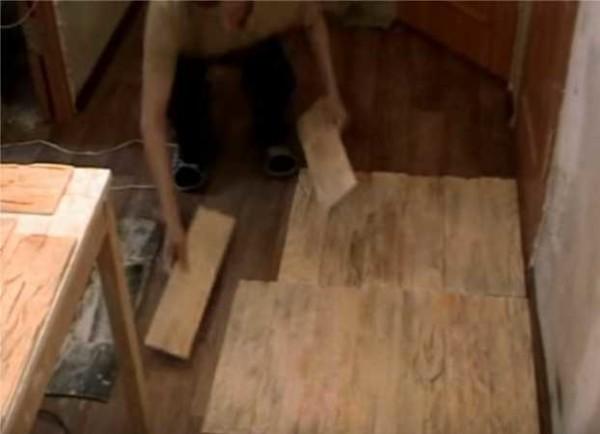
This stage in the independent finishing of the walls with decorative stone, many people skip, hoping that in the process of work everything will become clear. You can, of course, and so, but note that the glue sets very quickly and the time to redo very, very little. It will be easier to work according to the plan.
Surface preparation
Finish with artificial stone can be walls of any material, but all of them require preliminary preparation. If the walls were previously finished with something, all the trim is removed, the bare wall with plaster should remain. To glue decorative stone on old wallpaper is a waste of time and money: the finish will simply fall off. Some very light collections can be glued on the wallpaper, but it can be only fragments – a few tiles. And that, no one will give a guarantee that the wallpaper will not tear and everything will not collapse.
The easiest process of preparing the walls, if they are plastered. Just cover them with a primer. Its type is selected depending on the material (gypsum or cement). Then you can proceed to the actual finishing.
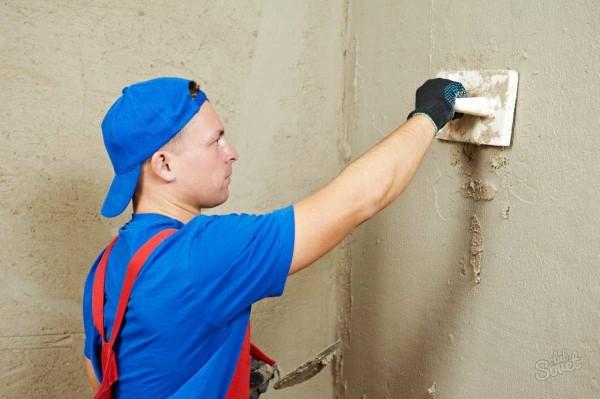
If the walls are made of bricks, building blocks, any other similar material, they are first primed, then plastered with a suitable plaster. It is also allowed to level the walls with drywall. But in this case, you greatly limit yourself in the choice of finishing stone – you will have to choose from the lightest in weight collections, and it is mostly decorative stone made of gypsum.
If the walls are wooden, they are first covered with a waterproofing impregnation, after drying treated with primer. Then the surface is nailed to the painting grid and then plastered. When choosing plaster, it is desirable to choose from those that “breathe” and will interfere with the wood to regulate humidity. With glued tiles this will be problematic, but the finishing of the hallway decorative stone is usually fragmentary – the tiles are glued only in some places, and the rest of the surface will remain vapor permeable.
On what to glue
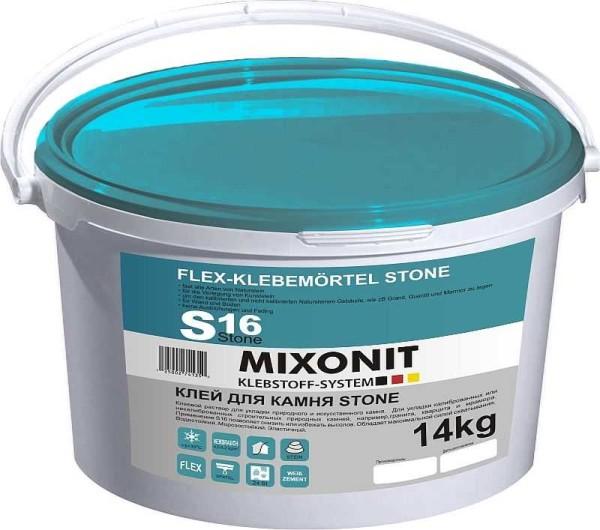
Most manufacturers of decorative stone advise the use of special adhesive compositions designed specifically for working with this material. They come in three types:
- For lightweight finishing stone weighing up to 30 kg/m2;
- for heavy from 30 30 kg/m2and above;
- for low temperatures (below +5°C).
Dilute the glue in small portions, following the manufacturer’s recommendations exactly. It is better to stir with a drill with the appropriate attachment – so it is easier to achieve homogeneity.
You can also glue on a good quality tile glue, only it must be really good – the mass will have to hold a decent. The third option – on liquid nails. This method works great on drywall, with plastered surfaces it is better to use a glue solution.
Gluing technology
Plastered or leveled gypsum board walls are smeared with primer. While it dries, dilute a portion of glue. When laying, it is important that the rows of finishing stone are laid horizontally. To achieve this, on the wall you can draw a marking. This can be done with a painter’s cord, or you can draw with a pencil, using a bubble or laser level.
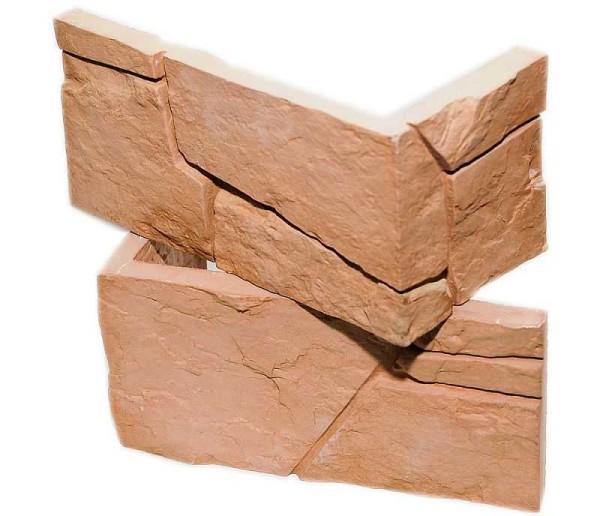
Laying decorative stone in the hallway room start from one of the corners. In some collections there are special corner tiles – it is easier to work with them. If there are no such fragments, you will have to decorate the edges of the “end” fragments. They are available in some collections – their edges are also colored. These same elements are used last in the row, where it is necessary that the ends have a decorative look.
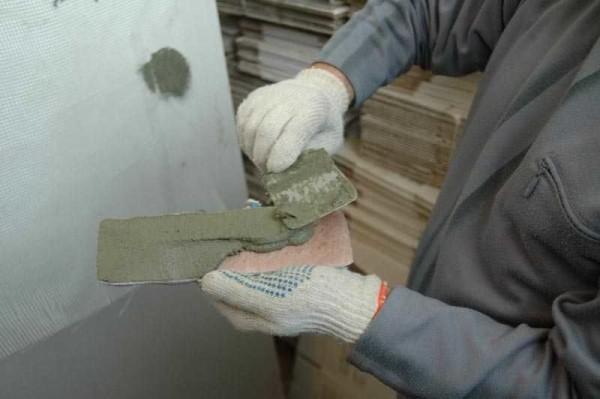
Before laying the back of the decorative stone tiles should be inspected. There may be remnants of cement milk – a thin foamy deposit of light color. It must be removed. This can be done with a stiff brush.
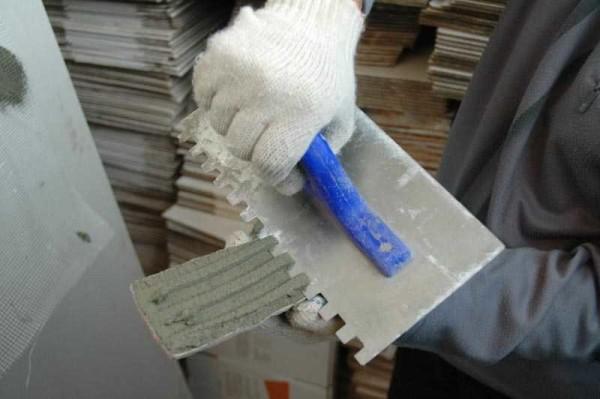
If the air temperature is high or humidity is low, the back of the stone is wetted with water. Then with an ordinary spatula apply a layer of glue, level it, remove the residue with a toothed one (with a tooth of 4-5 mm).
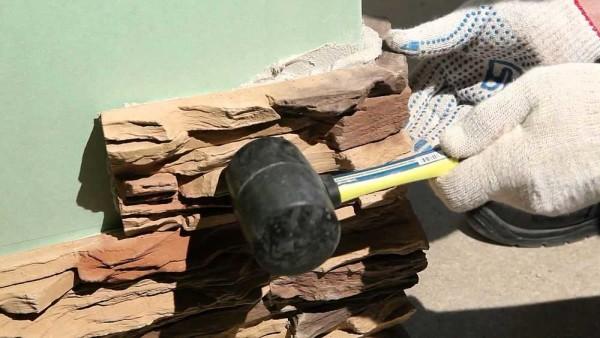
The fragment is pressed to the primed surface, slightly moving it from side to side, achieve tight contact with the wall, put the fragment in the desired position. You can tap the surface with a rubber mallet for better adhesion.
This option of laying the finishing stone on the walls requires a significant amount of time. It is used when you need to put only a few tiles or on the edges of a large area fragment. If you need to lay a significant amount, it is easier to apply glue to the wall, also remove the excess with a toothed trowel. And moistened with water, press the tiles to the glue on the wall.
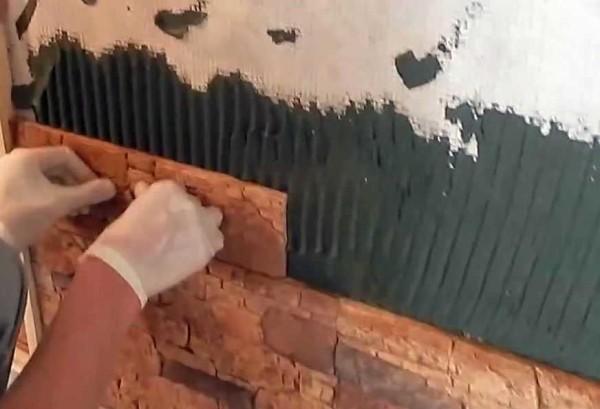
Otherwise, the entire sequence of actions does not change.
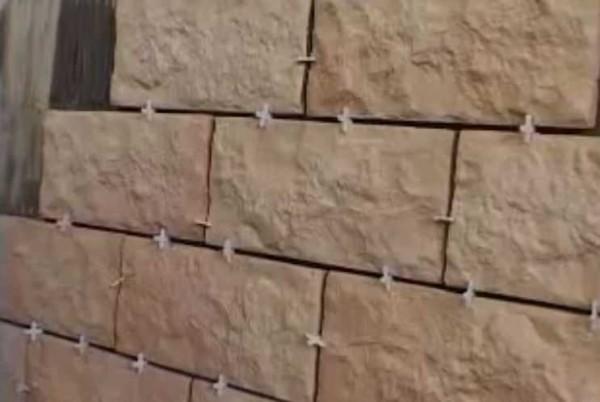
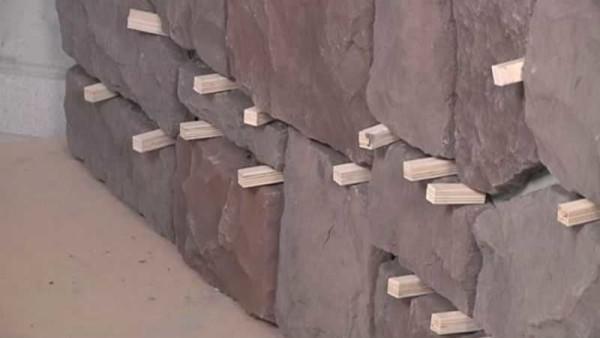
If the masonry is seamless, the next element is installed closely. If a seam is necessary, the distance between the tiles is fixed with plastic, wooden wedges of equal size, suitable and pieces of drywall. If the seam is small, plastic crosses can be used.
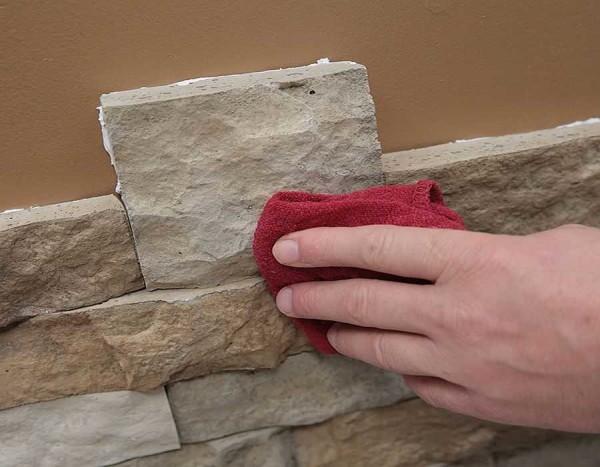
When working from under the tiles may squeeze out the glue. If it gets on the front surface, it must be removed immediately. Concrete finishing stone can be wet rag, gypsum – only dry. Glue sets very quickly, and then remove it without damaging the surface, it is almost impossible.
According to this principle, the planned volume of finishing is laid out. When the glue sets (indicated on the package), you can start filling the seams.
Grouting seams
To fill the seams, a special composition is used. In color, it can imitate masonry mortar or be contrasting to the color of the finish.
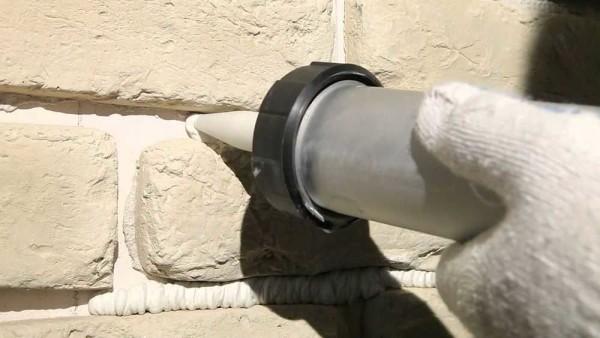
The composition is diluted with water to a paste-like state (proportions are indicated on the package), put in a special syringe or a dense bag with a cut corner. The paste is squeezed out between the seams. Depending on the type of finish, the seam is filled almost completely or only half (up to the edge of the tile can remain up to 5 mm). The result is either a relief masonry or a more even one.
Until the grout has not set, take a special reamer and level the seams, giving them a convex, concave or flat shape.
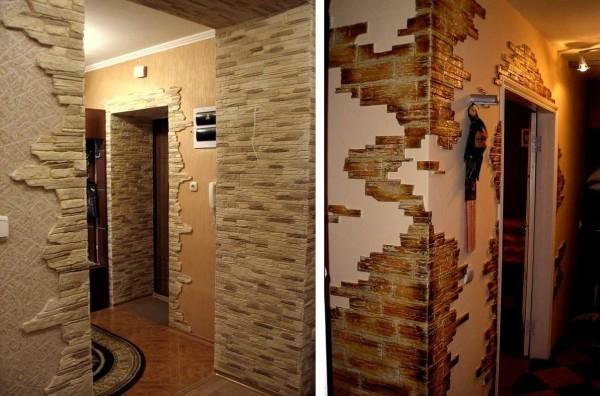
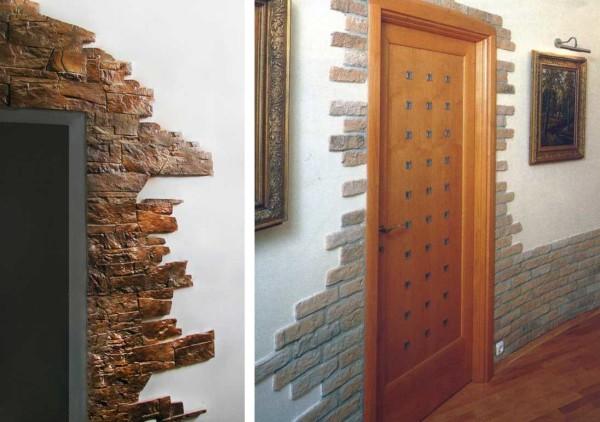
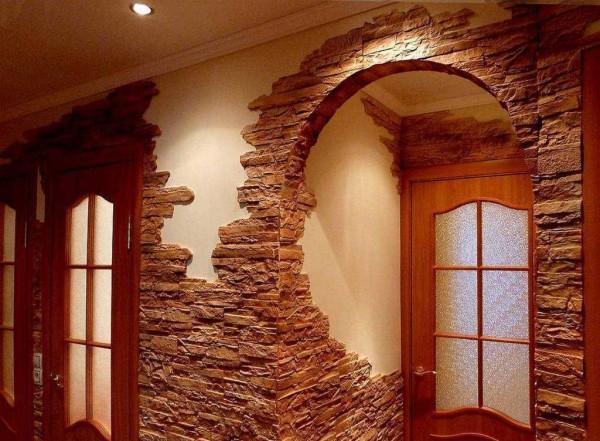
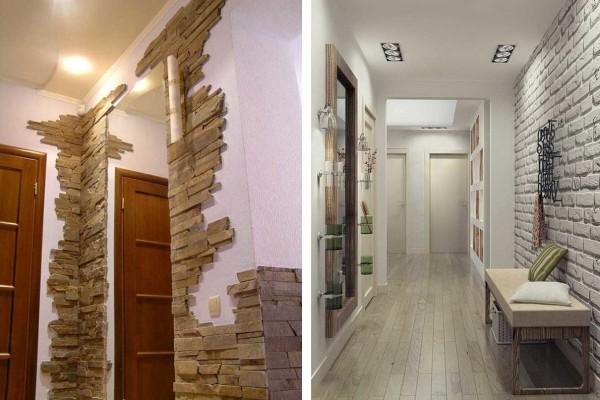
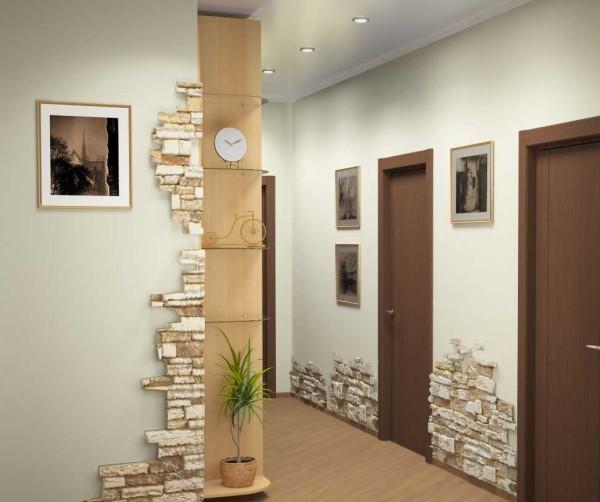
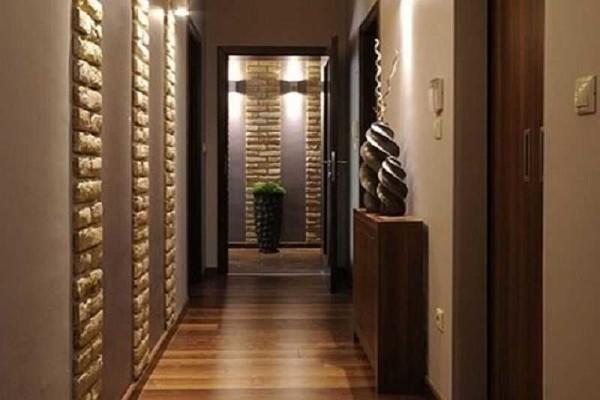
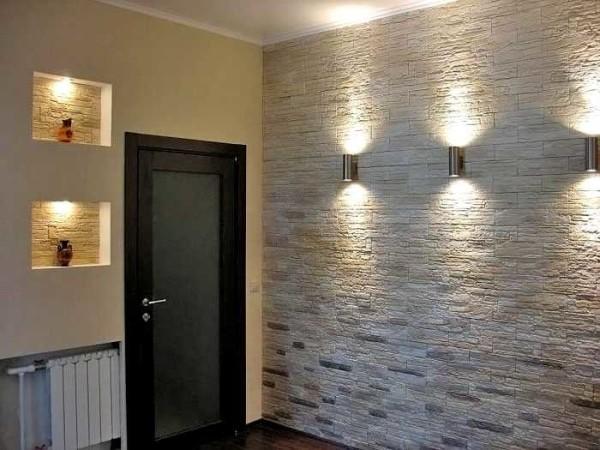
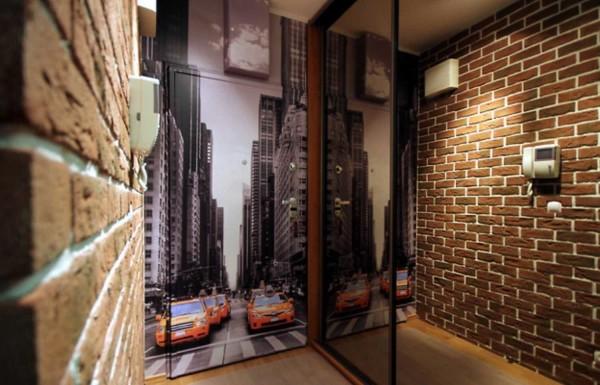
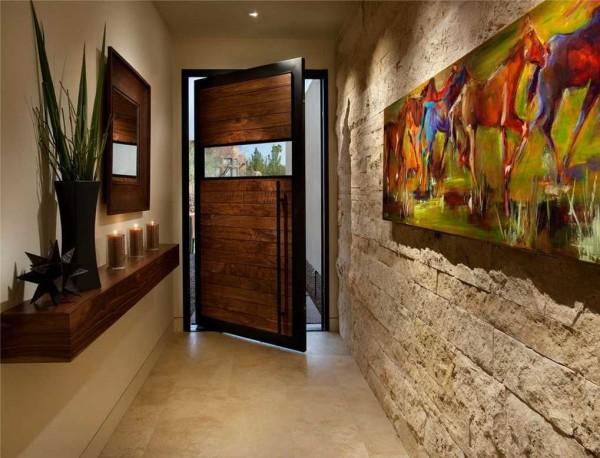
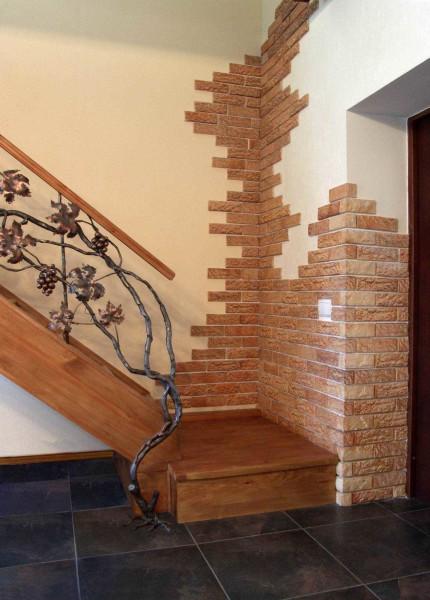
Photo of options for finishing the hallway and corridor decorative stone


용 가구")
Hey everyone! I just installed decorative stone in my hallway, and it totally transformed the vibe! It’s super stylish and surprisingly easy to work with. Trust me, if you’re thinking about it, go for it! You’ll love how it elevates your space!