Wallpapered and puttied exterior corners need protection. Frequent contact with the wallpaper will rub off and the putty will deteriorate. The problem can be solved with the help of decorative corners. Corners to protect the corners of the walls can be made of different materials.
記事の内容
Corners to protect the corners of the walls: selection options
This method of decorating the corners of the walls – protective corners – not everyone likes, but there are no special alternatives. In any case, on the wallpapered walls, the corner is still better than sticking out and torn cloths.
Available only one solution to the integrity of wallpaper without the use of decorative corners – do not make a sharp corner of the slope, and rounded. In this case, there will be no problem with its finishing. It will be possible to simply wrap the cloth of wallpaper, without cutting it. But you need to make the corner perfectly, otherwise you will have to cut again, and, therefore, the question of protecting the joint of wallpaper on the corner will arise again.
It is important to choose the right decorative corner, so that it does not look alien. To do this, there are special techniques.

Choose corners to protect the corners of the walls should be based on the overall design of the room. There are several standard solutions:
- In tone with the finish of the walls. It is desirable to fully match the color, and even better if the texture will be similar.
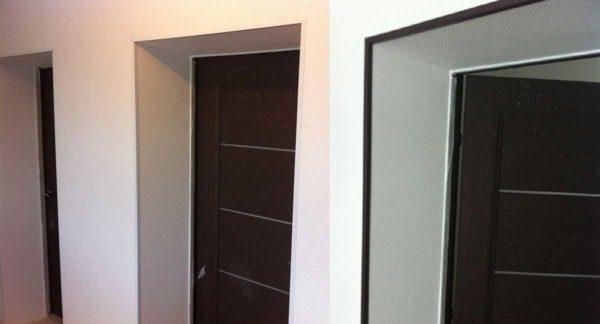
- Tone with the doors. It is better to choose the same material – wood, MDF. And coloring to pick up one in the same. This technique is often used in hallways and corridors, where there are many doors. In the rooms it is more appropriate to pick up in the tone of the walls.
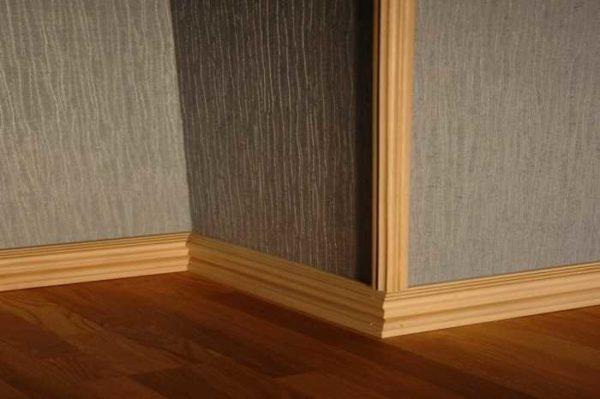
- In the volume with skirting boards.
- Use one of the complementary colors (about the combination of colors in the interior read here), which will be not only on the corners, but also in the framing of paintings or upholstery panels, decorative medallions, etc.
- Of the same color and texture with the flooring.
In general, select corners to protect the corners of the walls should be tied to the design of the room. You can do this after the furniture is arranged and textiles are hung. In this case, it is easier to visualize the final result. Because the picture in our head can be very different from reality.
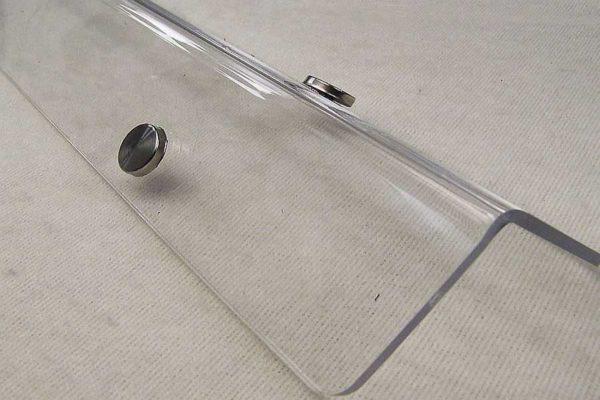
If you can not find an acceptable color, and the corners of the apartment must be protected, pay attention to transparent plastic corners. They are of different types – rigid, flexible, with different wall thickness.
Types of protective corners: from what materials
According to the area of application, corners are for external (on the street) and internal use. For now, let’s talk about how to protect the corners in the apartment and house – indoors. Let’s start with the materials. Corners to protect the corners of the walls can be:
The most popular are plastic corners to protect the corners of the walls. Do not think that such protection looks shabby. In any case, no worse than the frayed corners. Just plastic is different in appearance – polished, with a metallized effect, with a satin (matte) surface, with different relief. It is clear that in order to find something specific or special, you will have to run around construction stores and markets. But there are many types of decoration. If the corners to protect the corners of the walls are selected correctly, they fit seamlessly into the design, without attracting attention. At the same time protect and decorate the joints very reliably.
Shapes and sizes
Ready-made corners have, as a rule, an angle of 90 °. The angle itself is not always sharp, there are options with rounded. According to the type of corners to protect the corners of the walls are divided into:
- rigid
- external;
- internal;
- flexible (plastic, rubber)
- universal.
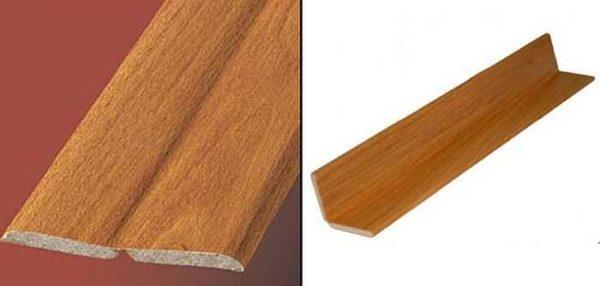
Questions can only be on the universal. This is two strips of plastic or MDF, connected by a thin strip of flexible material of the same color. Thanks to this connection, you can design a blunt or acute corner, internal or external – without much difference. But in terms of reliability of protection, it is inferior to rigid – after all, the flexible part is quite thin.
It is also worth knowing that the corners can be with shelves of the same and different widths. More often meet with the same, but it is quite possible to find such, in which one is wider, the other is narrower.
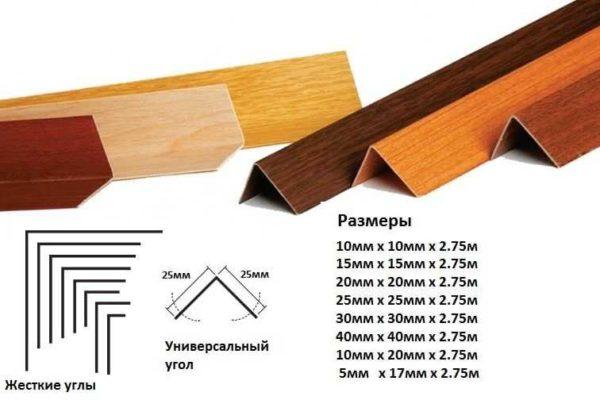
The width of the shelf differs from manufacturer to manufacturer. Plastic, for example, can have shelves from 10 mm to 50 mm. MDF corners are minimally made with a shelf width of 20 mm, metal – from 10 mm, but the maximum length of the shelf – 90 mm (aluminum). So there is a lot to choose from.
On what to fix
The choice of method of fixing the corners to protect the corners of the walls, depends on the material of the corner, on what surface they will be attached to. Most often glue is used. And in the leaders are “liquid nails”. This is a universal composition, but before buying, check that a particular brand could glue the materials you need.
On the glue you can plant the corner, if it is even, without large errors. If there are pits/depressions, it is unlikely to glue it. In this case, you can use silicone. If you glue white corners, you can use white silicone. For colored ones, it is better to take transparent. Not everywhere it is desirable to use acidic. Although it is cheaper, but it can damage metals or paint.
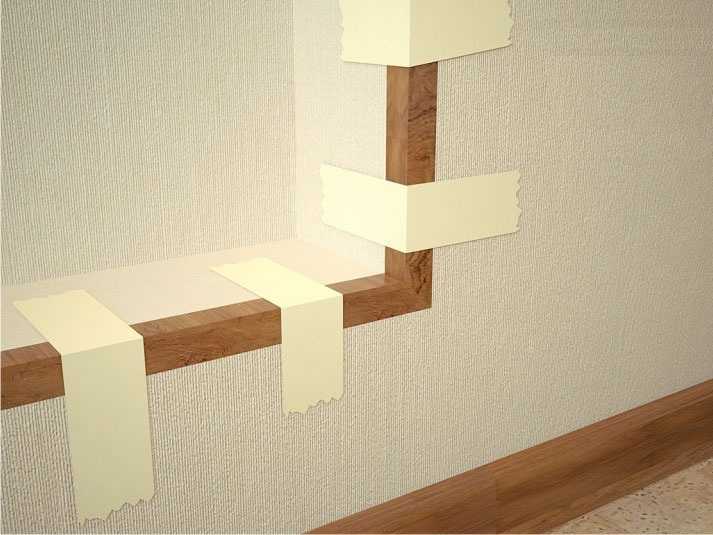
In both cases, the wall and the corner should be clean, dry. The composition is applied to the corner, it is pressed to the corner, fixed with strips of painter’s tape. We tack through 40-60 cm. If everything is even, you can also through 60 cm, if you need to repeat the shape, through 40 cm or even more often.
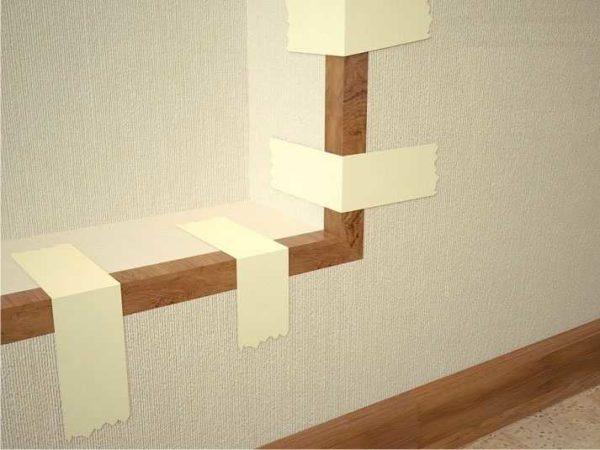
Leave in this state until the glue dries or the silicone hardens. For the exact time, see the package. Then the painter’s tape can be removed. It differs from ordinary tape in that even from paper wallpaper peels off without damaging the surface. But to be sure, try gluing and peeling in an inconspicuous place.
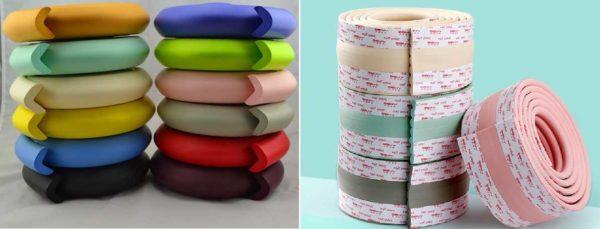
There is another option of how you can glue corners on the wall with wallpaper, painting. You can use double-sided tape. It is glued first to the corner, then, having removed the protective coating, press against the corner. There are corners to which the tape is already glued. Some types of foam rubber or plastic (usually flexible or universal).
Finishing the arch
The decoration of the arch often becomes a problem. In general, there are not many outside corners in the apartment, but on the arch they are necessarily. And in the passage they are very often hit. That furniture, or other cargo or just not fit in the aperture of the resident. And there are no questions with the straight part, but the rounded part can be a problem.
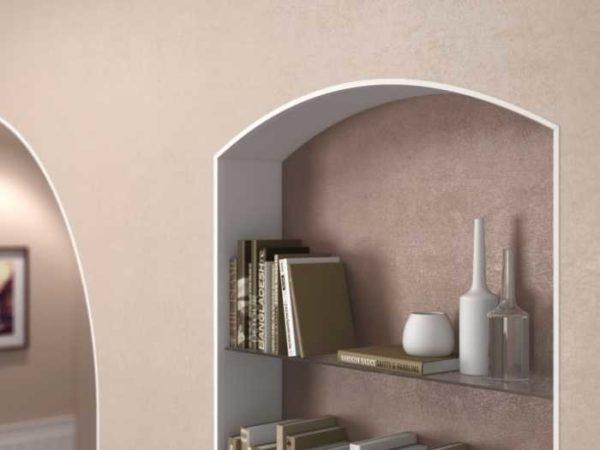
In general, for the arch, you can use universal corners. They are flexible, which is very convenient. There are flexible not universal – plastic, from a special polymer of increased elasticity.
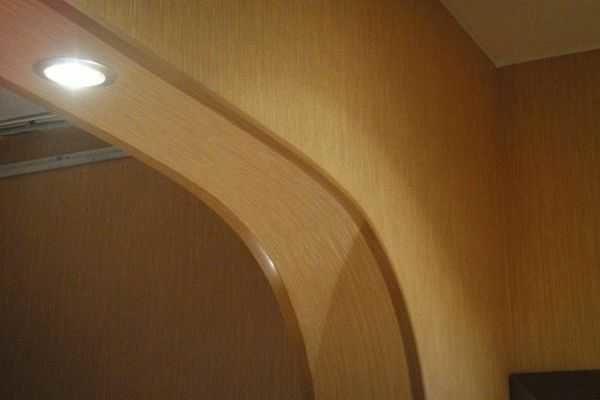
But in general, for the design of arches, corners with different widths of shelves are used. They are even called arch. They have one shelf 10 mm (outer) the second – inner – 30 mm and more. They bend easily. You can’t twist them into a bagel, but it’s easy to get an arc of any curvature. It will only be necessary to use a reliable fixation for the time of glue drying.
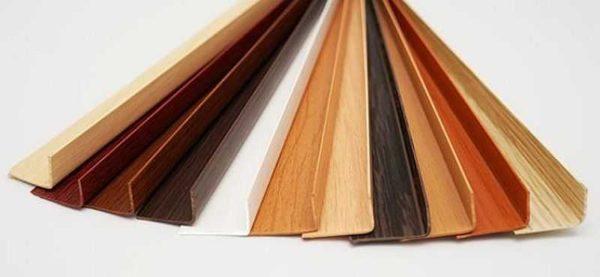
If you want to bend an ordinary corner, it can be done by heating the plastic. For this work you need a construction hair dryer. The usual one – for hair – will not work, since its temperature is too low. You also need a template, on which we will bend the plastic corner. Take a piece of fiberboard, screw self-tapping screws or drive nails, forming the profile that you need.
Start bending from the middle. Heat the area, constantly pressing on the middle, and the hair dryer moving from the center to the edges. So it is necessary to bring the corner to the desired curvature and leave in this position to cool down. To prevent it from straightening, parallel to the row of self-tapping screws make holes for the second row. The distance between the rows is equal to the width of the shelf of the corner. After the plastic is bent, insert and slightly screw the self-tapping screws. After the plastic has cooled down, remove them.
How to cut the finishing corners
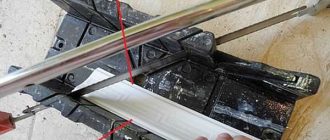
Almost always corners to protect the corners of the walls have to be cut. They are sold in strips with a length of 2 to 3 meters. The tool for cutting is selected depending on the type of material. For wood and metal, thick plastic will need a hacksaw, but only the blade is different – on wood, and with a fine tooth on metal or thick-walled plastic.
Thin plastic can be cut with a construction or stationery knife, sharp scissors. If you need to cut perpendicularly, it is easier to use scissors. They cut to the corner on both sides, bend the corner, the remaining millimeters are cut with a stationery knife. If there are mistakes, they can be easily corrected with the same knife or sandpaper with a very fine grain (polishing).
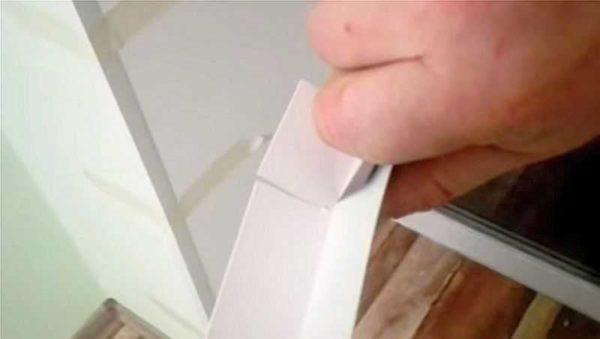
If the plastic corner needs to be cut along the fold, cut it along the inner corner with a stationery knife. It does not make sense to cut through the entire thickness. It is only necessary to leave a noticeable strip. Then we bend the piece to be removed. It is torn off at the place of cutting. Remove irregularities with a knife or sandpaper.




I recently finished my basement and used decorative plastic corners for the slopes. They not only look sleek but also protect the edges from wear and tear. Trust me, it’s a game-changer for any DIY project! You’ll love how polished everything feels with them in place. Give it a shot!
I recently wrapped up a DIY project where I used decorative plastic corners for my slopes. They really transformed the look! Super easy to install and they hide those uneven edges perfectly. Plus, they’re durable, so I know they’ll last. Highly recommend if you want a clean finish!