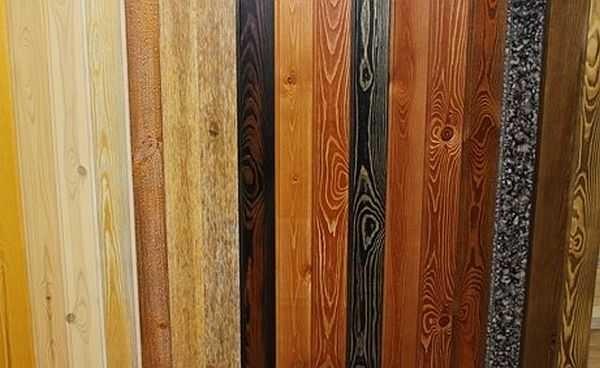
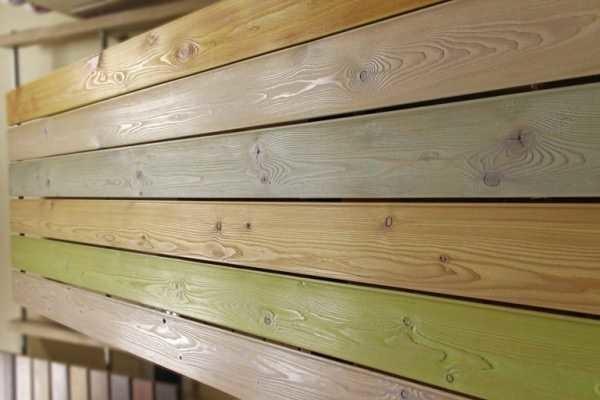
One of the most popular types of wooden finishing materials is lathing. It has a different profile, so that the surface has a different look – from a smooth wall with small grooves, to waves of different sizes. Simply wooden walls do not fit into all interiors, so there is often a need to paint the wagon inside the room – at home or at home.
Isi artikel
How to treat the wagon inside the house
In general, many people believe that the wagon inside the premises is better not to process anything. It may be so, but not in every climate and room it will long retain its original appearance. If the level of ventilation is insufficient, the wood can turn blue, if it is in the sun – becomes dark gray.
Blueing can only be fought with biological means – chlorine or active oxygen, and afterwards – definitely impregnate with protective compounds, and maybe even paint. With graying wood is a little easier: by removing the top layer with the help of sanding you will again get a beautiful color, but without protection from ultraviolet it will not last long either. Therefore, and decide to paint the wood inside the house or cottage.
Another point: not everyone likes wood in the interior. Just sometimes people get tired of looking at it. Want just a plain colored surface. This also happens, and quite often. In this case, look for a covering paint. Choose the characterization effects as desired.
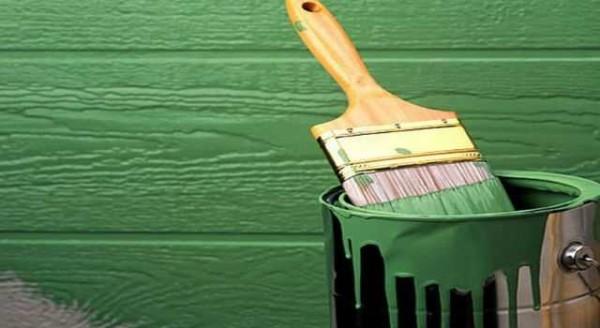
Paint the wagon inside with hiding paints because wood in its natural color is not compatible with all styles. But sometimes you want to have a high-tech interior in a wooden house, for example. In this case, a paint with metallic particles or mother-of-pearl (e.g. Lignovit Platin) is suitable.
All compositions for the protection of wood can be divided rather conventionally into six main groups:
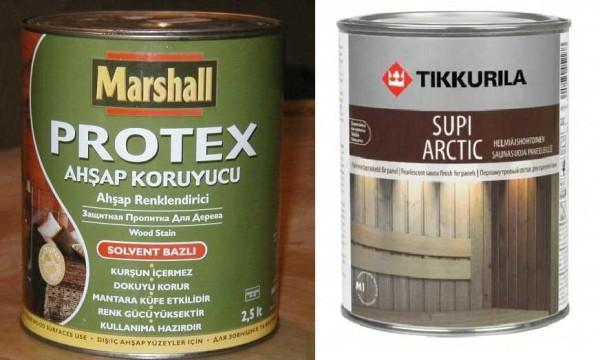
- Protective compositions. There are for exterior and interior works. Compositions for exterior works additionally include UV protection, which prevents or slows down the process of photo-aging wood – changing the color to gray. So if you need impregnation for wagons on the balcony, and it goes to the south or east – you need a composition for outdoor work. Just pay attention, some of them color the surface in pink or green color – this is the result of a chemical reaction. Carefully read the description, because the resulting color can only be painted over with covering paints or very dark tinting.
- Tinting compounds or stains. They do not paint over the texture of the wood, but give some shade. This does not create a film on the surface, the wood does not lose its properties – it remains vapor permeable. Tinting compounds contain pigment and can be weakly or strongly pigmented. If you want a surface with a pronounced wood structure, take a weakly pigmented composition. You may need a lot of layers, but you will be able to control the degree to which the wood is “painted”.
- Varnishes. Today, water-based varnishes or aqualacs are more popular for wagoning on the walls or ceiling. They can be matte, semi-matte or glossy. Many have the option of adding a tint – changing the color at the same time. Unlike traditional varnishes, water-based varnishes do not close the pores – the film on the surface remains vapor permeable, but protects from absorption of dirt. Many manufacturers add UV filters and bactericidal components. Such paints are good for balconies or in unheated rooms with occasional visits – in cottages and bathhouses.
- Paints. This group includes compositions that create a dense film on the surface, through which the structure of wood is not visible. The group is extensive, with different properties and price range – from traditional oil to latex and acrylate enamel.
- Wood oils. There are transparent, there are with pigment. Unlike varnishes do not create a dense film on the surface, but are absorbed into the fibers. Good compositions act similarly to lacquer coating, protecting against abrasion and absorption of dirt. Only oils do not have a bright glossy sheen – the surface is matte or slightly shiny, like silk. This is a great way to preserve wood. Using a certain application technique with pigmented wood oils, you can emphasize the grain (see below).
- Wax-based formulations. There are three types of wax: solid, liquid and water wax. Solid wax is heated to a liquid state before application, liquid and aqueous (wax azure) are ready for use. Protection with wax is traditional and very effective, and new technologies make the process much easier. The disadvantage of wax – it is quite difficult to apply it evenly, but on a pre-primed surface it lays down quite well.
This division is conditional: there are many mixed compositions that can be attributed to at least two groups. So there are impregnations that can be tinted, and there are paints with protective properties. The difference lies in the effectiveness of the protection. Impregnations primarily protect the wood, and giving color is a secondary task. With paints it is the opposite. Their main task is to create a beautiful coating, and protection is as an accompanying effect. If you need both good protection and quality coating at once, take impregnation without tinting, and after drying apply paint.
Another example of a mixed composition is oils with wax. These compositions combine the properties of both oils and wax, so that the wood retains its appearance for a longer period of time.
The question of which of the groups to favor is for everyone to decide for themselves. Different means solve different problems and it is important to choose the right properties that you need in the first place.
How to properly paint the wagon inside: technology
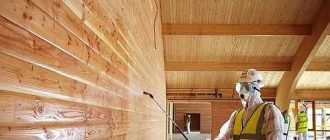
For painting wagons in “dry” rooms inside the house, you can use any of the types of paint. Here you just determine the requirements for the decorative appearance of the surface. If the wagon is dry, it can not be impregnated with protective compositions, or choose paint / varnish / wax with appropriate additives. paint it can be painted only on one side, leaving the back side untreated.
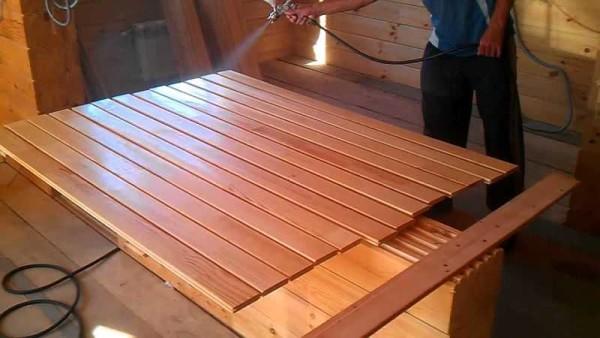
If the lumber will be used in damp or unheated rooms, on the balcony, you must first impregnate it well with protective compounds on all sides, maybe twice. Only after the impregnation dries can be painted, varnished, in general, to give decorative properties. Another point: when installing the wagon on the wall or ceiling, it has to be cut into pieces. The places of cuts in damp rooms must also be lubricated with the composition. It is not necessary to wait until it dries, but it is necessary to treat.
There is one very important nuance that many amateur decorators overlook. If you want to get the coloring of professional level wagons, you need to treat each board separately: grind, paint, dry and only then collect the surface of the already painted wagons. That is, on the wall or on the ceiling to mount already fully processed boards. Only with this approach from any point the surface of the wagon will have the same coloring.
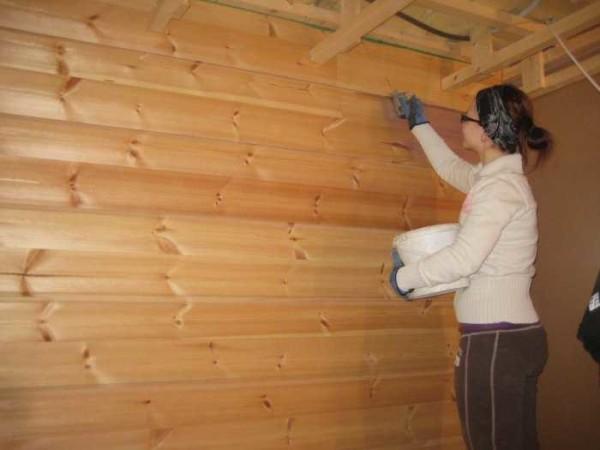
If you paint the already assembled surface, in the grooves and recesses remain unpainted places, it is difficult to sand large areas. Perfectly even surface is definitely not to get. The quality of finishing in this variant is not above average. Paint the finished surface is acceptable if you update the painting. This should be done at different intervals – depends on the operating conditions and properties of the paintwork.
Properly, the technology of painting looks as follows.
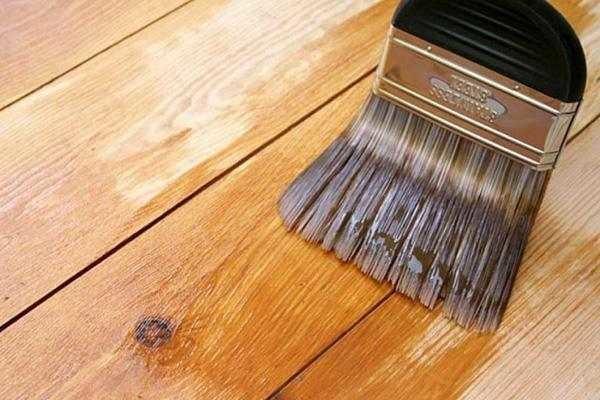
There can be many layers: it depends on the covering power of the paint and the effect you want to get. But in any case, the rule is the same: the composition on the brush should be little. The exception – impregnations or primers. They are applied with a well-moistened brush, but only those without pigment. When applying pigmented protective compositions, the rules for paints apply – the minimum required amount of composition is well spread.
Sometimes, even with careful rubbing of the paint, spots are clearly visible. This is not a bad paint, but the properties of the wood: somewhere the pores absorb better, somewhere worse. To achieve an even coloring in this case, the surface is first primed. You can use any wood primer or colorless matte varnish (can be water-based). After drying, the surface is sanded (yep, one more time) and then apply the required number of layers of paint. Only in this case, after the first layer of paintwork, sanding is rarely required, and if necessary, then in some places, more often – on the stud or groove.
How to evenly apply an azure, oil or wax, see the video.
If you need furniture-quality painting, the layers are even more: first apply stain, then two layers of primer. After drying is sanded to a full matte surface first grain 280, then 320, after removing dust is applied a finishing layer – varnish. An example of such work in the video.
Painting wood with preserving the texture
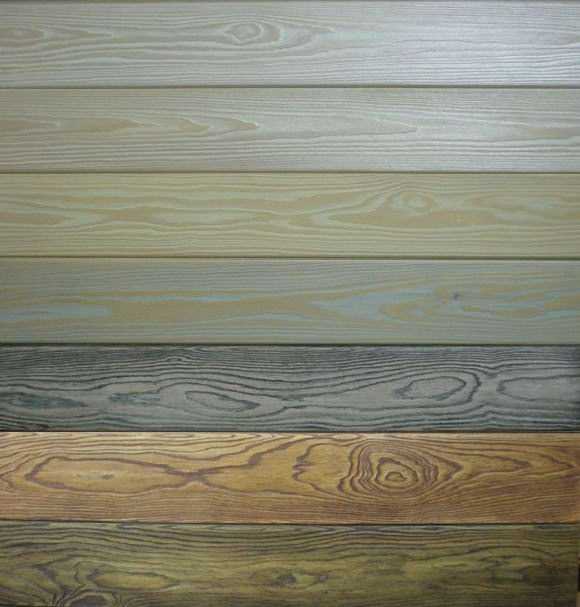
Achieve a pronounced wood pattern can be achieved with the use of azure, pigmented oil or wax. These compositions lie down quite densely, almost painting the structure of wood fibers. Any of the above compositions can be applied with a brush or roller.
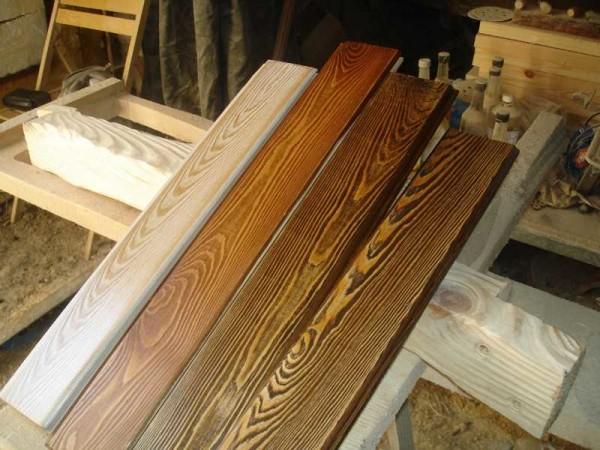
When applying LKM take a little bit, first fragments applied along the entire length of the wagon. Then brush or roller applied strokes are spread over the entire surface. Leaving them for 5-10 minutes to soak, for the manifestation of the texture take a soft lint-free cloth and remove most of the oil. As a result, the pattern is much brighter than in its original state: more pigmented product is retained in the grooves, and almost none remains on the protruding parts. The result is a pronounced texture. This technique is also called brushing or texturizing of the veneer. In interiors, wood treated in this way looks very decorative: both on the walls and on the ceiling.
You can watch the process in the video. Three samples were painted: two with the same oil with pigment, one with colorless oil. Five minutes after painting, one of the pigmented blanks was wiped off to reveal the pattern. To preserve the wood after drying of the pigment (24 hours or more read on the package) the wagon is coated with two layers of colorless oil (azure, wax). In places of heavy use, you can also cover with varnish – matte.
How to paint wagon under bleached oak
Often it is required to paint the wood white, but so that the veins were visible. They also say – to create the effect of whitened oak. There are several methods:
Which of the compositions to choose is difficult to say – you need to try it It is desirable to paint the wagon with several compositions and compare the result. The effect when using different means is slightly different, but it also depends on the wood. Reviews are also very different – someone bleached with tinting, someone with oil. Primers for these purposes are rarely used, but mainly because not everyone knows their properties.
Secrets of decorative coloring of wood: techniques and tricks
City dwellers want to preserve the natural color of wood as much as possible. Those for whom the wood in the house – a boring everyday life – to paint the wagon indoors in some unusual color. Modern paints and varnishes allow you to achieve different effects. For example, textured or brushed wagons, but in two colors. This technique is often used in interiors of the loft style.
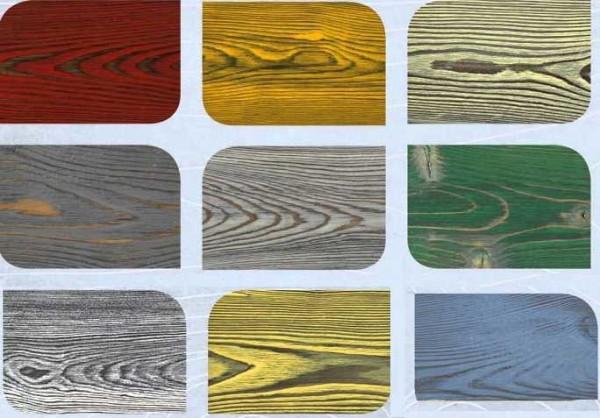
The whole trick is in the application of two layers of different colors. The first layer is applied some dark color, the second – light or brighter. Playing with colors and the order of their application can create your own variant. Watch the video – how to get brushed in two colors wagon.
Brushing in two colors can be and not so. You can make the recesses of a darker color, and the plate (front part) only slightly shaded or do the opposite. You will get a striped wall of wagon – the effect of a slatted wall.
How to paint wagon inside the house: ideas
Techniques and ways of painting is great, but how to fit the wagon into a modern interior? Simple. There are quite a few interesting options. The latest finds of designers – a wall of wagoning in a room with smooth walls. It looks creative and interesting. And most often such a wall is made in the technique of brushing.
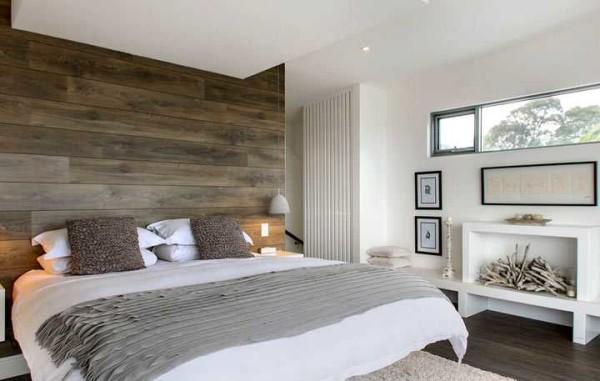
An interesting effect gives a combination of different thicknesses of vgonka – in the photo between the wide boards inserted thin. And they are painted in different shades of the same color. The combination turns out to be interesting and fresh.
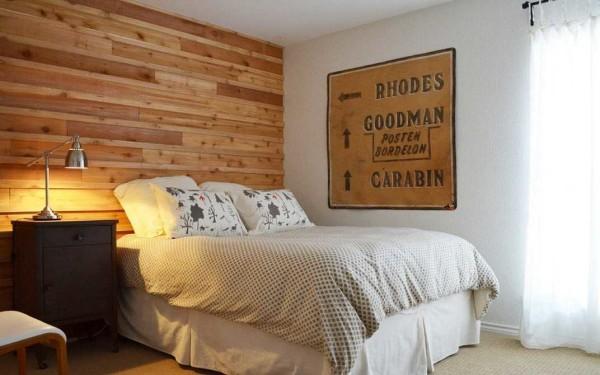
Wagon – it is not necessarily only a flat board with small grooves on one side, which is also called eurowagonka. There are different profiles, including those with waves and hollows. From them you can put together interesting walls, the relief of which is emphasized by coloring.
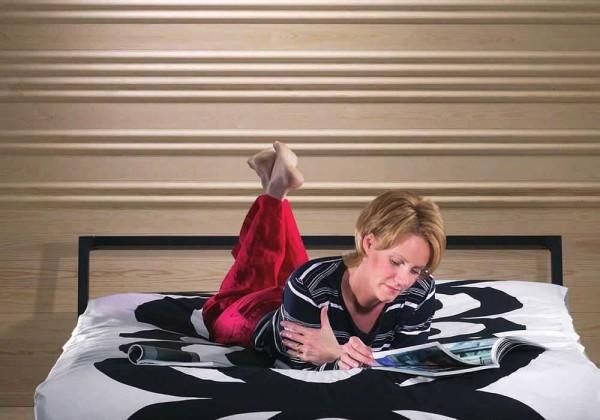
As usual in the interior much depends on the light. A few unconventionally designed lamps – long translucent strips, which hide the lamps, installed in the middle of the ceiling – and the interior is completely transformed. In this design you can design rooms for young people, creative living rooms, etc.
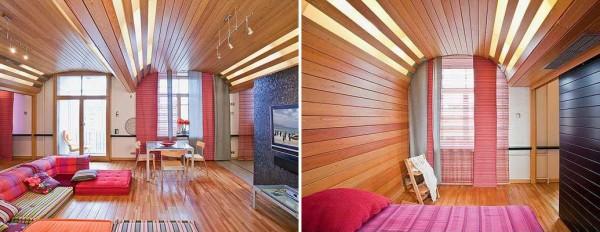
You can play not only with light, but also with color: in the area of illumination to paint the carpentry in a lighter color, thus emphasizing this zone.
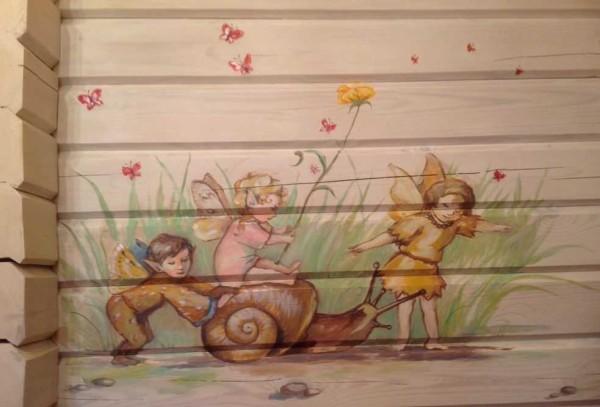
If you have good drawing skills, you can paint the wagon. Just do not forget to then cover the whole picture with colorless oil or varnish – to keep for longer. This technique can be used when decorating a child’s room.
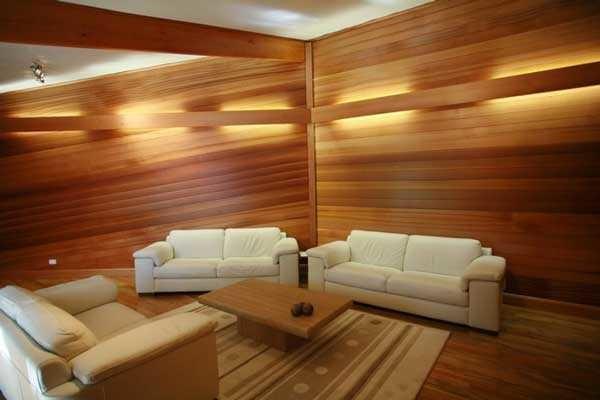
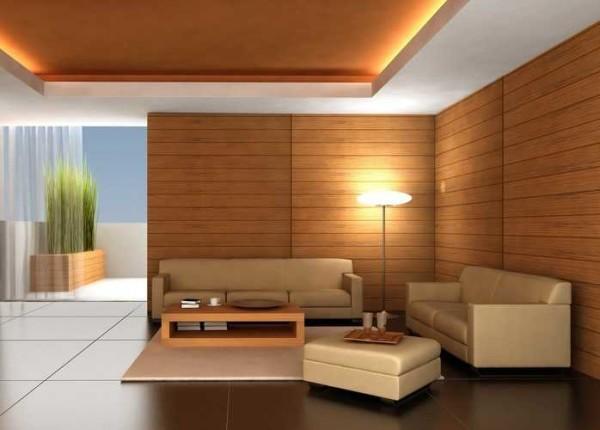
In the interior of the study, living room, hallway looks great hard outlined panels of veneer. In the same vein, you can decorate the wall in the dining area in the kitchen. Only its quality and coloring should be perfect.
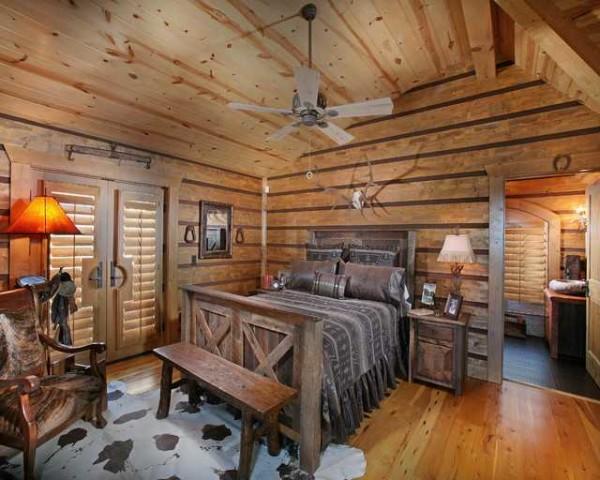
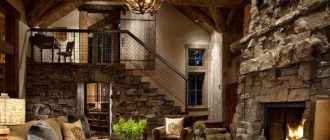
Intentionally non-ideal can be processing for the interior in the style of “rustic”. These rooms with a masculine character.
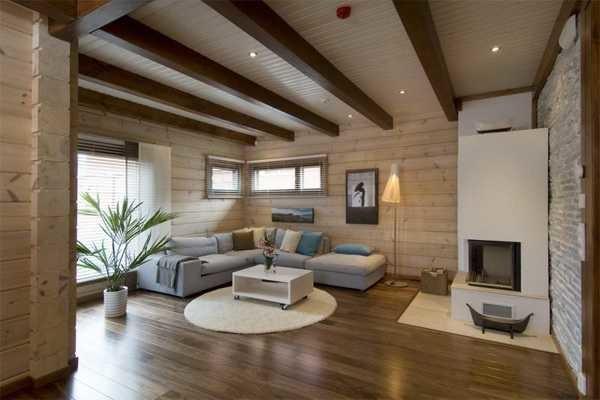
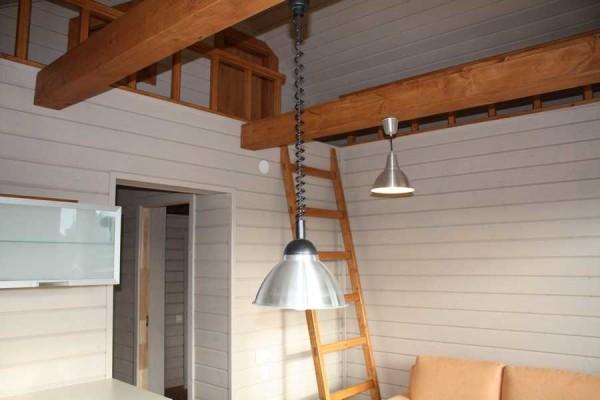
As if in contrast – light-colored walls. The lumber is whitened, and the beams are painted in a dark color. Despite the traditional materials used for centuries, the look of such a room is modern and stylish.
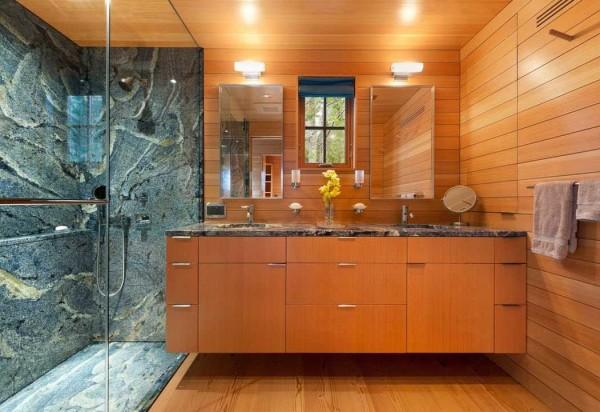
Used wagoning and in the finishing of bathrooms. Impregnation here should be given maximum attention, but if the ventilation in the bathroom to do at the level, impregnation – with protection from moisture, there should be no problems. And the interior, agree, is very interesting – warm tones of wood combined with bright marble – a great move.
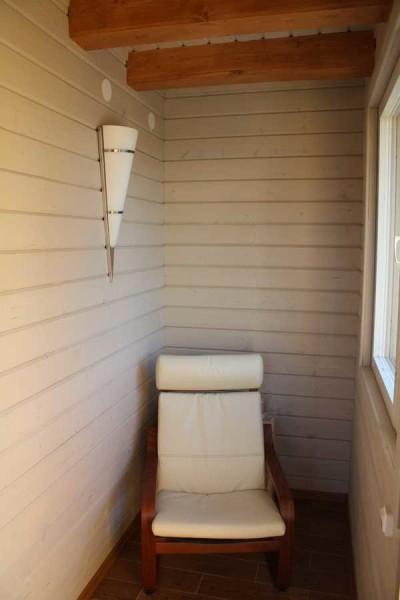
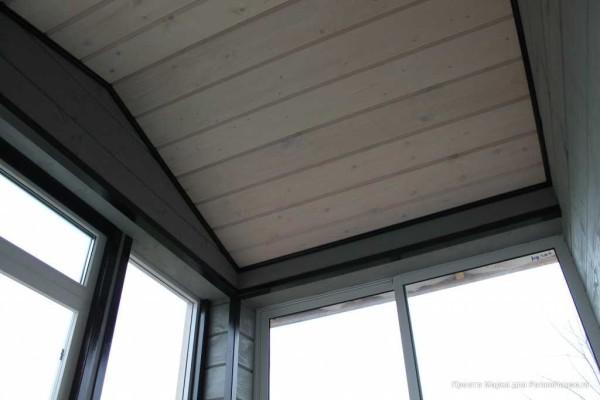
Used wagon and in the finishing of balconies. Only stuff it horizontally – so you can expand the small space. And better on such a small area look light colors, maybe – with dark edging.


I recently spruced up my living room with some cozy wool throws! You can use them to cover furniture or even as wall hangings. It not only adds warmth but also makes the space feel super inviting. Just make sure to choose colors that vibe with your overall decor!
I remember when I decorated my living room with cozy wool throws. It really brought warmth and a touch of style! Adding some colorful cushions made it feel so inviting. Plus, it’s great for snuggling up on chilly evenings. Best decision ever!
I recently covered my interior wool with a cozy fabric, and it totally transformed the vibe! It added warmth and style. Choosing a fun pattern really made it pop. Definitely recommend going for something that reflects your personality! Comfort and style can go hand in hand!
Totally feel you! I once revamped my room with some funky prints too, and it was like a game-changer. It made the space feel like me. Mixing comfy vibes with a bit of flair really pumps up the energy. Definitely need that personal touch in our spaces!