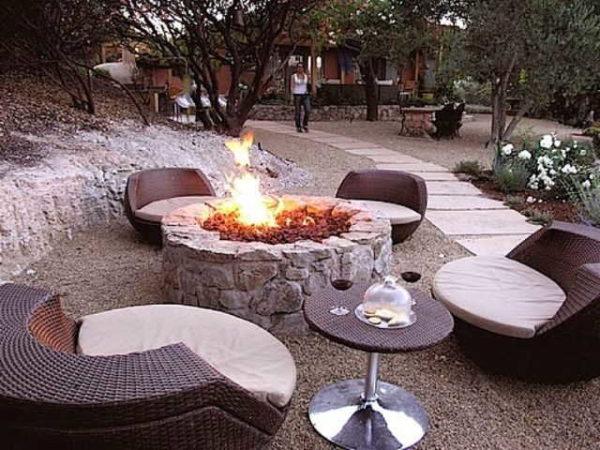
In the courtyard of the house, at the dacha or garden plot, it is so pleasant to sit by the fire and roast kebabs. There are metal braziers for frying meat, but they are utilitarian and no one thinks of enjoying the sight of burning wood. On the contrary, ready-made coals are often thrown in, adding just a little thin wood to minimize preparation time. In the case of a fire pit – a special place to build a fire – things are different. It is a place more commonly referred to as a fire hearth. It is designed not only to grill kebabs, but also to admire the fire. On the dacha and garden plot, the hearth for the fire will come in handy after pruning: you can burn the branches, and the ash can be used as fertilizer.
Περιεχόμενα του άρθρου
Place for a bonfire in the dacha
The hearth for a bonfire on a homestead plot or at a dacha is better located at a sufficient distance from the house – so that the smoke does not reach the house.
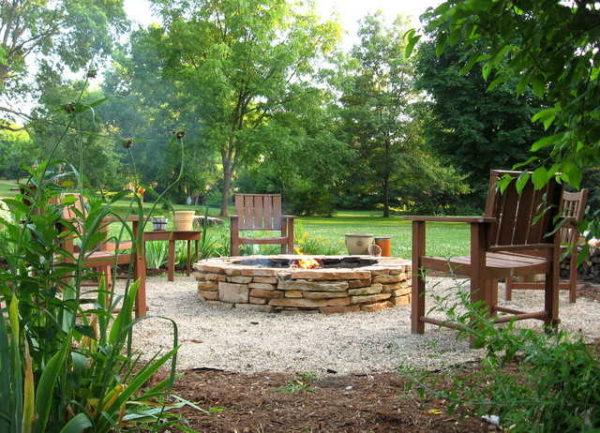
The site should be windblown – a good draft is necessary for proper combustion. The place should be flat or you will have to level some of the area – under the hearth itself and under the place for rest, benches, benches or chairs.
Design and dimensions
The hearth for the fire can be round or rectangular in shape. It can be buried so deep that it will be at the same level with the ground, it can be partially buried, with slightly elevated walls. There are options that are generally above ground level – put on a previously prepared site. So the choice is yours.
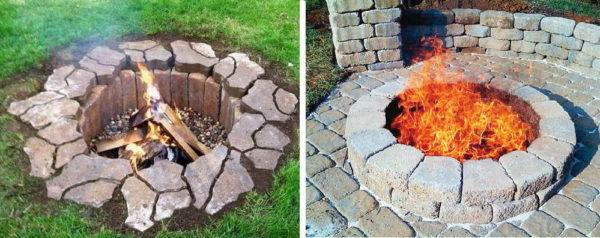
About the forms, it is useless to argue. Round ones are more convenient – we put firewood in a shalashikom. But rectangular ones are easier to build, especially brick ones. Here all the techniques are known – the masonry is carried out as an ordinary wall. Just the thickness of the wall – in a quarter of a brick.
Those who decide how to equip a fire pit in the backyard of the house, at the dacha or garden plot, usually have a few questions:
- What size should the hearth be for the fire pit?
- Is there a need for a blower, if yes, then how many, what sizes, how to make them and where to place them?
- Should I put a grate or not?
- How to make it easier to clean the hearth?
In fact, the first two questions are interrelated. If the size of the bowl for the fire is quite large – a meter or more in diameter, you can make the walls solid, without a blowhole. If less than a meter, you will have to make holes for air intake.
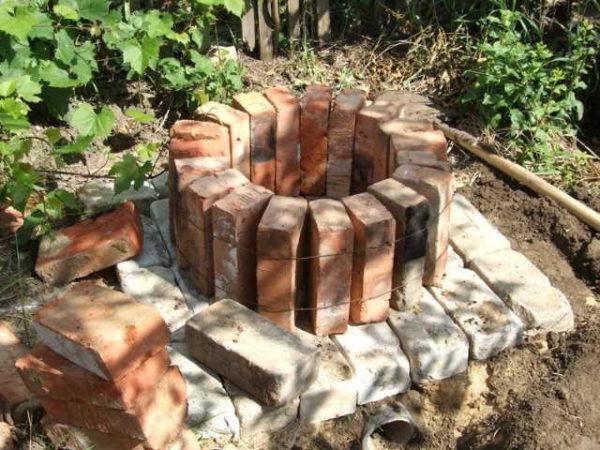
Blowpipes are better to make not from below, but in the walls. Their number is two or four – diagonally opposite each other. In the wall leave small holes, breaking off a piece of brick (with a quarter, approximately). If necessary, they can be laid with the same, slightly undercut, quarters. It is not worth to make the under-blower from the bottom: with such a design often flakes of ashes fly around the site during the “work” of the hearth – they are carried away by the air flow, which is difficult to regulate with such a design.
About grates. It is as you prefer – you can do, but they do not really affect the functionality or convenience.
Site preparation
If the site has dense sandy soils, you can exclude land works. The second option for a simplified fire pit device is an existing site, laid with paving tiles, stone, asphalted or concreted. On this base you can lay a couple or three rows of brick or stone. Here and ready hearth. This option is ideal for soils that do not drain water well. After rain, on such a site, a buried bowl under the fire will turn into a mini-pond and will take a very long time to dry.
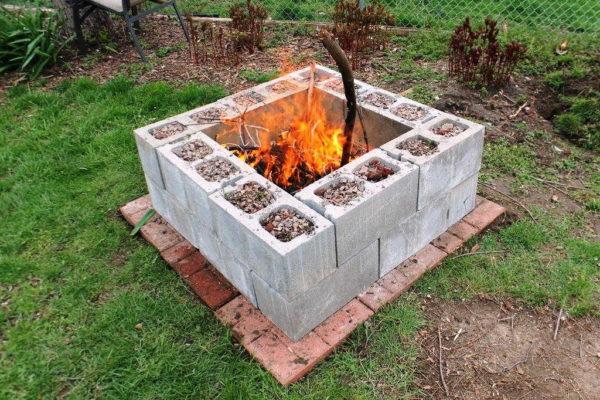
In other cases, you can not do without preparatory work. No, you can build a hearth for a fire right on the ground, but in a few years it will be in disrepair – the walls will “creep” after rains or spring soil heaving. Preparation of the site for a fire pit is standard:
- We remove the fertile layer of soil, remove roots, stones.
- Level and tamp the soil.
- We pour a layer of crushed stone (not lime, but granite) of medium and coarse fractions of 10-20 cm, leveling, tramming.
Already on this base you can install the hearth, provided that you are satisfied with the crushed stone cushion as a base or are going to pour concrete. True, for concrete you will need to gather formwork around the perimeter. If you plan to pave the area around the hearth with tiles or stone, pour sand or a fine fraction of sift on top of the crushed stone. Tamp the sand/sift, level it, and then lay tile or stone.
On clay or fertile soils, so that the crushed stone does not “go” into the ground, geotextile with a density of 200-250 g/m is put under it. This is a non-woven material that allows water to pass through, prevents roots from sprouting and prevents the crushed stone from mixing with the soil. In fact, this is a very important layer that is better to lay.
How to make a hearth for a campfire out of concrete
A concrete fire pit can be round or square. The difference is only in the shape of the formwork. Only two rings or two rectangles/squares will be needed.
A round shape can be made, for example, from two metal barrels of different diameters. It will only be necessary to cut two rings of the required height. After the concrete has set, the mold will have to be removed, so it will have to be cut. If you may need it in the future, make a split mold of two half-rings. Weld hinges on one side, and make locks on the other side.
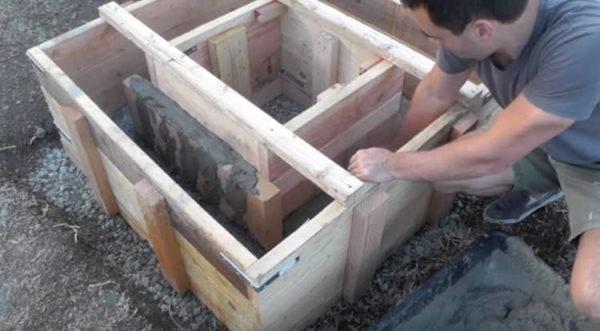
A square shape is easiest to make from boards, scraps of fiberboard, thick plywood. They do not necessarily have to be new, but they should be even. We use self-tapping screws to assemble the form – it will also need to be disassembled.
The distance between the outer and inner formwork should be equal to the thickness of the wall. For a concrete hearth, a sufficient thickness is 15-20 cm. We place the form on the prepared base, check the distance, verticality and horizontality. Fix the form by hammering in pegs so that the formwork does not move when filled with concrete.
Between the two formworks formed a ring in which we will pour concrete. In this ring into the ground and hammer pieces of rebar with a diameter of 10-14 mm. They are necessary for greater rigidity of the walls. The length of the armature is about 60 cm, the installation step is 15-20 cm. We also hammer them into the ground for 15-20 cm. Arrange the reinforcement in the middle of the ring so that its upper edge “sank” in the concrete by 5 cm or a little more.
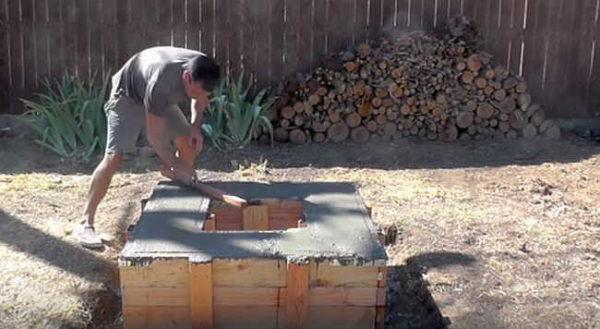
Now you can pour the concrete. The composition is usual; for 1 part of cement M150, 3 parts of sand and 4 parts of crushed stone. Water is usually 0,7-0,8 parts (depends on the moisture content of sand and crushed stone). We pour the concrete into the mold, leave it for 5-7 days, after which the formwork is disassembled. Concrete hearth for the fire is ready, but the fire can be made in it not earlier than 2-3 weeks, and better – in a month and a half. Only then it will gain enough strength and will not crack from the fire.
Making a fire pit of brick or stone
To equip a place for a fire with bricks can be done in different ways. There are simple and cheap, but which can quickly fall apart. There are more complex in the manufacture, but they will serve for several years for sure. To build a hearth for a fire, you can use an ordinary full-body red brick, but it will “live” not long. Such material can be used for dacha or garden hearths for one or two seasons.
According to the rules
For stationary decorated recreation areas it will be necessary to look for fireclay brick. You will choose the size yourself, but it is easier to make smaller bricks, though it takes longer. But even for the largest fireplace will need only four or five dozen bricks, so that not so much time will take laying.
Fireclay bricks are not cheap, so when laying a hearth, usually the inner part of the hearth, which is directly in contact with the flame, is laid out of fireclay. The outer part can be covered with ordinary bricks or stone.
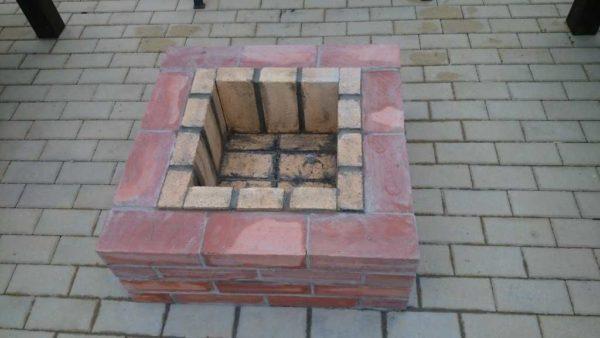
If you are broke on fireclay bricks, then it is worth putting it on fireclay mortar – it is sold in the form of powder in packets. Water is added to the composition, stirred. After some time, the mortar is ready for use. After you put the hearth, you will have to wait 5-7 days for the mortar to dry out. Then load the hearth with firewood and warm it up for a couple of hours. It is necessary for the mortar and bricks to sinter into a single whole, and for this the temperature should be high. So do not spare firewood here. But fireclay mortar is used only for laying the inner part of the hearth – where temperatures are the highest. The outer row is laid on cement-sand mortar. Fireclay is inadmissible here – it will not have enough temperature and it will simply crumble.
Ordinary bricks can be laid on clay or cement mortar. In some cases, you can do without mortar at all – by filling the voids between the bricks with compacted rubble, sand or soil.
Simple and quick
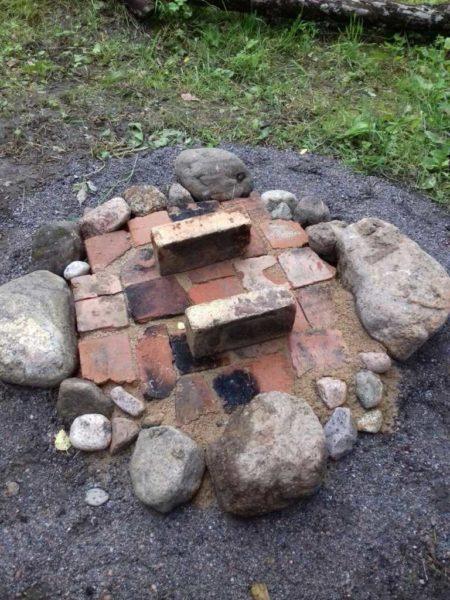
Χρειάζονται μόνο λίγες ώρες για να φτιάξετε ένα τζάκι. Χρειάζεστε μόνο μερικές επίπεδες πέτρες από γρανίτη ή βότσαλα, θρυμματισμένη πέτρα. Χρησιμοποιούνται για να στρώσετε τον πυθμένα του λάκκου φωτιάς. Μπορείτε επίσης να τοποθετήσετε τούβλα στον πυθμένα και να γεμίσετε τα κενά με θρυμματισμένη πέτρα. Για την ανέγερση των τοιχωμάτων της εστίας για τη φωτιά θα χρειαστείτε δώδεκα δύο ή τρία τούβλα. Αυτά είναι όλα.
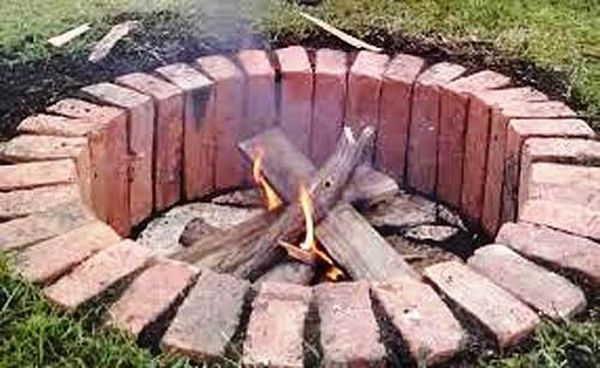
Η σειρά των εργασιών για τη διαρρύθμιση του τζακιού έχει ως εξής:
- Σημειώστε έναν κύκλο στο έδαφος.
- Αφαιρέστε τον χλοοτάπητα και αφαιρέστε το χώμα σε βάθος ίσο με το μήκος του τούβλου και το πάχος της βάσης. Το τούβλο που εγκαθίσταται στο στύλο θα πρέπει να είναι τουλάχιστον ελαφρώς υπερυψωμένο πάνω από το επίπεδο του εδάφους - τότε η εστία δεν θα πλημμυρίσει και δεν θα φύγει.
- Ισοπεδώστε και συμπιέστε τον πυθμένα.
- Τοποθετήστε τούβλα ή πέτρες και χτυπήστε τα καλά με ένα σφυρί (ή απλώς με τα πόδια σας).
- Γεμίστε τα κενά με θρυμματισμένη πέτρα, η οποία επίσης ζυμώνεται καλά στο έδαφος.
- Γύρω από την περιφέρεια, βάζουμε τούβλα "χαζά". Γίνονται από τη μία πλευρά στενά το ένα με το άλλο, και από την άλλη πλευρά σχηματίζονται μικρά κενά. Γεμίζονται με χώμα που έχει προηγουμένως εκσκαφεί (αν δεν είναι αργιλώδες ή αργιλώδες), άμμο ή μικρά μπάζα.
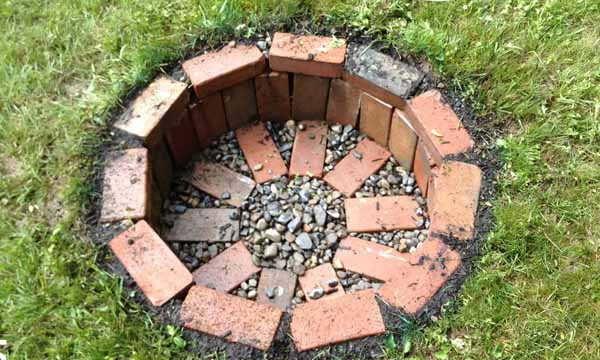
Εδώ, στην πραγματικότητα, αυτό είναι όλο. Μια απλή εστία από τούβλα για φωτιά είναι έτοιμη. Δεν είναι γεγονός ότι μετά από μια καλή βροχή θα παραμείνει σε κανονική μορφή, αλλά απαιτεί λίγο χρόνο και χρήματα.
Reliable design of a round hearth for a fire made of brick
Για να μπορέσει να λειτουργήσει για μεγάλο χρονικό διάστημα ένα τζάκι από τούβλα, τα τοιχώματά του θα πρέπει να έχουν σταθερή βάση. Πάνω σε ένα στρώμα από θρυμματισμένη πέτρα, συνήθως χύνεται μια ενισχυμένη ζώνη από σκυρόδεμα. Γίνεται γύρω από την περιφέρεια, πάχος - όχι μικρότερο από το πάχος των τοίχων, ύψος - 10-15 cm. Για μεγαλύτερη αντοχή, περίπου στη μέση του ύψους τοποθετείται ενισχυτικός δακτύλιος από ράβδο με διάμετρο 12-14 mm.
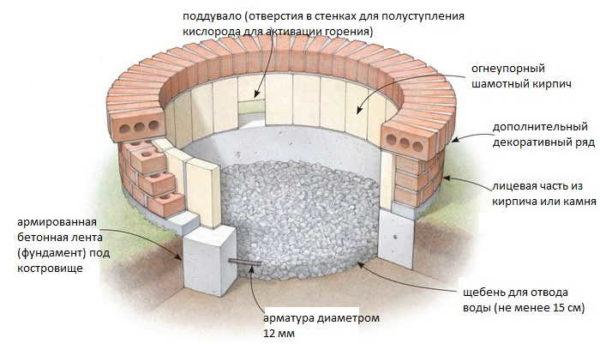
Το εσωτερικό τμήμα της εστίας τοποθετείται με τούβλα από πυρίμαχο πηλό, το εξωτερικό τμήμα - με κοινά, κοίλα τούβλα, τοποθετημένα με αρμολόγηση (με μετατόπιση μισού τούβλου). Τα τούβλα από πυρίμαχο άργιλο τοποθετούνται σε κονίαμα από άργιλο ή πυρίμαχο άργιλο, τα κοινά τούβλα - σε μείγμα τσιμέντου-άμμου.
Μια τέτοια εστία για φωτιά από τούβλα απαιτεί περισσότερα υλικά και χρόνο για τη διαρρύθμιση, αλλά θα χρησιμεύσει για περισσότερο από ένα χρόνο. Και για να μην πλημμυρίζει από τις βροχοπτώσεις και να μην εμποδίζεται από τα φύλλα, μπορείτε να καλύψετε το τζάκι με μια ασπίδα. Σε αυτή τη μορφή, παρεμπιπτόντως, μπορεί να χρησιμοποιηθεί ως τραπέζι.
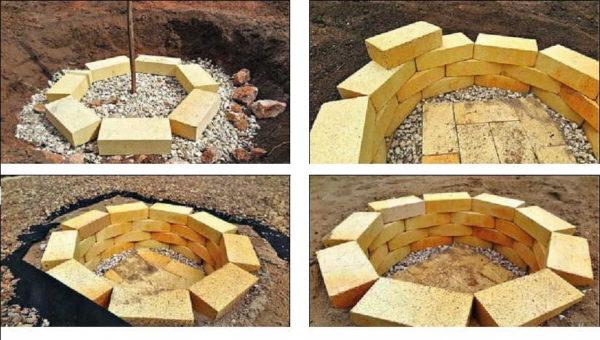
Ακριβώς με την ίδια αρχή, κατασκευάζεται μια τετράγωνη ή ορθογώνια εστία από τούβλα. Η τεχνολογία παραμένει αμετάβλητη, η διαφορά είναι μόνο στο σχήμα.
Simple variants
Κάντε μια εστία για μια φωτιά μπορεί επίσης να είναι πολύ πιο γρήγορα. Πρώτον, προσφέρονται πολλές εστίες από μέταλλο για ντάκα ή αυλή. Το μόνο που χρειάζεστε είναι μια πλατφόρμα πάνω στην οποία θα τοποθετήσετε μια μεταλλική εστία φωτιάς.
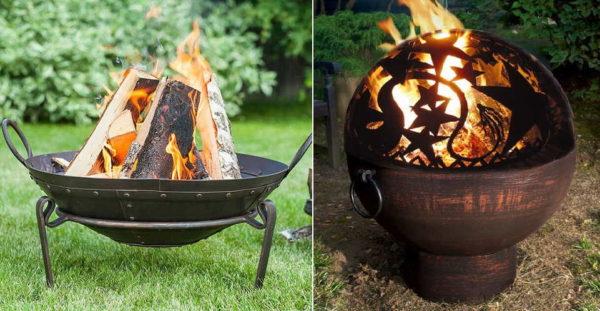
Το πλεονέκτημα αυτής της λύσης είναι η όχι πολύ μεγάλη τιμή και η απλότητα της συσκευής του χώρου για την ανάφλεξη. Στα πλεονεκτήματα μπορεί να αποδοθεί και ένα μικρό βάρος, το οποίο σας επιτρέπει να φέρετε το χειμώνα ή την εγκατάσταση κακών καιρικών συνθηκών κάτω από τη στέγη.
Μια πολύ παρόμοια επιλογή είναι ένα μπολ από σκυρόδεμα για φωτιά. Είναι χυτά σε διάφορα μεγέθη, μπορούν να είναι στρογγυλά ή τετράγωνα. Ακριβώς το ίδιο μπορείτε να φτιάξετε μόνοι σας, αλλά θα πρέπει να περιμένετε τουλάχιστον ένα μήνα. Και το έτοιμο μπολ τοποθετείται και μπορείτε να το χρησιμοποιήσετε.
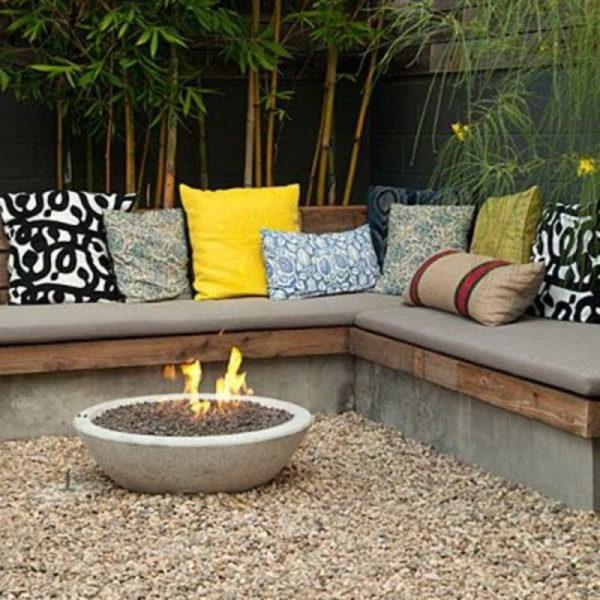
Photo-ideas for decorating a place for a fire
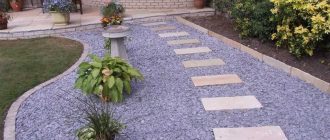
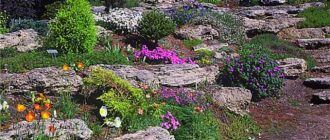
Φτιάξτε μια εστία για φωτιά - είναι μόνο η μισή δουλειά. Είναι επίσης απαραίτητο να εξοπλίσετε τον χώρο - έτσι ώστε να μπορείτε να καθίσετε, να κοιτάξετε τη φωτιά, να απολαύσετε το βράδυ και τη συζήτηση με τους φίλους σας. Έχουμε συγκεντρώσει μερικές ενδιαφέρουσες ιδέες σε αυτή την ενότητα.
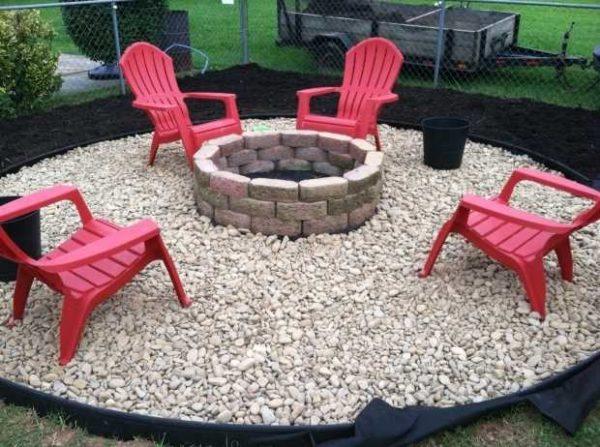
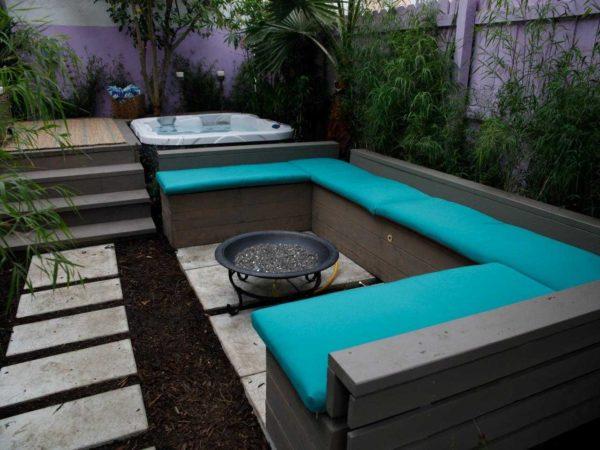
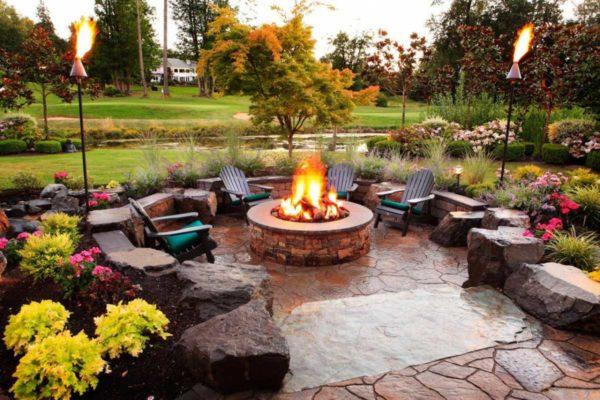
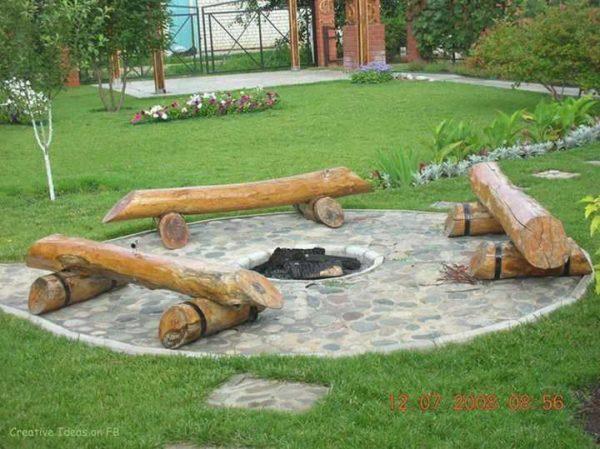
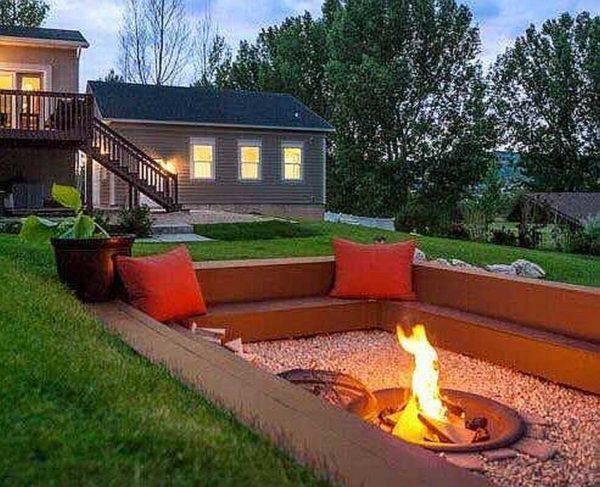
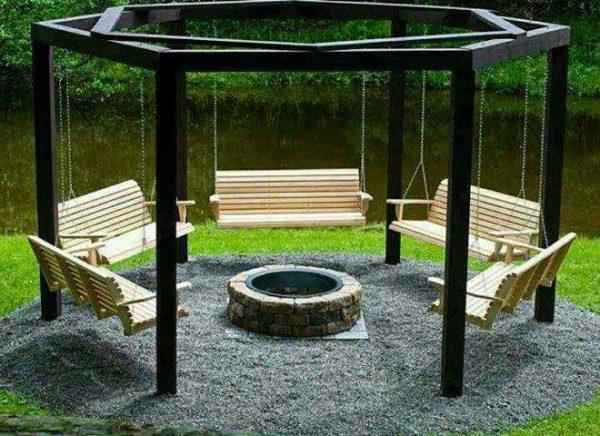
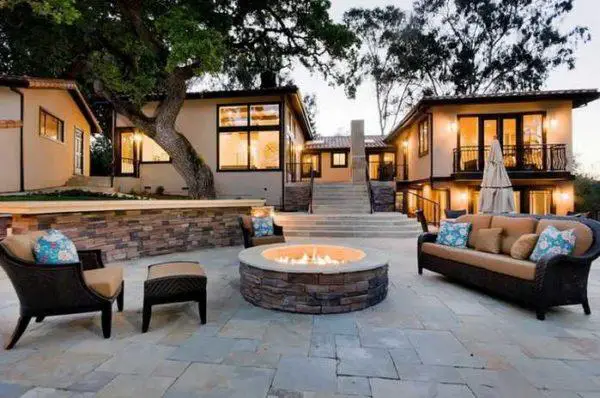
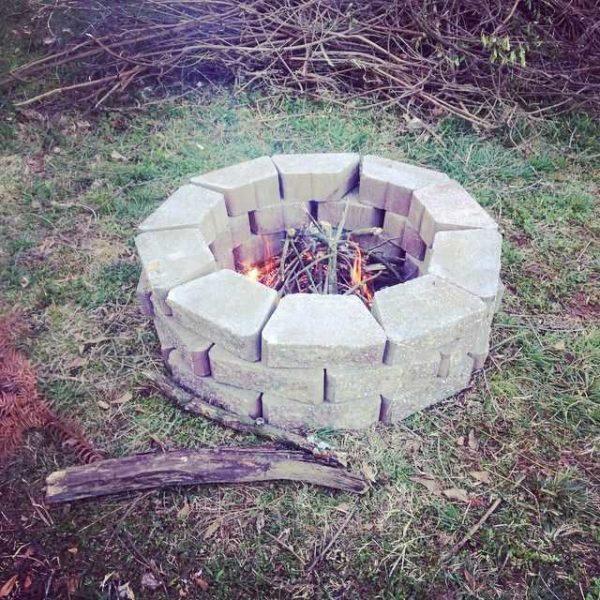
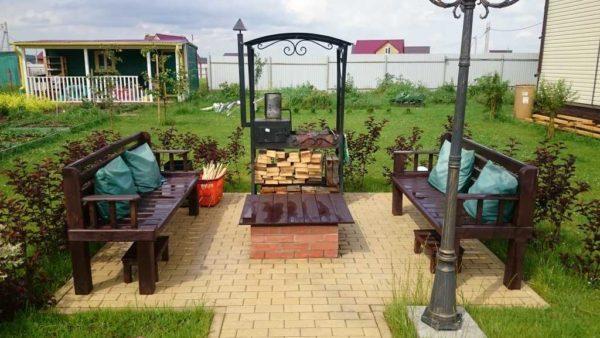
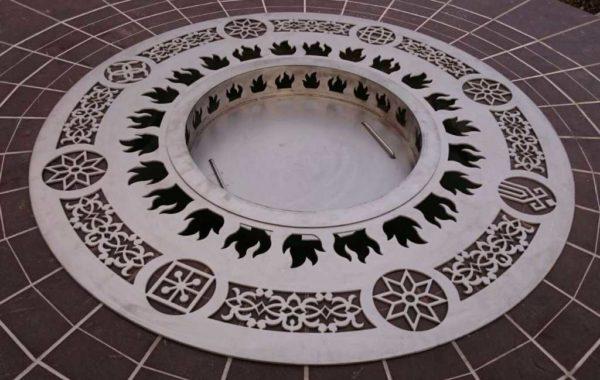
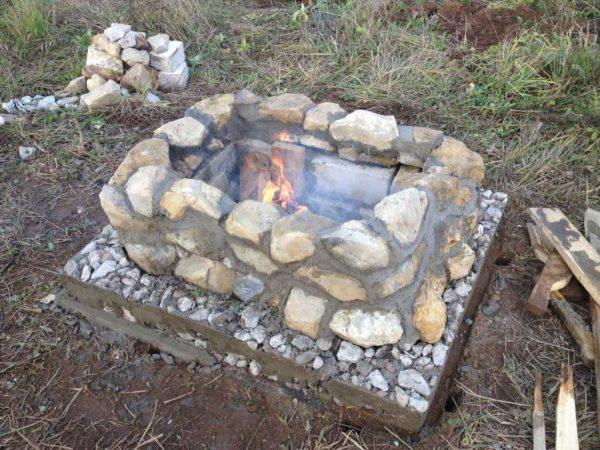
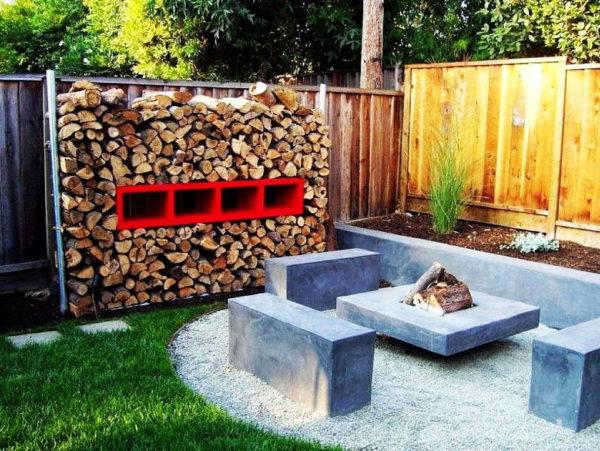

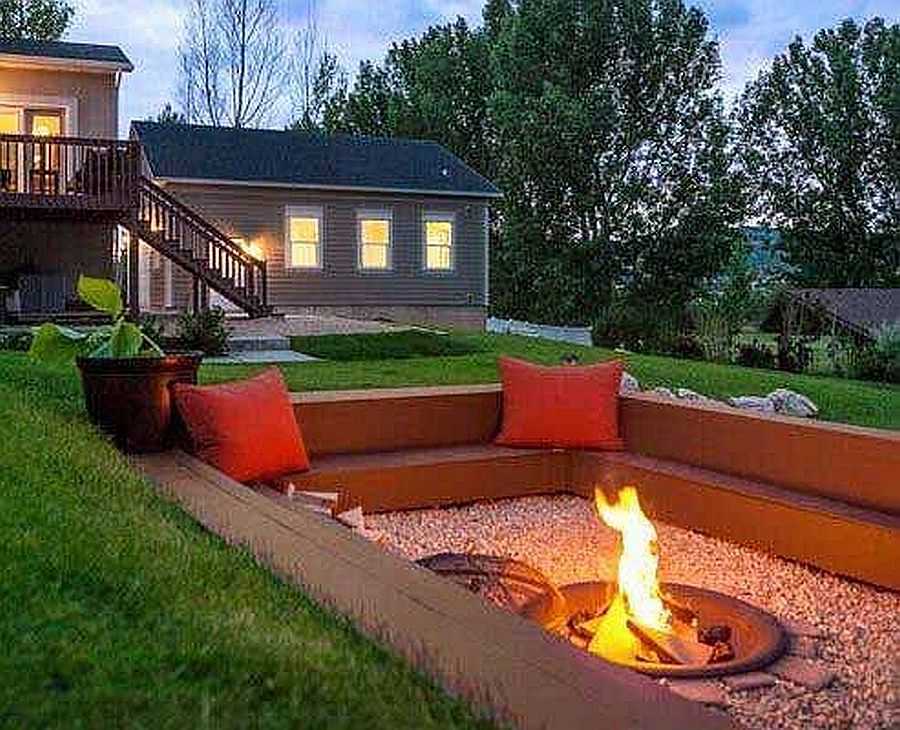
Η κατασκευή ενός λάκκου φωτιάς αλλάζει τα δεδομένα για αυτές τις κρύες νύχτες! Θυμάμαι τα φιλαράκια μου και εγώ να πετάμε μερικά τούβλα μαζί και να ανάβουμε s'mores. Είναι ένα φοβερό σημείο για καλές κουβέντες και γέλια. Αξίζει απόλυτα τον κόπο για την άνετη ατμόσφαιρα!