

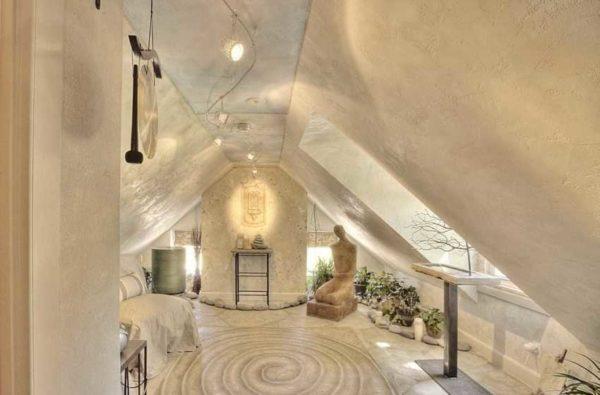
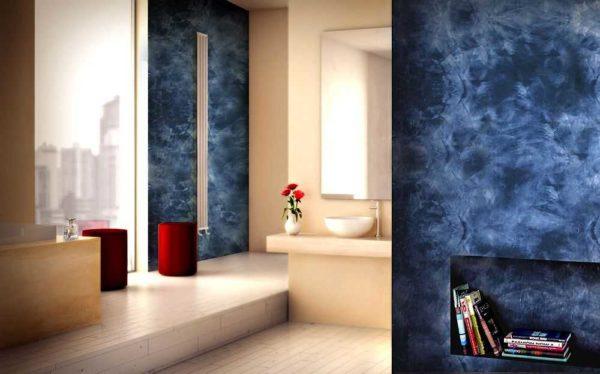
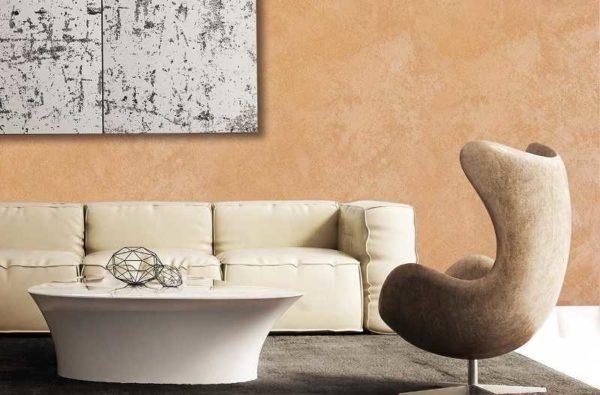
It is not easy to choose a material for wall decoration. It should be beautiful, practical, durable and, preferably, inexpensive. Venetian plaster meets almost all these requirements. It is beautiful – similar to natural marble, it is practical – wax-covered surface can be repeatedly washed, it is durable – if it is not scratched on purpose, it is not damaged, can be applied to any surface – flat, curved. Just the perfect finishing material. But, as usual, there is a “but”. It is expensive. This is the first disadvantage. The second – to apply it with your own hands is difficult. Or rather, it is not difficult to apply, it is difficult to get a beautiful surface without experience. But you can try or hire a master. But before you sign a contract, ask for customer contacts. If you succeed – see the results of the work yourself, or call and ask about impressions.
文章内容
What is Venetian plaster and its composition
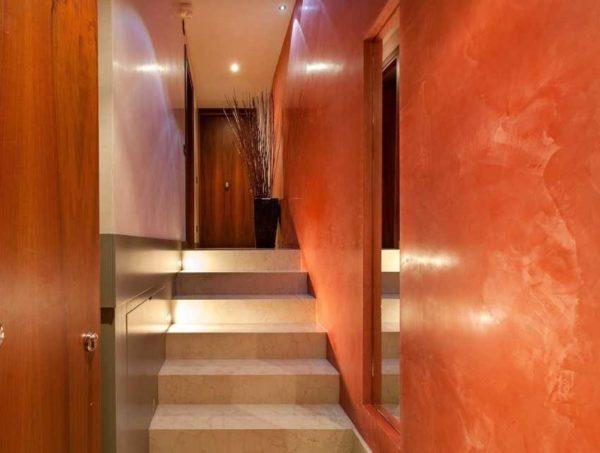
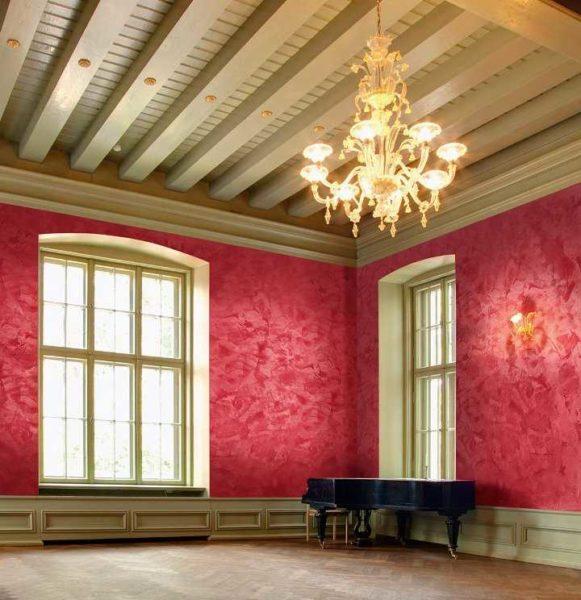
If the wall in appearance resembles a marble surface, but there are no seams on it, it is finished with Venetian plaster. This finishing material was invented centuries ago in ancient Rome. When someone came up with the idea to mix marble dust and slaked lime. The resulting elastic composition, which looked like natural marble on the walls. For a clearer pattern, natural colorants were added to the mixture.
The most popular was clay. The walls had reddish or pinkish (depending on the color of the clay) divorces, which gave the finish a great resemblance to natural marble. To make the coating durable, the plastered surface was covered with a layer of wax, which was then polished. The walls were indistinguishable from marble. Only there were no seams.
And only centuries later, during the Renaissance, Venetian plaster appeared in Venice, where it began to be used instead of marble slabs. The technique of its application was not simple, but working with Venetian plaster is much easier than fitting and grinding marble slabs. Therefore, this type of finishing became very popular. She decorated walls, ceilings, columns in palaces. The finish was beautiful and durable, weakly reacted to changes in humidity and temperature, which in the high humidity of Venetian channels led literally to the widespread use of this material. Contributed to the popularity and the fact that the marble dust to bring easier, and it is cheaper. The rest of the components were added extracted locally. The fame of the most beautiful finishing material spread merchants quickly, and called it Venetian plaster. Since then, it has been so.
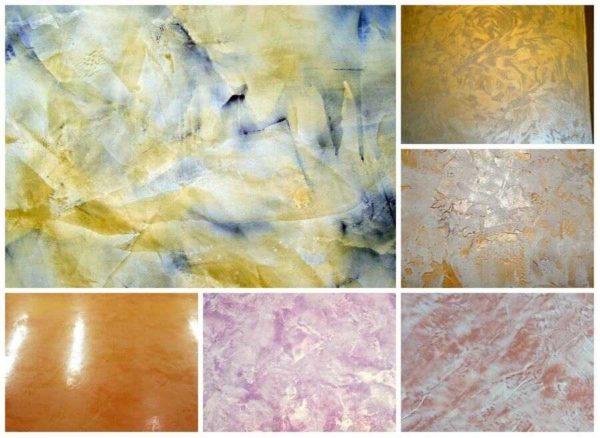
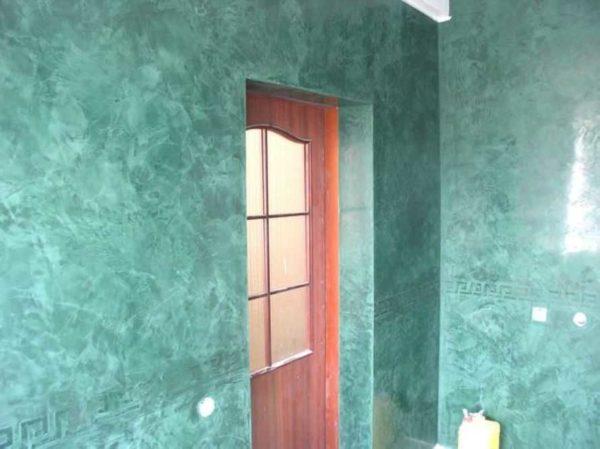
The above-described composition of Venetian plaster – marble dust, slaked lime and coloring additives – is still used today. Absolutely natural finish. But there are compositions in which they add synthetic dyes (acrylic) or instead of lime use modern binders. There may also be sap of rubber trees, ground granite. All or some of the additives are contained – depends on the manufacturer, but this material is also called Venetian plaster, as the main component – marble dust – remains the same.
Application technology
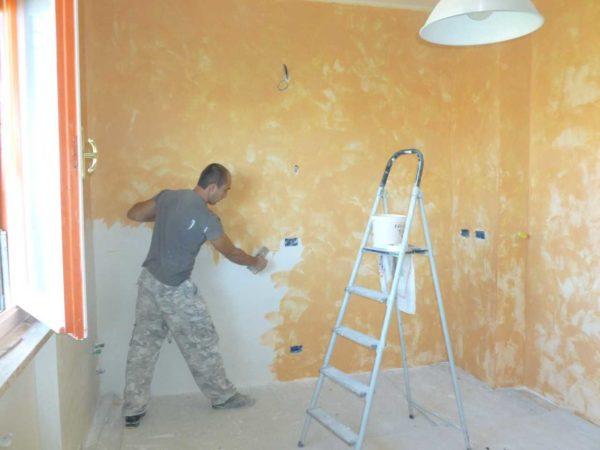
Applying Venetian plaster with your own hands is a complicated matter. The problem is that this is a creative process and ways of applying a mass. From different movements, you get a different-looking surface. Without experience, it is impossible to predict what you will get. To find out what movement will lead to what result, you can only experimentally, that is, you must try. But. Cost Venetian plaster is not cheap, so that the experience is expensive. Although, it is necessary to learn somehow …
The only thing that can be advised, plaster a piece of plywood with an area of at least 1 square, or better 2, sanded, covered with primer and try to apply Venetian plaster on this surface, honing the technique. It is not recommended to start finishing at once. Most likely, you will have to remove everything and redo it all over again, which is frustrating, expensive, long. If you are lucky, you can get to dealers who teach to work with Venetian plaster. They provide material and a stand for work, show how to do. But, this rarely happens.
Preparatory work
The base on which the Venetian plaster is applied should be perfectly level. It is pre-spackled and leveled to absolute smoothness. Latex putty is used. If you apply the composition to an uneven wall, it will only emphasize the shortcomings and increase the consumption of Venetian. It is possible to level the base layer, but such leveling will cost very expensive.

The leveled wall is covered with a deep penetration primer. It is desirable in two layers. This will ensure good adhesion of the finish, remove the dust that remains after grinding the plaster, prevent the development of fungi. After the wall dries, you can start working.
Mixing and tinting
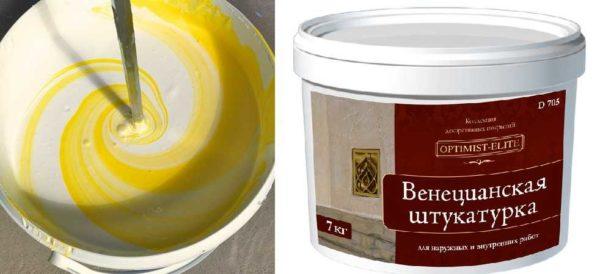
Venetian plaster is sold in buckets, it has a paste-like appearance. The basic version is white, to get color added tints, for different effects there are decorative additives – mother-of-pearl, glitter, etc. You can tint the composition in the store or on your own.
For self-tinting you will need a drill with an attachment for mixing. In some cases, Venetian plaster is covered with a layer of water – to prevent it from drying out. In this case, the water is drained off before use or tinting. Then, with the help of a drill attachment, the composition is mixed to a homogeneous state. And only after that the colorant is poured into the mass, stirred for a few minutes (5-10) with a drill and nozzle.
When mixing, be careful: near the walls of the bucket, the composition is often not colored. After removing the nozzle, take a clean wooden block of small cross-section, run it along the walls. Most likely, there are places where the dye did not get there. Run the bar along the walls several times, making sure that the walls have colored material. Re-mix the composition with a drill until a uniform color is obtained. This procedure can be repeated once again – for greater certainty. There is another nuance: some manufacturers recommend waiting 12 hours after coloring.
When self-tinting should remember that some compositions change color when drying (not all). Therefore, to determine the future color you need to make samples: apply a couple of strokes and wait until it dries. According to the results, either add colorant, or – uncolored composition.
Also remember that when tinting by hand, you can not repeat the same color. A new batch will be different. Therefore, the material should be colored in larger quantities than the expected consumption: it is better to have something left than not enough.
Rules for applying layers
Layers when applying Venetian plaster can be from two to ten. It all depends on the desired result. And the correspondence between the “desired result” and the actual – it is a matter of experience.

Layers are applied in different ways, but each of them is leveled and sanded to smoothness, each must be allowed to dry. And only after applying and drying the last one, the surface can be covered with wax – beeswax or synthetic wax. Depending on the type of wax you get either a glossy surface (beeswax) or matte (synthetic-based). Covered with synthetic protective composition of the walls become even and water and moisture resistant, so if you want to finish the walls in the bathroom Venetian plaster, wax take synthetic.
Base
The first layer is the base. It is applied evenly, according to the rules of applying the usual plaster – it is necessary that it was even. It can be tinted, or not. It depends on what kind of background you want to have – white or colored. If you apply 2-3 layers of material, it will shine through. If the layers are 5 or more, most likely, it will not be visible (again, depends on the type of composition).
To determine exactly read the manufacturer’s recommendations or watch master classes on how to apply Venetian plaster. And to feel the difference, try on a piece of plywood to do both. It is more reliable.
Second and subsequent
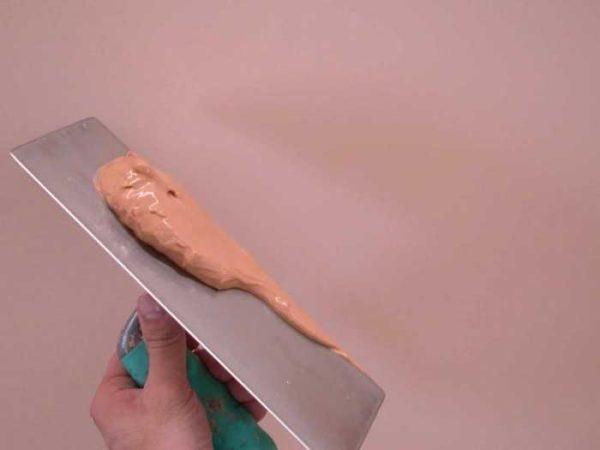
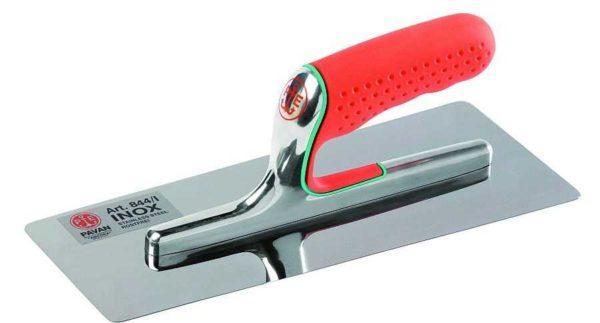
The second layer of Venetian plaster, and all subsequent ones, are applied with chaotic strokes. The composition is taken on a flexible thin metal spatula or a special Venetian trowel. The composition is put on the edge of the trowel/helmet and applied to the wall with small strokes in different directions. It is necessary to try not to see the trace from the first touch of the tool on the surface. Subsequent strokes, as if covers, lubricates this place. Moreover, it is not necessary to achieve uniformity. The whole point – in the chaotic directions, shapes, lines, bends. Approximately the same as in natural marble.
Dries Venetian plaster 1-10 hours – depending on the composition, manufacturer, temperature and humidity. For the exact time, see the package. After drying, the surface is troweled with a dry trowel. At the same time smooth out all the gradients that remained after applying the layer. On the cleaned surface the next layer is applied, dried, smoothed. And so on until you get the desired result. And the result is usually the following – through thin layers of darker stripes in those places where, when applying, the composition lay more densely. The depth and brightness with which the stripes “shine through” depends on the number of layers applied.
Finish
The last layer of Venetian plaster is applied necessarily thin metal trowel. The technique is called “on the tear” and the layer is obtained almost transparent. On the spatula take a little bit of composition, applied to the wall, tightly pressing the blade to collect the composition from the wall back. A very thin layer of material remains on the wall. At this stage it is necessary to try to keep the surface flat. Small irregularities will be removed when grouting, but you should try.
Troweling
The last thin layer of Venetian plaster is not completely dried. After about 20-50 minutes we start ironing the surface. Note that some compositions should be ironed in small areas. Apply Venetian plaster on a small area (about half a square meter), wiped. Other manufacturers allow a longer period of time. It is necessary to look exactly on the packaging or ask the manufacturers.
The ironing process itself is grouting a dry, clean metal surface. We take a clean, without scrapes, scratches or other defects Venetian trowel and in circular motions trowel the surface. In the process, the pattern appears, there is a shine, gradually Venetian plaster acquires “depth” and layering, which is characterized by natural marble.
When ironing Venetian plaster should be carefully monitored so that scratches and scrapes do not form. For this purpose, there should be no grains of sand, particles of material, etc. on the trowel. It is also necessary to iron the wall with the plane of the trowel, without touching its edges. We process a small area at a time, when it will show a pattern, move to another area, not forgetting to pay attention to the boundaries of the two areas.
Ironing Venetian plaster can be the last stage. In this state, you can leave the walls or ceiling in the rooms. For corridors, baths, kitchens, a protective coating of wax is required.
Waxing
Wax is applied after the Venetian plaster is completely dry. To be sure, it is better to wait 24 hours. The wax is applied with a wide trowel in a thin layer “on the skin”. A thick layer begins to peel and flake off over time, so leave a minimum on the wall.
About 30-50 minutes after application, we start polishing the wax. For this purpose, a pile nozzle on a drill or a Bulgarian. Pile nozzle should be short and soft, should not fall off. RPM should not exceed 3000 rpm. At higher speeds, the wax is erased, not polished. Polishing lasts until you get the desired degree of shine (depends on the type of wax).
It takes about two weeks for the wax to dry completely. Only after this time you can wipe/wash/rub. If it is a bathroom, it is better not to over-exploit it (if possible).
A few application techniques
Independently hit bumps with the case of Venetian plaster is a costly affair. In this case, to understand the description of what and how to do is almost impossible, how to apply strokes – it is not clear, the phrase “in a chaotic order” does not explain exactly anything, because there is still no complete chaos. There is some order or slope of application. So, to make it easier to find your way, we will tell you at what angle to apply strokes in each layer. So there is a possibility that after a couple of trials “on the plywood” independently laid Venetian plaster will please you.
Method one: the drawing is not too bright, expressed not very clearly, smooth lines, without sharp transitions. Apply layers like this:
- Base – you can without tinting, white composition, an even layer, well leveling the surface. Consumption – 500-600 mg/m2.
- Second layer – tinted material. Tilting when moving the trowel – about 30°. Darker and lighter stripes may remain. Consumption 220-250 mg/m2.
- The third layer is tinted. Pre-treat the edges of a small Venetian trowel with 600 grit sandpaper, remove dirt. Apply the composition at 45° with this trowel. Consumption 80-100 gr/m2.
- After 20-30 minutes, apply ironing, wax and polish if necessary.

Not a bad option with a good effect. Not too heavy technique gives hope that Venetian plaster will look fine even if it was applied by a beginner with no skills. But pre-test everything on the “plywood”.
Method two: with a colored base, multidirectional strokes in each layer. The order of application is as follows:
This method is also not bad, if you manage to master multidirectional movements. In this case, do not forget that the strokes should be thin. In general, try.


