

Keeping kids busy during the long winter evenings is not easy. Children’s houses are a great way out. In them they can “hang out” for hours, rearranging, dragging and changing toys. Most importantly – they are busy.
Innehåll i artikeln
What children’s houses in the apartment there are in the stores
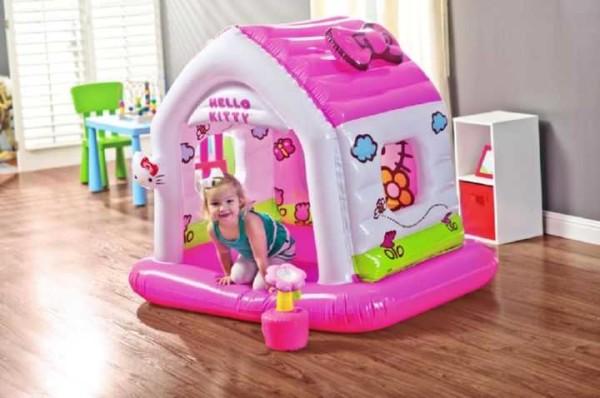
If we talk specifically about playhouses for the premises, they are mainly represented by products made of plastic (exactly houses) or fabric (it’s more like play tents). There is still not a very common type – inflatable from polymer film. For kids up to 4-5 years is not a bad option: and warm (plays not on the floor) and safe.
Much more often there are houses for children made of plastic, they are often collapsible. If necessary, they can be disassembled into relatively small parts and hidden or transported to another place. The minimum height – from 110 cm, the maximum at two-story – about 2 meters. The smallest in area occupy somewhere between 1.2-1.3 square meters – depending on the thickness of the walls. The material is PVC. With proper quality, it is absolutely safe (there should be a certificate of SES). Types and varieties – a sea:
- Open, like a summer kitchen or a gazebo.
- With windows and doors, with shutters and without.
- There are houses with a veranda (the area may already be 2-3m2).
- Two-storey – under 2 meters high.
Playhouses made of plastic are good because they are easily washable, they can be taken with you to the cottage, for example, without fear. In winter, it is a home playhouse, in summer – dacha.
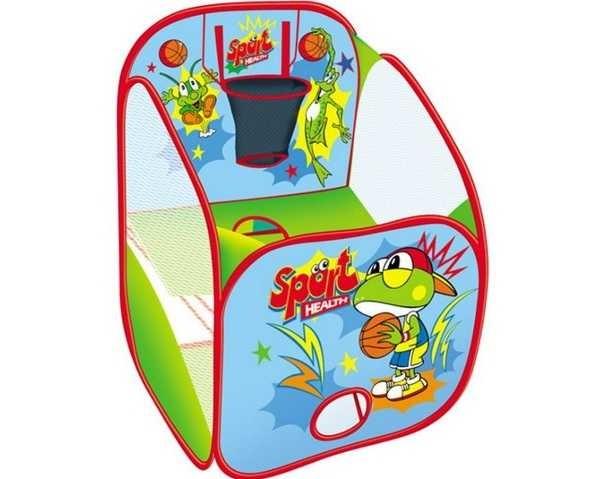
But not all rooms have the opportunity to leave the house at night. In this case, it will be more convenient folding version of the type “tent” (they are also called “game tent”). On a frame of flexible steel wire is sewn fabric. All this is twisted into a very small in size circle, which fits into a box 50 * 50 * 10 cm or even less – depending on the size of the “construction”. Installation is even simpler: you take it out of the box and let it go. Under the action of the elastic force, the frame unfolds, and the fabric is stretched on it. Everything takes a few seconds.
This type of tent-houses is even easier to transport, but they just do not set them on the ground. It is desirable to make a platform of boards, plywood, etc., you can spread an old carpet, a piece of linoleum, carpeting….in general, the idea is understood.
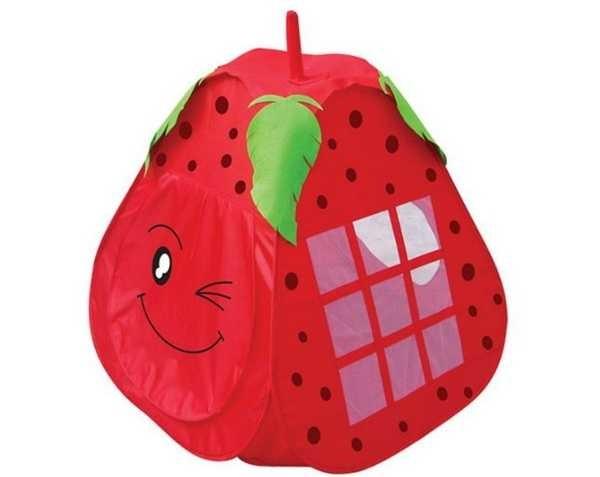
The designs are approximately the same as in the photo above, but the coloring can be very different: with cartoon characters, princess dwelling, berry, etc.
This is probably all the ready-made playhouses that can be put in the apartment. Unless you still have a loft bed, but that’s more about the furniture. But there is a decent number of options for homemade designs – different formats, from different materials.
Houses for children in the apartment with their own hands (photo-reports)
What are good things made with their own hands – you adjust them to your size and needs. So it is with children’s houses – you can perfectly fit even a stationary construction, and folding-folding models can be made quite inexpensively.
How to independently build a loft bed for a child read here. And in this article you can find a description of the construction of a bed-machine (with step-by-step photos).
From a bar (paneling with fiberboard, GKL and plywood, you can still chipboard, OSB)
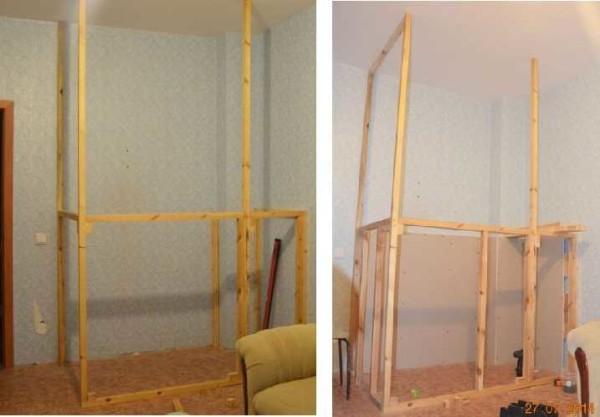
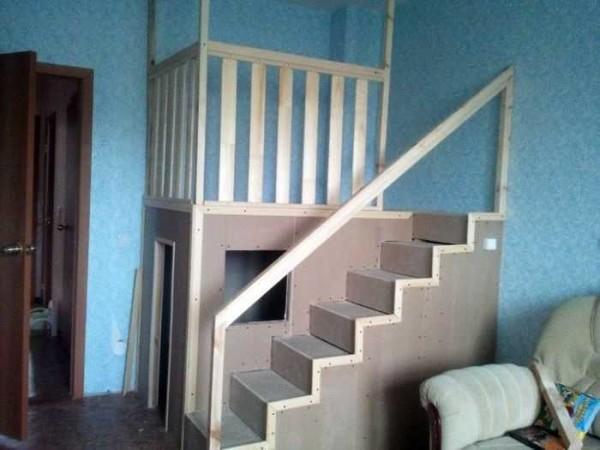
For this personal dwelling place was found in the hall – the children’s room is too small, and the sons really wanted to have their own “room”. It was decided to allocate two or three squares in the corner near the door. We used leftovers from the construction site – some fiberboard, plasterboard and plywood.
On the authorized area we put a frame made of dry timber 50*50 mm. Fix the posts to the floor and ceiling using corners and dowels. Between the posts we put crossbars from the same lumber, makes the frame of the “door. In general, assemble the frame of the house. Adjacent walls are immediately covered with plasterboard.
From a board 50 mm thick cut out the two spikes – the bases for the steps. The steps are made 25*25 mm. For small children it is difficult to climb, but the older will be fine, and in a year and the younger will grow up.
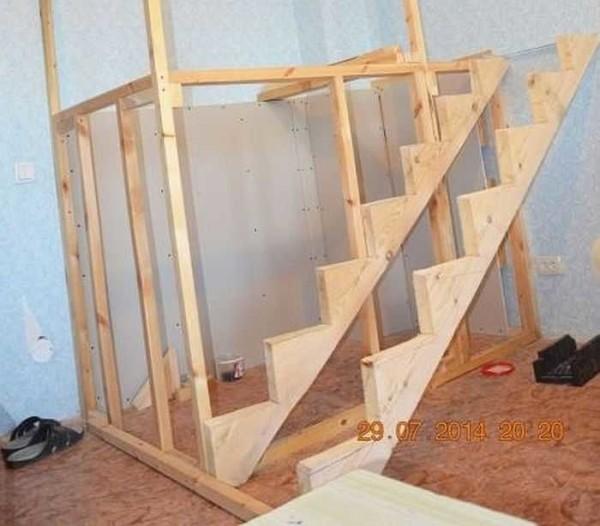
Kosoures fasten to the floor and the wall, on the floor additionally set a powerful bar, well it is fastened. Under the coaster on the wall also collect the frame (in the photo below it can be seen). We put supports and under the brackets. The thickness of the board, in principle enough for adults, but additional insurance will not prevent anyone. At the same time from the outside of the staircase is formed purlins for fastening the cladding.
We begin lining of a skeleton from inside (gypsum cardboard is used basically). The technology is traditional: cut off fragments, fasten with self-tapping screws. We cover the roof with boards (25 mm), put a sheet of plywood on top.
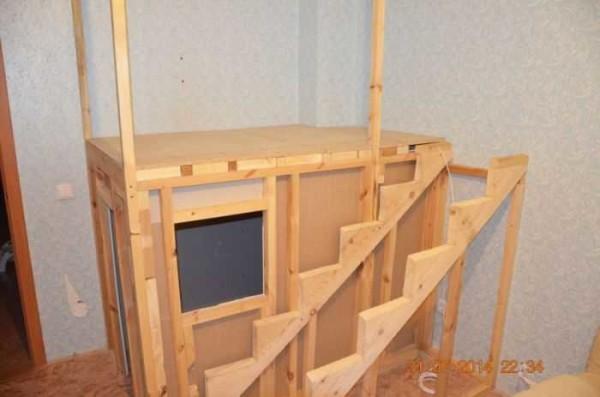
We start cladding the stairs. For greater rigidity in the middle of the depth of the step we nail a cross bar. It should be in the same plane with the cladding. Nail it with three nails on each side, and attach the trim (thin chipboard) on top.
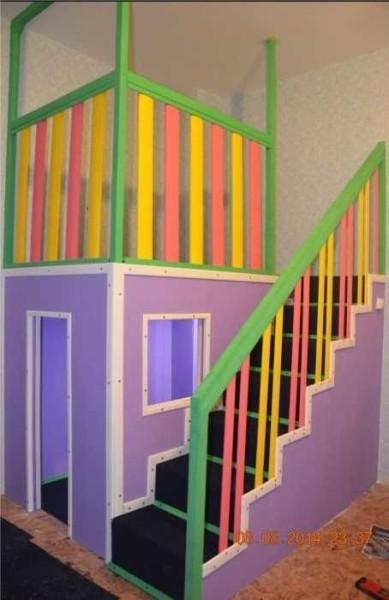
What kind of house is there without lighting? From the nearby switch pull a line, install a lamp inside, and the switch is then led to the side wall of the stairs. All wires – in non-combustible corrugated hose. Let not be very beautiful, but safe.
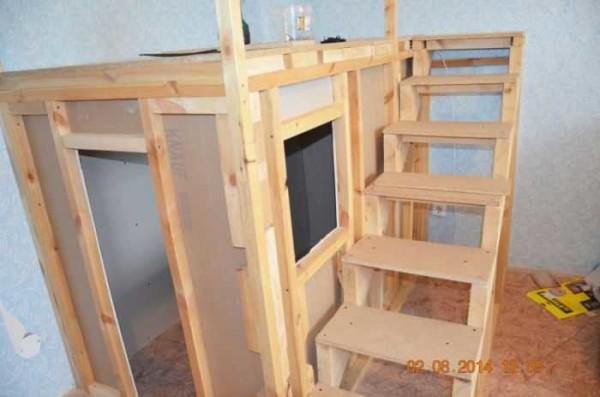
Proceed to the outer lining. Here, too, nothing complicated. The main thing is a properly charged screwdriver.
Then we start to assemble the railing – 60*20 mm board was first sanded, then it went into business. Two boards closed the corners, decorated doors and window.
Little things remain – to install the crossbars on the railing. And then paint.
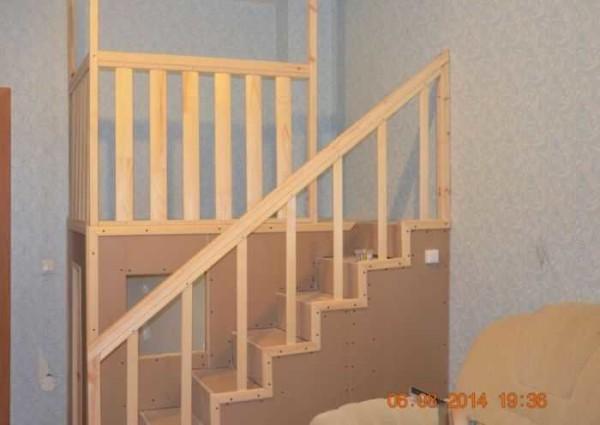
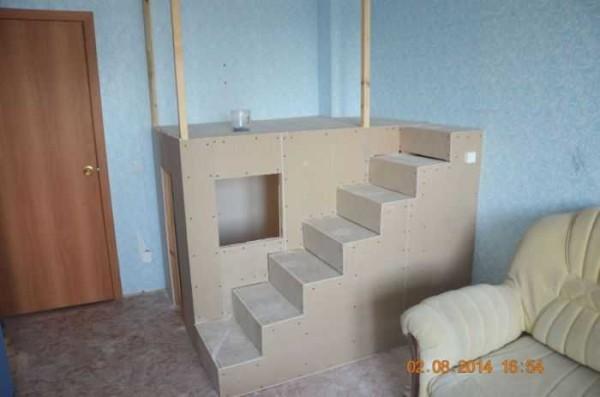
At first we decided to make the railings not very massive. Then they seemed very flimsy, and in the edge of the step nailed another bar. It remains only to paint.
How to make a sports corner for children in the house or apartment with your own hands, read here.
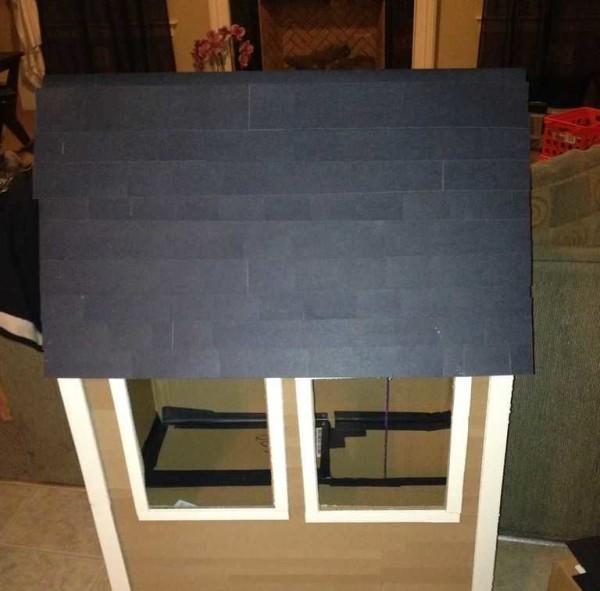
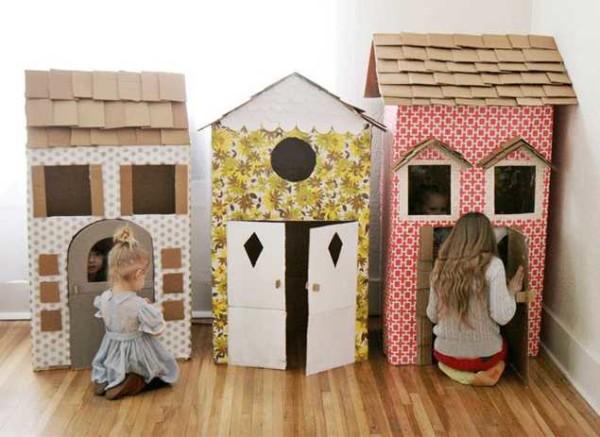
From cardboard
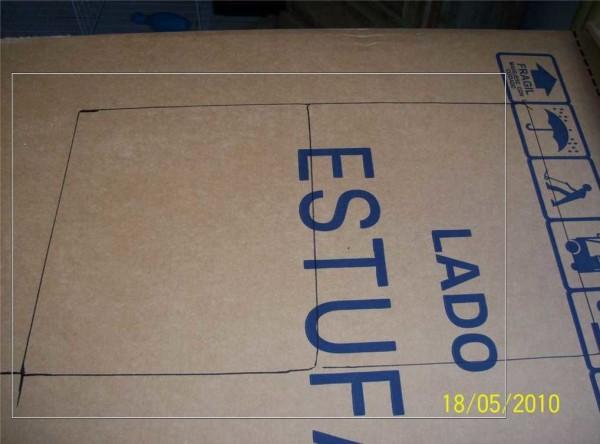
Not so monumental, but no less convenient for the game house can be made of cardboard. Only it is necessary to take not corrugated (it quickly breaks and crumples), and rigid, in which are packed even household appliances.
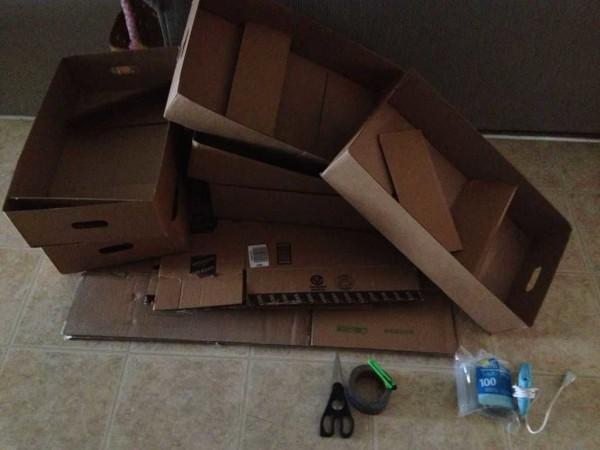
Draw the project, put the dimensions. For one child is enough area of 1 square meter, that is, the length of the walls should be about a meter. Height – preferably 110 cm or higher. Design – your own. Everything is simple: cut out the windows-doors, make the roof. Everything is ready.
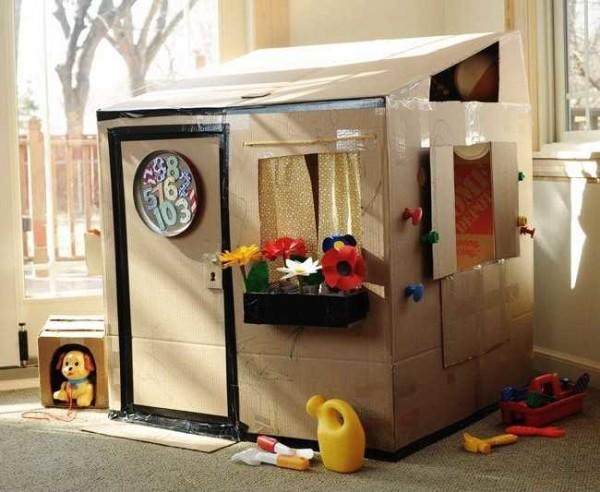
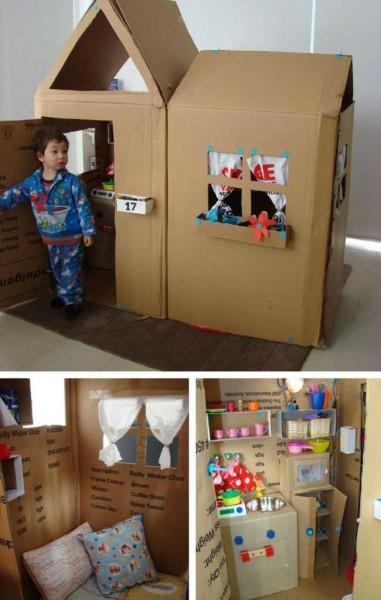
Ideally, if there is a box from a refrigerator or washing machine, something just as big. If you do not have it, ask your friends, acquaintances. The condition of guaranteeing the equipment is the presence of its packaging. So people are forced to keep boxes. The warranty period passes, the packaging is long forgotten and not thrown away. It lies, dusty, but it will be just right for you.
In such boxes, they simply cut through windows and doors and make a roof out of something. That’s it.
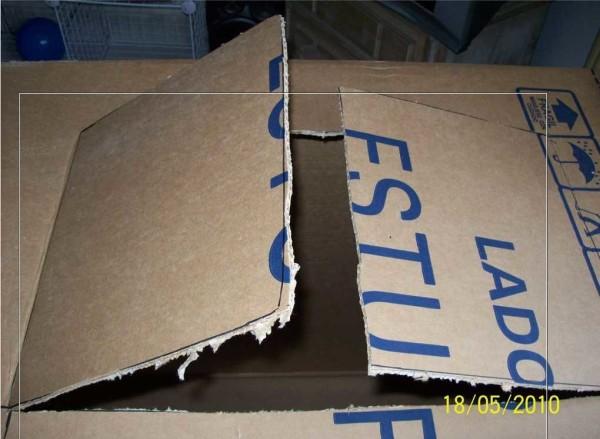
Preliminary it is desirable to examine the interior of the box. They are fastened with staples, and they can stick out somewhere. In order not to hurt the child, check everything. It is necessary to glue the corners and joints of the cardboard with scotch tape. It will hold the walls and dangerous staples will be closed.
If the flat roof is not suitable, it is easy to build a double-sloped roof from another box. It can be simply put on the corners of the walls, and you can cut out the upper part of the wall “ears” (or glued to not lose height), in the roof to make slots, put the ears in them, bend and glue.
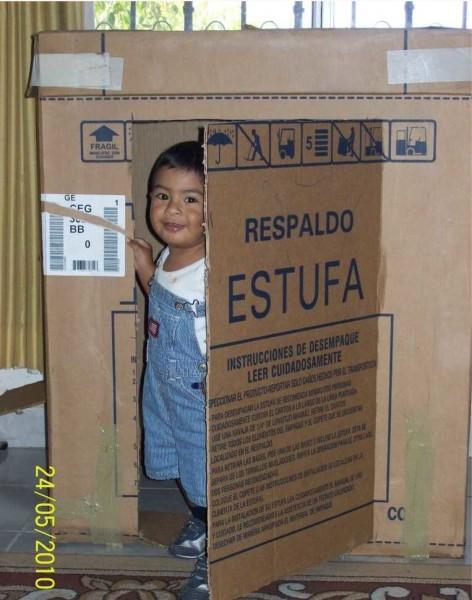
If you want a more civilized look, you can take care of the finishing. For example, take thin polystyrene foam, cut into strips and put on foam. And cover the roof with “shingles” – sheets of colored paper. So it looks prettier.
Cardboard houses for children can be covered with fabric. It is easier to attach it with staples from a construction stapler. They turn out very well. You can cover with paper – remnants of wallpaper, for example.
What to make the frame of the game tent
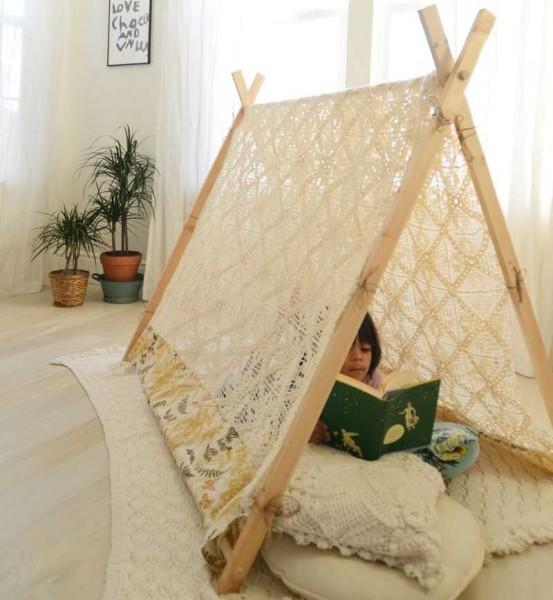
When making a tent, the main question is from what to assemble the frame. Problems with the “walls” usually do not happen – a piece of fabric is not difficult to find, but the base – a problem. There are two good options: wood and plastic pipes. What kind of plastic to use – it’s up to you – on solder, glue or collapsible fittings (the best option, but also the most expensive). The design – at your discretion. From such pipes you can assemble anything.

The same construction can be assembled from bars. Only they need to be very well processed, so that there were definitely no splinters.
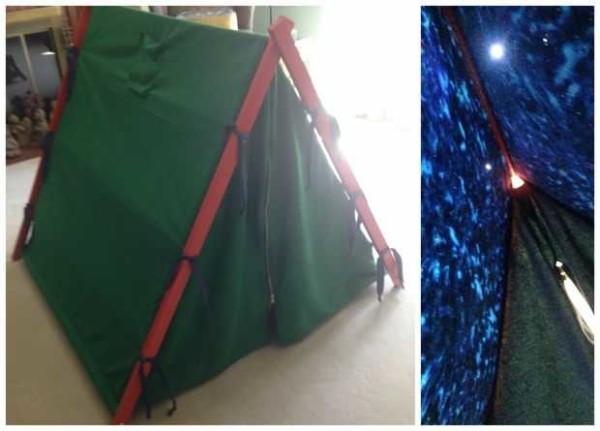
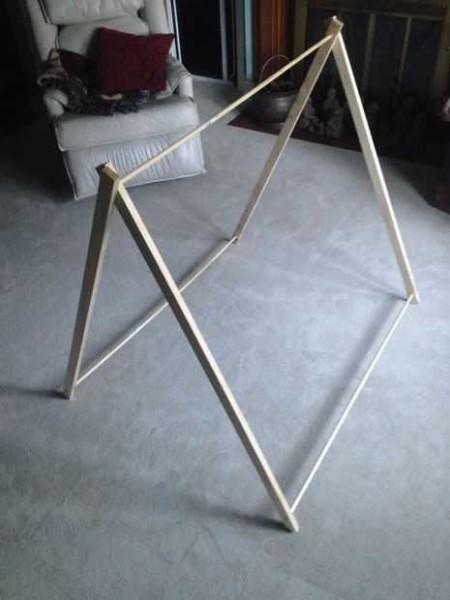
Another option is a triangular tent. Two rectangular frames are movably connected at the top. This option is convenient because it can be folded.
Another variant of the same design in the male version in the photo below. Of the options here is the “starry sky”. Small holes are made in the dense fabric, which are loosely tied with threads. When viewed from inside, the vault resembles the night sky.
To assemble this tent you need four boards and three wooden rods. Drill holes along the edges of the boards to match the diameter of the rods.
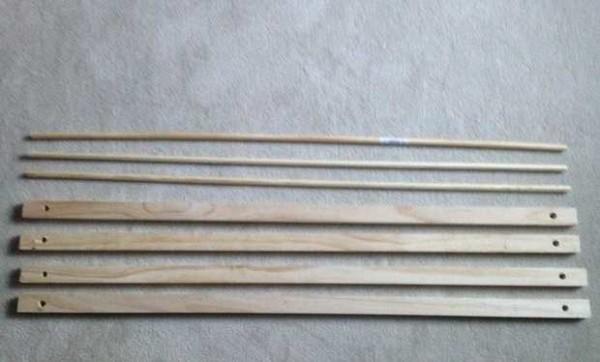
The boards are connected in pairs with rods in the form of two letters “P”. Then the unused edges are crossed so that the holes made coincide. The third rod is inserted into these holes. For reliability, all connections are glued with wood glue. All that remains is to sew and attach the cover.
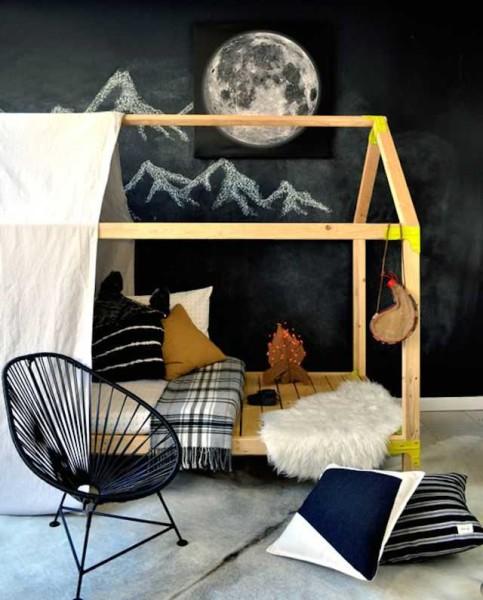
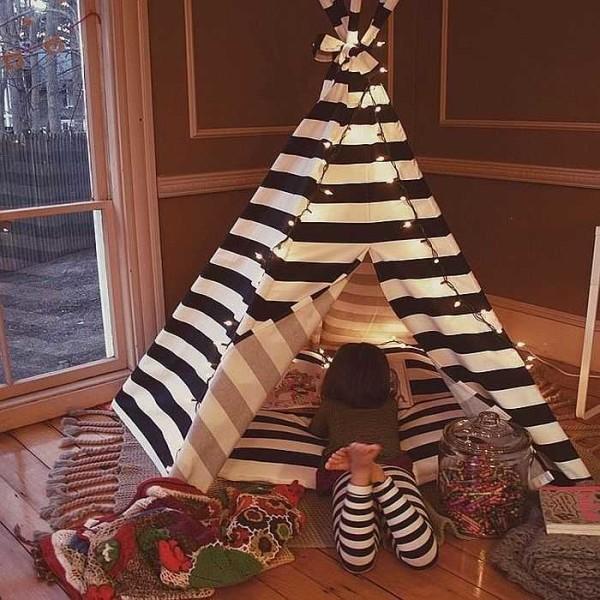
Another option is a game tent in the form of a teepee. This is several boards connected at the top. To “ribs” of the frame do not separate, they can be tied 10 cm above the floor level, and make another banding belt at about the middle of the height. The construction will be rigid enough and will withstand the onslaught of children.
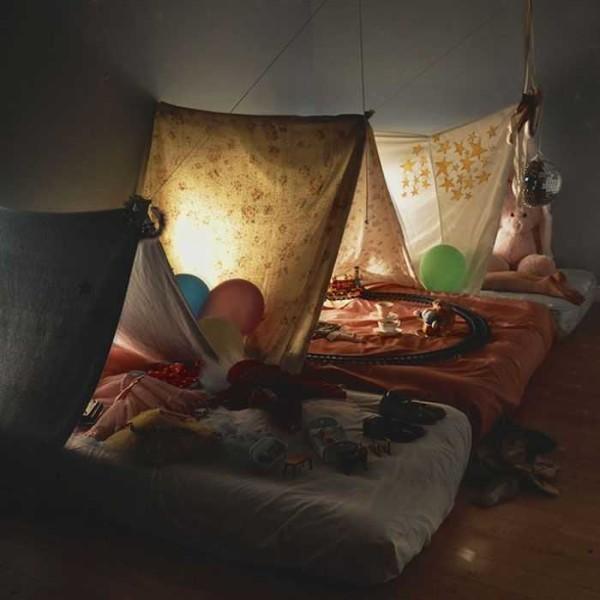
And quite simple – frameless option – sheets or blankets hung from the middle and tucked under the mattresses.


")