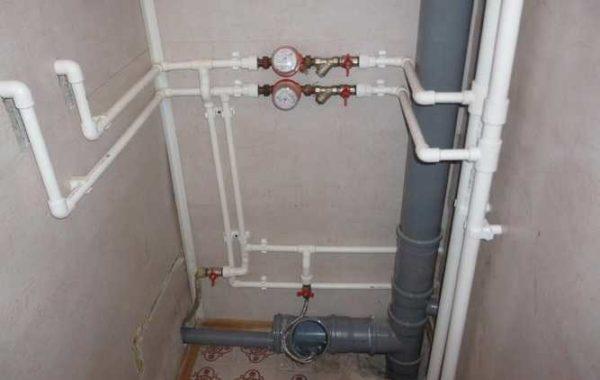
New technologies and materials in construction are constantly appearing, gradually replacing traditional materials. A good example of this is plumbing. Fifteen years ago, metal was used in most cases – there was no alternative. Today, almost everywhere metal is replaced by polymers, as they are easier to install, cost less, serve as much or even more. One of the most popular modern materials – propylene. Installation of water piping from polypropylene pipes is good in that it can be done with your own hands. To do this, you will need a special soldering iron and some experience. Soldering iron can be rented, and experience is an acquired thing. You can practice on the most inexpensive fittings and small sections of pipes.
Treść artykułu
Labeling and scope of application
Start the installation of plumbing from polypropylene pipes should be with the choice of pipe type. They are single-layer and three-layer, differ in wall thickness and, accordingly, have different purposes. To make it easier to navigate, they are labeled:
- PN10 – single-layer pipes, designed for cold water in pipelines with low pressure. Suitable for polypropylene plumbing in private homes.
- PN16 – single-layer pipes with a thicker wall. They can be used both for transportation of cold water in systems with high pressure (centralized) and for DHW system distribution. The maximum allowable temperature is +50°C.
- PN20 – three-layer pipes with a reinforcing layer of glass fiber. They can be used for installation of water pipelines for transportation of hot water, low-temperature heating systems. Maximum temperature +90°C.
- PN25 – three-layer pipes reinforced with aluminum foil. They are used mainly for heating, it is possible to use for DHW, but economically it is not expedient: these are the most expensive pipes, and their qualities for DHW are excessive.
In terms of colors, there are polypropylene pipes of gray and white color. It does not affect the quality, so choose according to aesthetic preferences. Some companies (mainly German) their products are painted in green. If the wiring will be hidden – in the walls or in the floor – you will not find anything better, as the Germans – the leaders in quality.
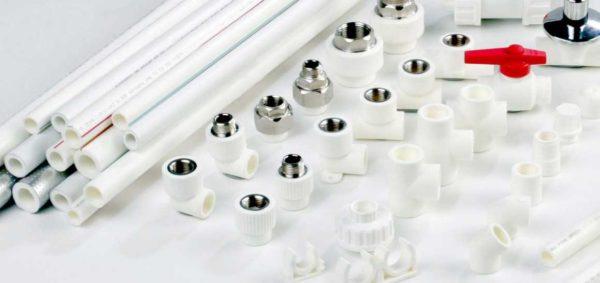
To make it easier to navigate the area of application, on the PPP pipes, along, put colored stripes. Those that are designed for cold water are marked blue (blue), for DHW and heating are marked red, universal – orange. Some manufacturers have a different labeling. They mark products for heating and DHW in red, and those for cold water are not labeled.
From the above we can draw the following conclusions: installation of water pipes from polypropylene pipes in the apartment is better to do from PN 16 for cold water and PN20 for HTW. In a private house you can do with PN 10 for cold water and PN 20 for HTW.
Specyfika instalacji
Single-layer PPP pipes PN 10 and PN 16 have a large coefficient of thermal expansion: with a temperature difference of 100 ° C each meter becomes longer by 1.5 cm. Even taking into account that such a temperature difference is unattainable in real life, this is a very large figure. In order to prevent this increase in length from destroying the water supply system, expansion loops (expansion joints) are provided in the system.
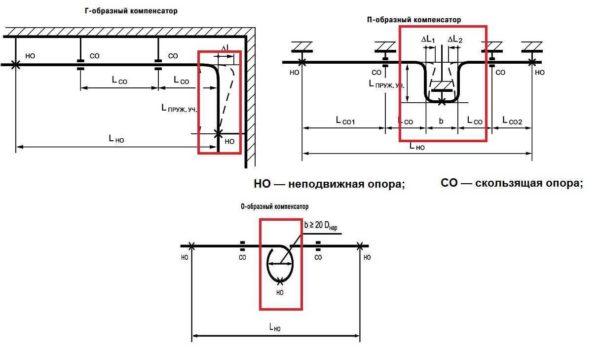
If the length of the pipeline is small and is divorced at the same cold water, the compensator can not be done – the difference in length will be small, but for DHW it is desirable to make at least an elementary L-shaped compensator (see figure).
Connection principle
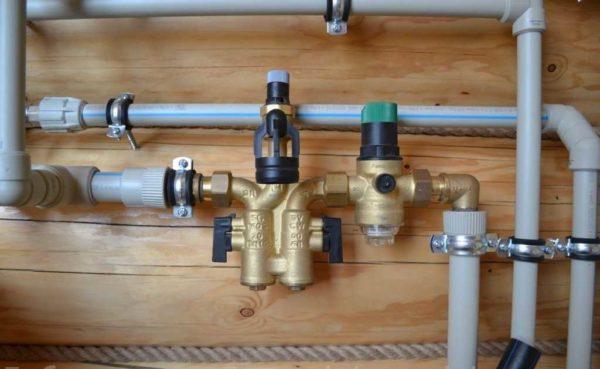
Polypropylene pipes have a lot of advantages, but one of the disadvantages – they do not bend. Therefore, when installing water pipes from polypropylene pipes, for all branches and turns use fittings. These are special elements – tees, angles, adapters, couplings, etc. There are also taps, compensators, bypasses and other elements of the system, also made of polypropylene.
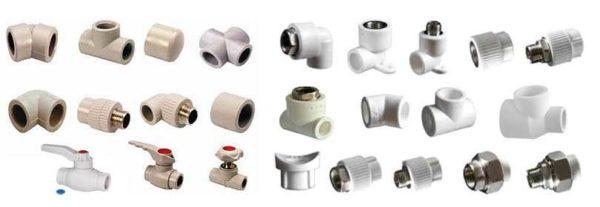
All these elements with pipes are connected by soldering. The material of both connected parts is heated until melting, then docked. As a result, the connection turns out to be monolithic, so that the reliability of the water pipe from polypropylene is very high. Read more about soldering and the necessary tools for this here.
For connection with other materials (metal), for transition to household appliances or plumbing fixtures, there are special fittings. On one side they are completely polypropylene, on the other – have a metal thread. The size of the thread and its type is selected under the type of device to be connected.
System planning
Because of the fact that PPP pipes do not bend, when developing a scheme of distribution should be so that bypasses and turns were as few as possible. After all, they are all made with the help of fittings, and they have a solid cost (compared to the pipe). Therefore, we try to optimize wiring – to make as few turns, bypasses and bends as possible.
Serial (tee) connection
Installation of water piping from polypropylene pipes with sequential connection of consumers (plumbing and household appliances) is used in small systems. Usually they have 5-6 connection points. With this organization of the water supply from the riser leaves one pipe, it sequentially bypasses all the connection points. In the case of PPR-plumbing, all branches are made with the help of tees, because this type is also called a tee.
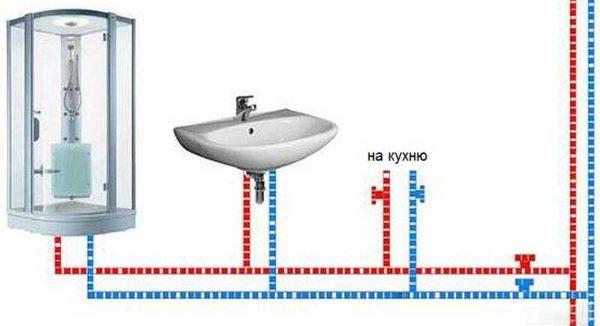
The plus side of this system – you need a small number of pipes, and the minus – the pressure at each branch falls. As a result, with one or two working points of discharge, the third, located further from the riser, the pressure may simply not be enough.
Parallel (collector) wiring
Parallel connection scheme is also called collector. This is because after the outlet from the riser is installed a special device – collector. This is an element with one input and a certain number of outputs. There are from polypropylene and metal. For plumbing more suitable (and cheaper) collectors from polypropylene.
The connection scheme is such that from each outlet runs a separate pipe to each consumer (sometimes to a small group of consumers).
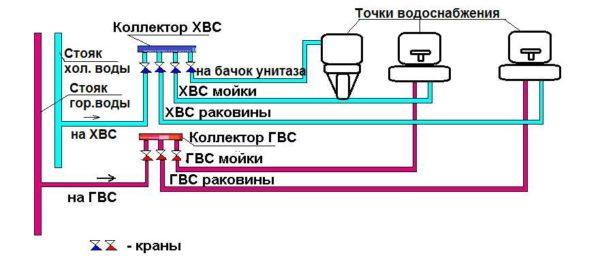
The advantage of such a system: the pressure at all points of water discharge is the same, the disadvantage – a lot of pipes are required. Another plus – if any branch fails, only one consumer does not work. The rest of the system functions normally. By the way, in order to be able to disconnect individual devices, at the outlet of the collector put taps (usually ball, but if you need the ability to adjust the pressure, you can put a valve).
Plumbing with plumbing fixtures and appliances
In each of the methods of installation of water supply from polypropylene pipes to a particular consumer fits the pipe. There are two ways to connect to the system: flexible and rigid supply.
Rigid supply is more reliable: PPR pipes and fittings have high strength. In addition, in this case there is only one thread – at the point of connection of the consumer. But this type of submarine requires high accuracy of execution: the error can be only a few millimeters. This when installing polypropylene plumbing with their own hands is difficult to achieve, so more often use a flexible liner. Just be careful, in some cases, its use is impossible: to connect gas boilers or gas columns, to bring water to storage water heaters, water towel dryers are recommended only with the use of a rigid liner.
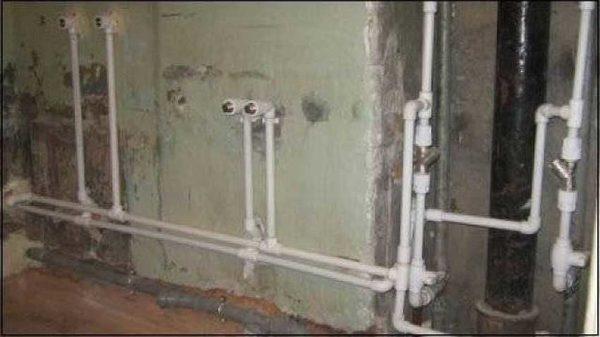
Soft submarine, on the contrary, does not require high accuracy – the errors are leveled by a flexible hose in a stainless steel braid or a hose that is used to connect a washing machine or dishwasher. The tubing is led out approximately in the area where the appliance is installed or the plumbing is connected. It is completed with an adapter to metal, to which the hose of the flexible supply is connected (with its second end it is connected to the appliance).
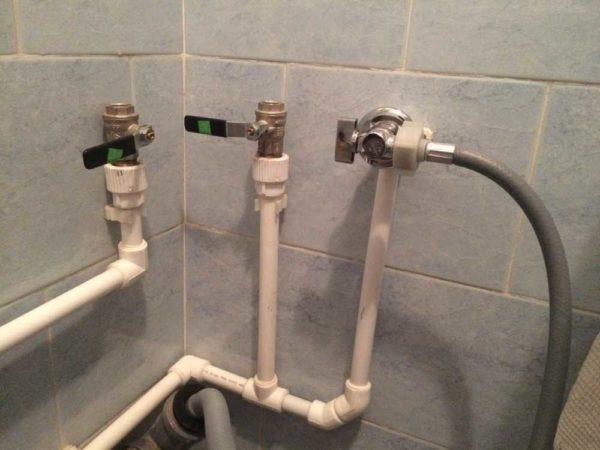
This option is less reliable, since much depends on the quality of the flexible supply. Also not the most pleasant moment – the presence of two threaded connections, and this is a potential place for the appearance of leaks.
Internal or external gasket
One of the advantages of polypropylene plumbing is that it can be cast into walls and floors without problems. This material does not corrode, does not react with any materials, does not conduct stray currents. In general, if the connection is made correctly, you can hide pipes in the wall or in the floor without problems. The whole catch is to qualitatively make a connection.
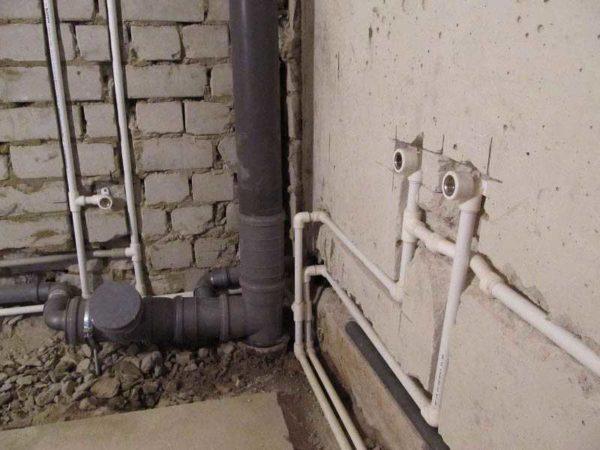
To make sure that the assembled system does not leak, it is checked – carry out pressure testing with excess pressure. There are special apparatuses for this purpose. They are connected, pump water, increase the pressure. Under this pressure, the water supply system is left for several days. If no leaks are found, then at the working pressure everything will work for a long time and without problems.
Rules of installation
Before you start work, you need to make a scheme, on it to mark all the necessary fittings and elements of the system (meters, filters, faucets, etc.), put the size of the pipe sections between them. According to this scheme then count what and how much is needed.
When buying pipes take with some reserve (a meter or two), fittings can be taken exactly according to the list. It does not hurt to agree on the possibility of return or exchange. This may be necessary, as often in the process, the installation of plumbing from polypropylene pipes throws up some surprises. They are connected mainly with a lack of experience, not with the material itself and happen quite often even with masters.
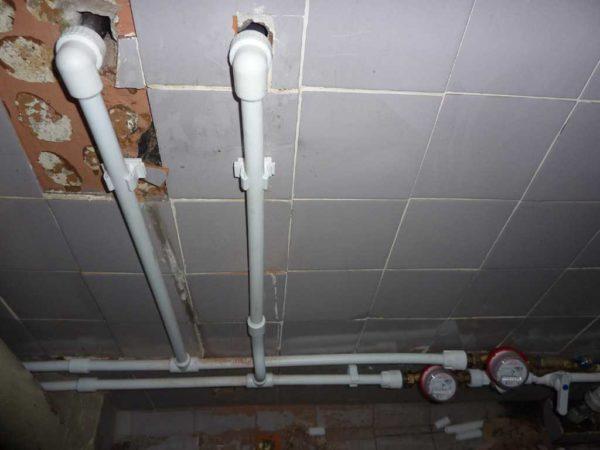
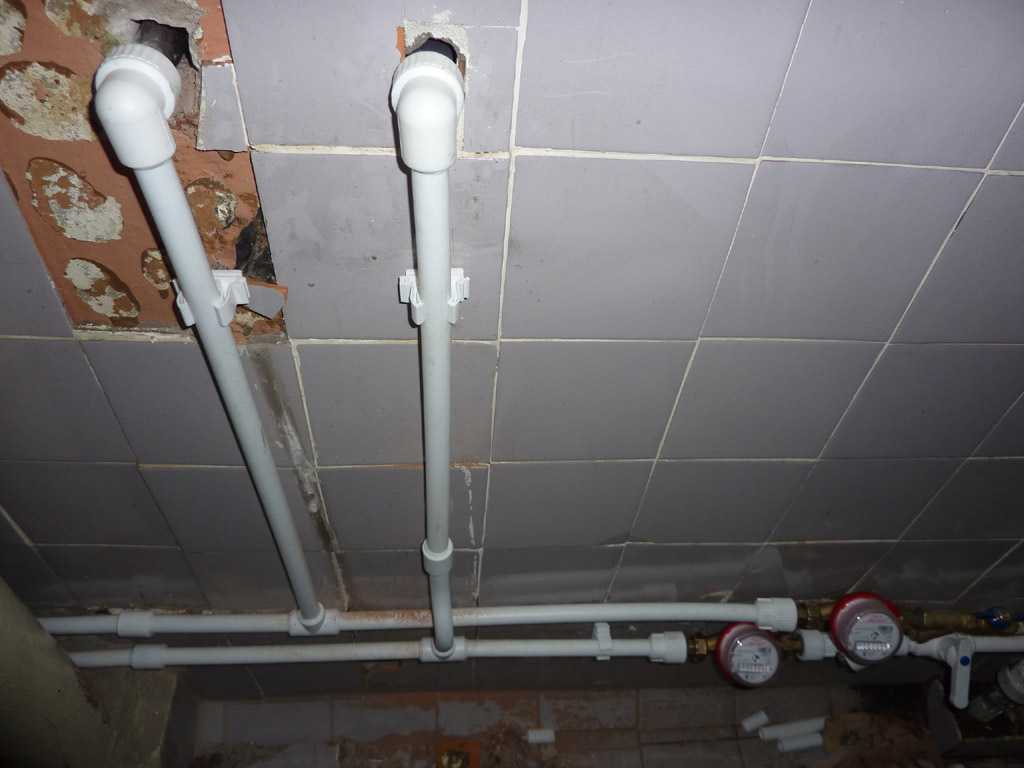
In addition to pipes and fittings, you will also need clips, which are used to fasten everything to the walls. They are installed on the pipeline after 50 cm, as well as near the end of each branch. These clips are plastic, there are metal – staples and clamps with rubber gasket.
For open laying of pipelines in technical rooms it is more convenient to use staples, for better aesthetics – for open laying of pipes in the bathroom or kitchen – use plastic clips of the same color as the pipes themselves.
Now a little bit about the rules of assembly. The system itself can be assembled at once, cutting sections of pipes of the required length, constantly checking with the scheme. It is more convenient to solder. But, with a lack of experience, it is fraught with errors – you need to accurately measure and do not forget to add 15-18 millimeters (depending on the diameter of the pipes), which go into the fitting.
Therefore, it is more rational to draw the system on the wall, mark all the fittings and elements. You can even attach them and trace the contours. So it will be easier to evaluate the system itself and identify shortcomings and errors, if any. This approach is more correct, since it gives greater accuracy.
Next, the pipes are cut as necessary, fragments of several elements are connected on the floor or work table. Then the finished fragment is put in place. This sequence of actions is the most rational.
And about how to quickly and correctly cut pipe sections of the required length and not to make mistakes.


Man, I tried working with polypropylene pipes last summer for my DIY project, and it was a game-changer! Seriously, they’re lightweight and super easy to handle. The tips in this article are spot on! Can’t believe how smooth my plumbing turned out. Totally worth it!
Hey! Totally get what you mean about those polypropylene pipes. I used them for my shed project last spring, and I was shocked at how simple they made everything. Lightweight and tough—I was done in no time! Glad the tips helped you out too!
Making plumbing from polypropylene pipes is a game-changer! I tried it last summer, and it was surprisingly easy. Just cut, heat, and join them. I fixed my leaky sink in no time. Plus, they’re super durable! Definitely recommend giving it a shot if you need some DIY plumbing.