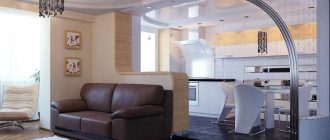
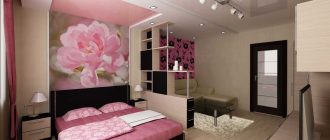
Young people and couples most often buy one-room apartments. New housing, bought on the secondary market – it does not matter. Before you move in, it is supposed to make a one-room apartment repair. Only the concept is very stretchable and can mean both a simple re-laying of wallpaper, and re-planning. Several results of repair of different degrees of “severity” will demonstrate in the article. They are quite different, in style and purpose, but all about remodeling 1-bedroom apartments. Looking at the photos, some ideas you can apply in your own practice.
Artikkelin sisältö
General principles and techniques
One-room apartments are usually not characterized by large areas. Residences of old construction – in Khrushchevki – are about 30 square meters. m, but in new buildings is a little more: it can be 40 square meters and more. In any case, you have to carefully consider the layout and furniture arrangement: every centimeter counts.
Where to start the repair of one-room? It is necessary to draw a plan with dimensions, and in scale. Then you need to look at what can be improved.
Moving the door closer to the load-bearing wall
First of all, pay attention to the location of the doors. In old layouts, they were often made in the middle of the wall. This is very uneconomical from the point of view of space utilization: too large an area goes into the “dead” zone. We walk around in it, and there is no way to put anything in it. It is much more convenient to move the doors closer to one of the walls. Which one – you choose. And this is a remodeling, not a redevelopment, but it is necessary to register it.
Combining the bathroom
The biggest misfortune of small-sized housing – very small bathrooms. In old houses, they are just tiny. In them there is not even a possibility to put a washing machine. Since the rest of the premises are not happy with the space, you have to arrange rearrangements to find a place. Therefore, conceiving the repair of a one-room apartment, very often tear down the partition between the bathroom and toilet. They are definitely not load-bearing, so there are no problems with coordination. Just this decision alone can give the necessary centimeters.
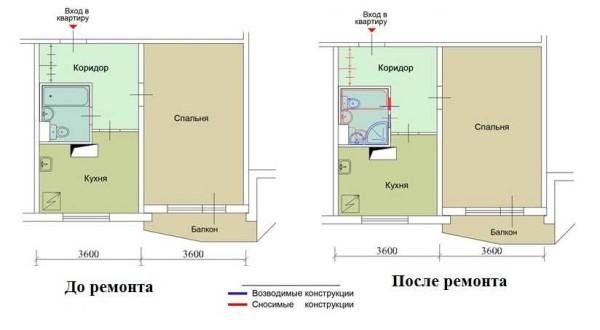
The second thing that is often undertaken – replace the bathroom with a shower cabin. This solution is not acceptable for everyone, but the space becomes a little more. You can put a ready-made shower cabin or make it yourself from brick, tile, kicking out the wall in half a brick or putting a folding door. How to make a shower cabin yourself read here.
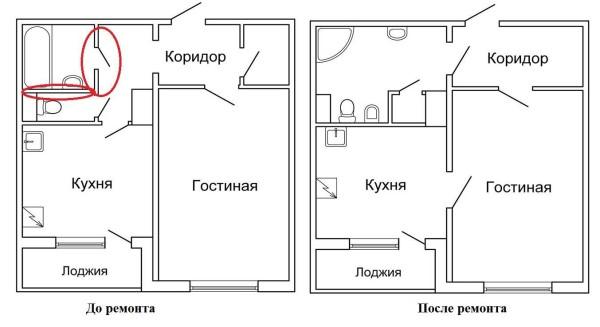
Demolition of storerooms
In most layouts there are pantries. But their location is often so unfortunate that it is better without them. But the freed up space can be occupied by appliances or make in this place a dressing room, a built-in closet. Let them take up the same amount of space, but their functionality is much wider.
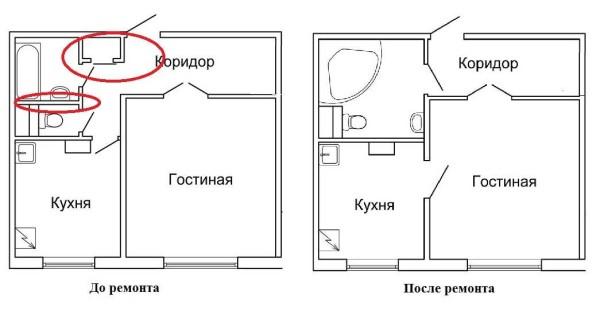
Combining rooms with a balcony
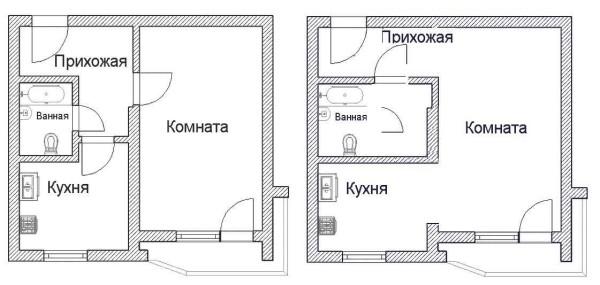
Since today there are new insulators that allow for a small thickness to achieve a high degree of thermal insulation, it has become possible to combine rooms with balconies or loggias. Insulate well not only the walls, but also the ceiling and floor. And it is not unreasonable to make floor heating: it is difficult to move the batteries (project, approval), but to lay a heating cable – it is possible and relatively easy. The project for such heating is not required.
When combining rooms with a balcony, note that you can remove only the part that was under the window. Those walls that from the floor to the ceiling are strictly forbidden to touch. Such remodeling you will never legalize: these are external load-bearing walls and they are responsible for the integrity of the building.
How to equip the balcony or loggia read here.
Studio apartment
Another solution, popular among young people: demolition of almost all partitions. Only the bathroom and toilet remain isolated. All other walls are removed. It turns out to be a so-called studio apartment. From the usual one-room apartment with an area of a little more than 30 meters with this type of repair can make quite a decent room. Minuses in such a decision is: the kitchen is practically united with the rest of the premises and food odors will spread throughout the apartment. Therefore, there should be a powerful extractor hood in it. This solves the problem.
This option can be modified – make the walls beveled, etc. Just remember that you can expand the area of bathrooms and kitchens only at the expense of technical rooms. Since in this case it happens at the expense of the hallway, there are no problems. But in this area will have to make a reinforced waterproofing: several layers will be required for sure. Be prepared for the fact that this will be spelled out in the project of harmonization.
Some ideas for the repair of a one-room apartment you will find in the video. Real object, filmed before the repair, then – the main stages and already “after”.
Sequence of actions
Having determined what you want to do in your one-room apartment during the repair, you can submit the project for approval. This is not a quick matter. In the meantime, get busy calculating materials and their purchase. The advice is as follows: keep a separate notebook or file – whoever is used to. For each type of work allocate a separate page, where you write everything that on this occasion it is necessary to do. First, all the work that is necessary, then – in detail all the required materials. And down to nails, anchors, screws (with dimensions), tape and other little things that run into untold numbers.
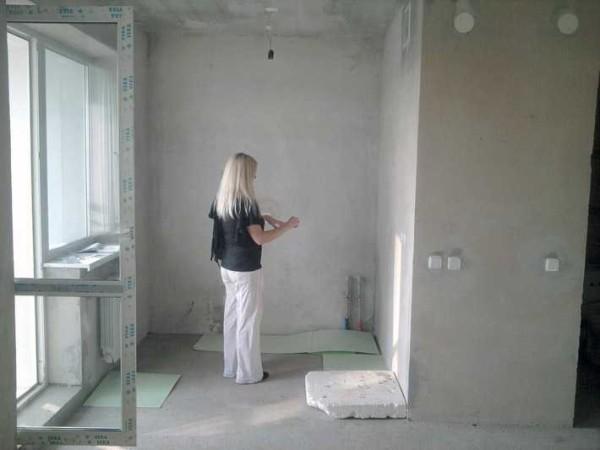
Having finished the development of each type of work, make a general list of materials: summarize the amount. Then you can search for places of purchase. Something can be found on the Internet, something in stores. Little things are often taken without looking, but more or less large purchases prefer to make by visiting stores. And that’s right: the quality of the picture can not determine. Therefore, first call around, check prices, then go to the addresses, look and feel. And do not hesitate to ask questions. While you gather all the materials, the documents will be ready.
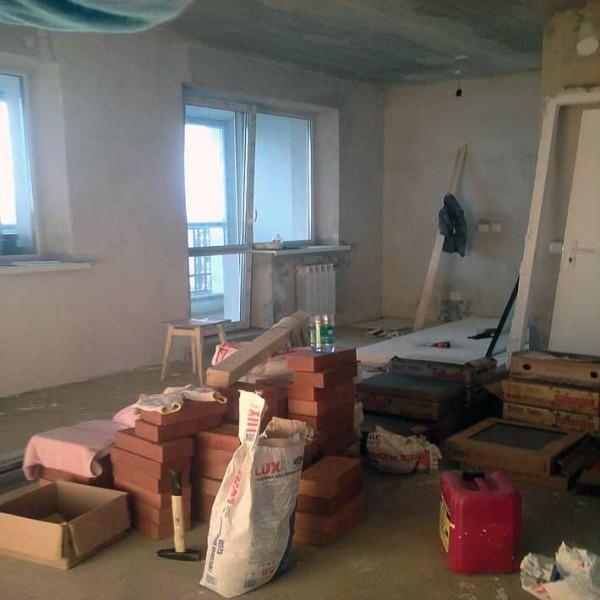
This is when the actual work begins. Do repairs in the apartment yourself or hire a brigade – this question everyone decides for himself. If you hire different people for different types of work, you need careful control during the entire process, because having done their “piece” of work they will disappear. Those masters who will come after them, will nod at the fact that their predecessors did everything … wrong.
It is impossible to give clear instructions on what to do and what to do for what: too different work can be, but in general the order is as follows:
- Dismantling/installation of partitions.
- Modernization of engineering systems (ventilation, plumbing) and electrical wiring (installation of electrical panel, wiring to the rooms through junction boxes).
- Replacement of windows.
- Leveling of walls, ceiling, plastering.
- Installation of heating system.
- Pouring / flooring.
- Installation of doors.
- Finishing works.
- Arrangement of furniture
If some works are not needed, they are simply omitted. But if a major repair is planned, then all of them are necessary, especially in old apartments.
Repair of a one-room apartment: interior design
If the repair is going in an already settled apartment, you are unequivocally bound to the items that you already have. Some of them will be replaced, but most of them, as a rule, remain. Since the rooms are already furnished, you can visualize quite clearly where you can put new things/appliances, and when you look at them in a store or in a photo, you can determine quite accurately how well they will “fit” into the existing space and furnishings.
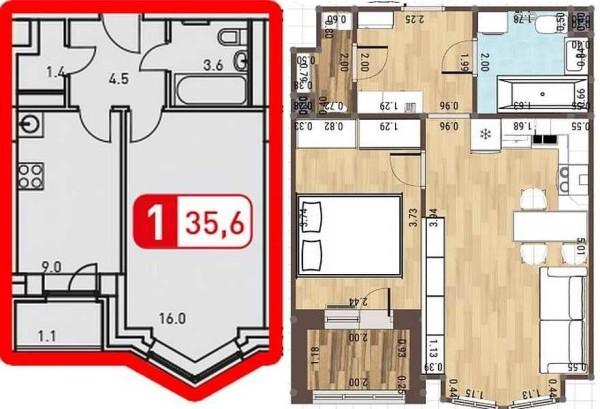
When planning an interior in a new building, everything is more complicated and simpler. Simpler – you start from scratch and no old things. You can choose the style, color, texture, without being tied to the existing elements. But the room is still unfamiliar, and it is difficult to imagine how this or that thing will look. In this case will help design programs that allow you to present projects in volume. Just drawing a plan is not enough: not everything that looks good on a piece of paper will also look good in volume. Often there are other situations: what looked bad on a sheet of paper, in volume turns out to be a boon. Therefore, first develop a plan on a sheet of paper, and then transferred to the volume image. Only immediately with dimensions, otherwise it is a waste of time.
At this stage, keep track of the little things. In what direction the door opens, what size it is, and how convenient it will be. And this applies not only to doors – front and interior, but also doors in closets and cabinets. In this case, do not forget about the passageways: to be able to normally pass the place should be 70-80 cm, but better a little more. Further we will be based on specific examples.
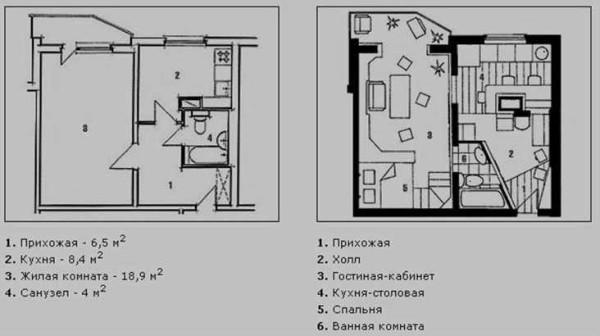
From a one-room 32-meter apartment to make a two-room apartment
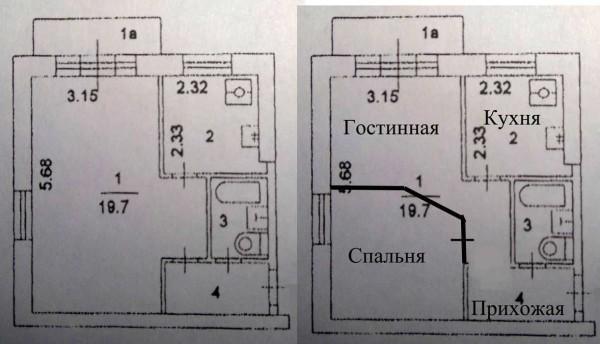
Tyypillisessä Hruštšovkan asunnossa, jonka pinta-ala on 32 metriä, tehtiin korjaus, jonka aikana tehtiin erillinen makuuhuone. Ja remontti on minimaalinen. Käytävän erottava väliseinä poistetaan (pikemminkin vain ovi), sivuseinää jatketaan, sen avulla erotetaan osa olohuoneesta, jolloin se muuttuu makuuhuoneeksi.
Ole vain tarkkana: asunto on nurkassa. Huoneessa on kaksi ikkunaa. Tämä mahdollisti sen, että saimme kaksi täysipainoista, vaikkakin pientä huonetta.
Kun kehität sisustusta, jonka haluat nähdä korjauksen jälkeen yhden huoneen asunnossasi, luota päivittäisiin tekoihin.
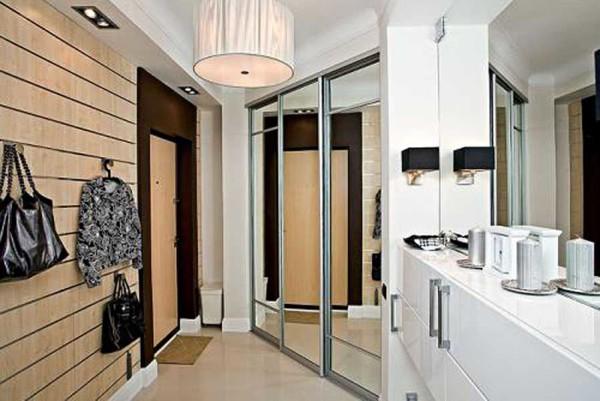
Aloitetaan ovelta. Täältä sinä olet kävellyt sisään. Tarvitset paikan, johon voit laittaa laukkusi, istua alas, riisua kenkäsi ja ripustaa vaatteesi. Aseta kaikki tämä eteiseen. Ensimmäinen asia on vaatekaappi. Tässä tapauksessa hän otti paikan ovea vastapäätä. Kuvassa - eteinen tässä asunnossa, keittiöstä katsottuna. Jotta huoneesta tulisi valoisampi ja tilavampi, keittiötä vastapäätä olevan komeron ovi on tehty peilillä. Se heijastaa valoa, valaisee päiväsaikaan paremmin kuin lamput.
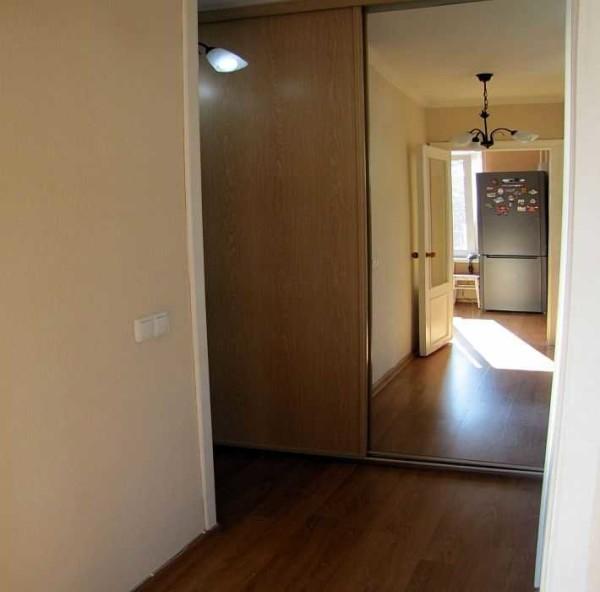
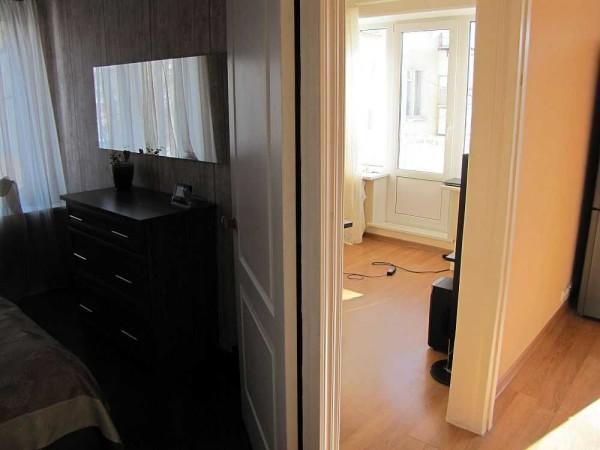
Jos katsot ovesta, oikealla on kaksi ovea makuuhuoneeseen ja olohuoneeseen, ja keittiö on suoraan edessä.
Seuraavaksi on keittiö. Kun tulet sisään laukkujen kanssa, löydät itsesi väistämättä sieltä. Se on samanlainen kuin kaikkien muidenkin: jääkaappi, liesi, tiskiallas. Jääkaappi on ikkunan vasemmalla puolella. Kaikki muut laitteet - pitkin yhtä seinää, ja pieni "lähestymistapa" sivulla.
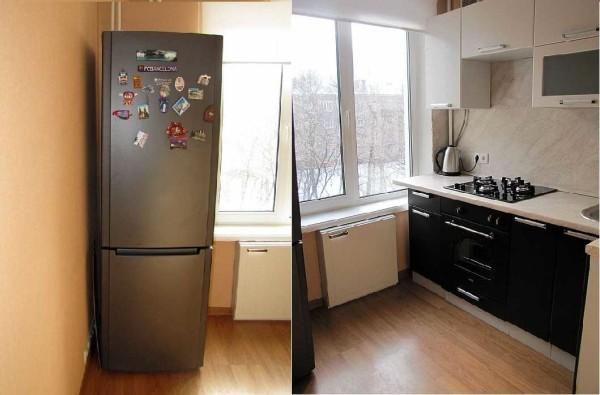
Että pienessä keittiössä (hieman yli 5 metriä) huonekalut eivät näyttäneet kovin massiivisilta, saranoidut kaapit ovat hyvin kevyitä. Tämä on yksi tekniikoista, joiden avulla voit laajentaa tilaa. Lue lisää keittiön suunnittelusta täältä.
Olohuoneessa yhtä seinää pitkin sijoitettiin sohva. Aluksi suunnittelimme kulmasohvaa, mutta pidimme siitä enemmän.
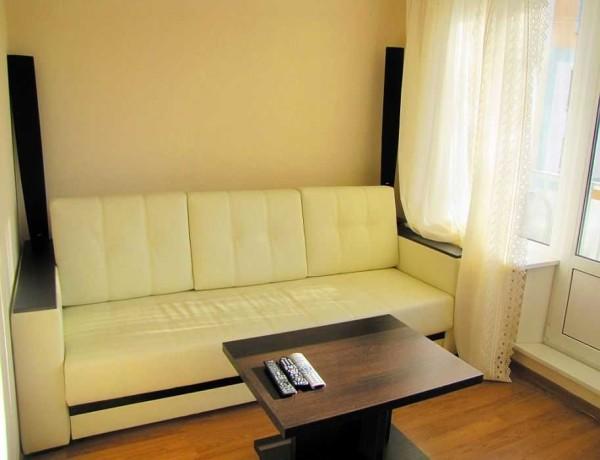
Tähän pieneen huoneeseen mahtuu vielä sohvapöytä ja kaappi, jossa on laitteita.
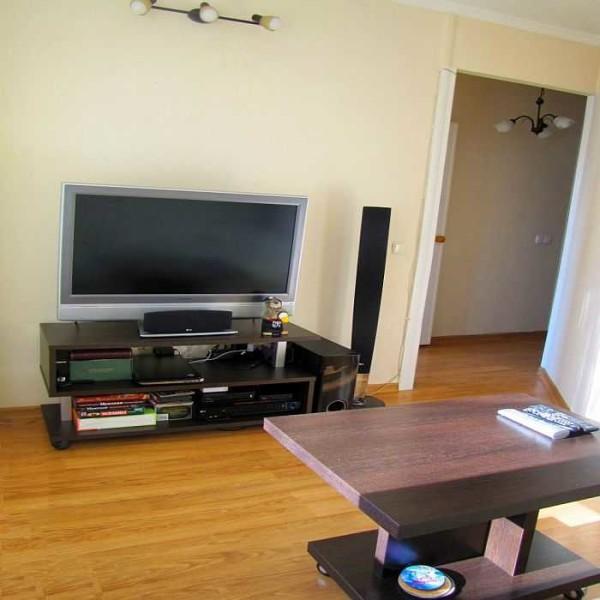
Nyt makuuhuoneeseen. Siinä on kokonainen sänky, ja siinä on jopa paikka lipastolle, jonka yläpuolella on televisio. Niiden välissä on tavallisen leveä käytävä: vain 70 cm.
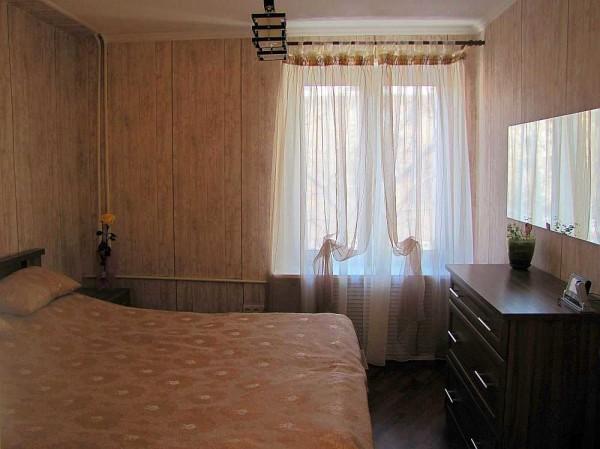
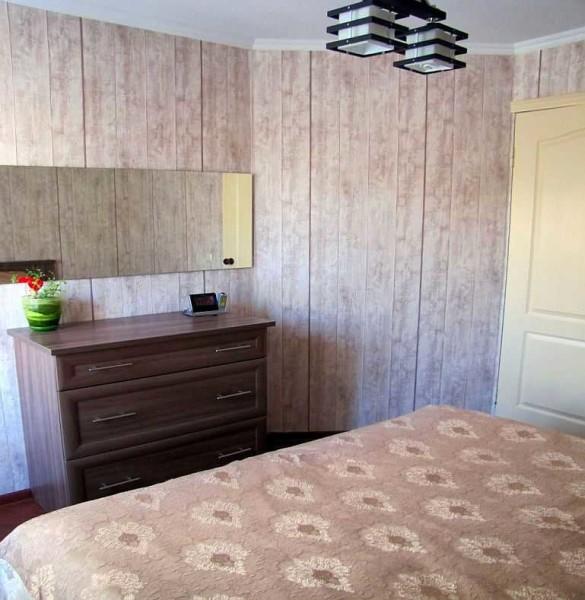
Siitä tuli varsin mukava ja toimiva. Kuvat on otettu heti remontin jälkeen: monet pienet asiat eivät ole vielä paikoillaan, joten kaikki näyttää hieman muodolliselta. Omistajat (nuori pariskunta) ovat jo vastaanottaneet vieraita. Heidän pienessä olohuoneessaan oli 8 ihmistä)))))
Renovation in a one-room apartment of 40 meters
Asunto nuorelle pariskunnalle, jonka suunnittelusta vastasi asiantuntija. Saneeraus jäi melkein tekemättä. Tärkeimmät uudelleensuunnittelut koskivat kylpyhuonetta.
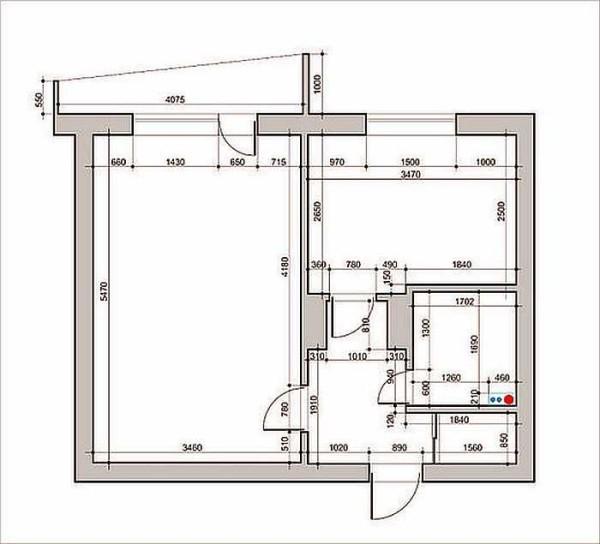
Muita ulkoasun "etuja" pelattiin "suunnittelutemppujen" avulla. Tämän 1-huoneen huoneiston suunnitelma korjauksen jälkeen näyttää tältä.
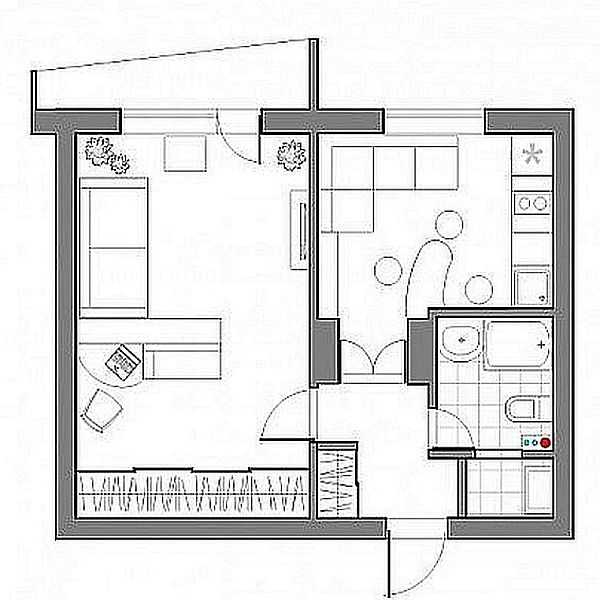
Eteisessä on pieni sisäänrakennettu vaatekaappi. Se on yksinkertaisesti välttämätön. Pieni seinä laitetaan erityisesti sen alle.
Vakavin rintama koski kylpyhuonetta: wc:n tilalle tehtiin tekninen tila. Täällä on pesukone, kattila, varastointijärjestelmät.
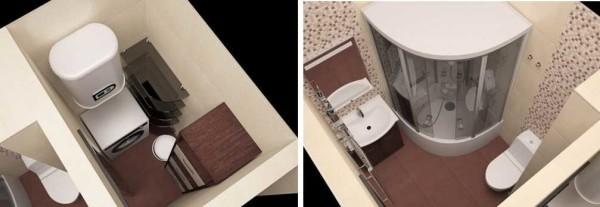
Jotta kaikki tarvittava mahtuisi pieneen tilaan, luovuimme kylpyhuoneessa kylpyammeesta. Se korvattiin suihkukaapilla. Se osoittautui kompaktiksi.
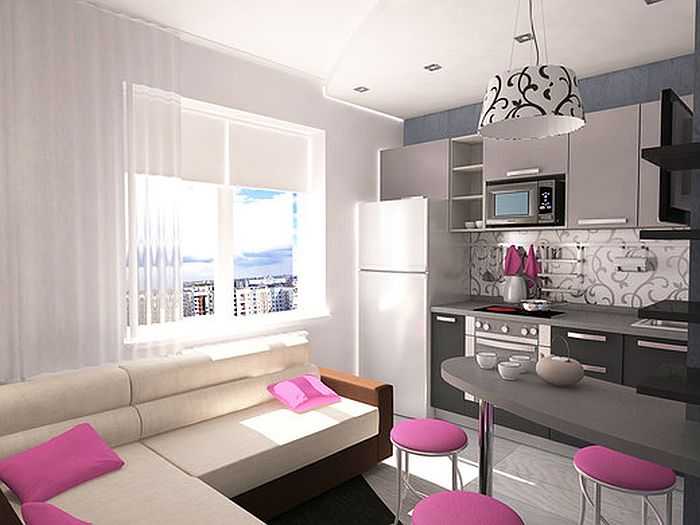
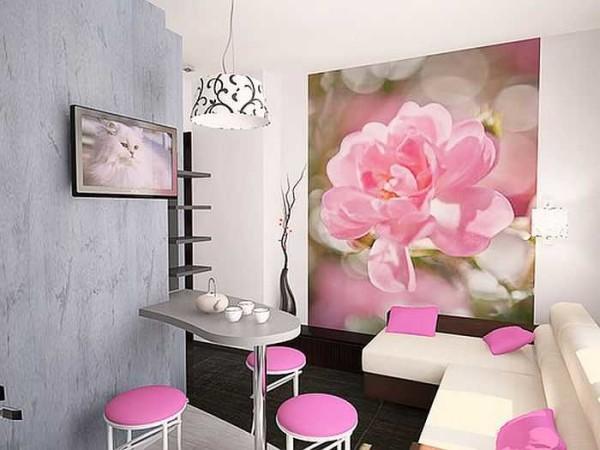
Keittiön värimaailma on erittäin mielenkiintoinen: harmaat sävyt ja kirkkaan vaaleanpunaiset korostukset. Epätavallisen muotoinen pöytä tehtiin tilaustyönä, samoin keittiökalusto.
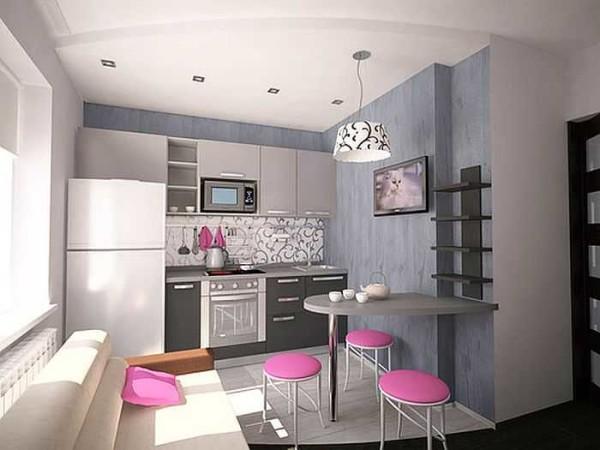
Jotta kaapit eivät vie paljon tilaa, päätettiin, että ne vievät vain yhden seinän. Jääkaappi mahtuu jopa tänne. Jotta sen yläpuolella oleva tila ei "kävele", sen yläpuolella on ripustettu kaappi. Huomaa myös, että yläkaapit ovat lähes kattokorkeat: ylempiä hyllyjä käytetään asioille, joita ei usein käytetä.
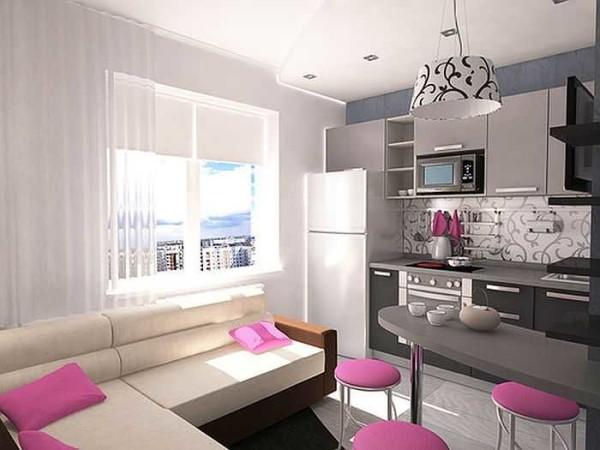
Jotta vaaleanpunaiset jakkarat eivät näyttäisi liian räikeiltä, seinä on päällystetty valokuvatapetilla. Ne harmonisoivat koko sisustusta.
Huoneessa oli paljon mielenkiintoisia ratkaisuja. Sisäänkäynnin oikealla puolella oli aiemmin vapaata tilaa. Sen on vallannut koko seinän levyinen seinäkaappi. Näin ratkaistiin kaksi ongelmaa: on paikka laittaa tavaroita, ja huoneesta tuli neliömäisempi.
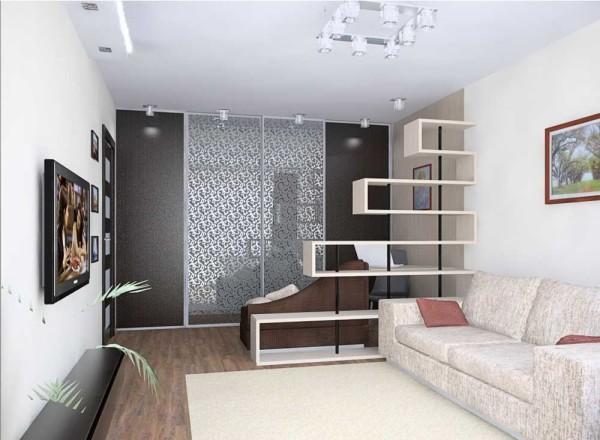
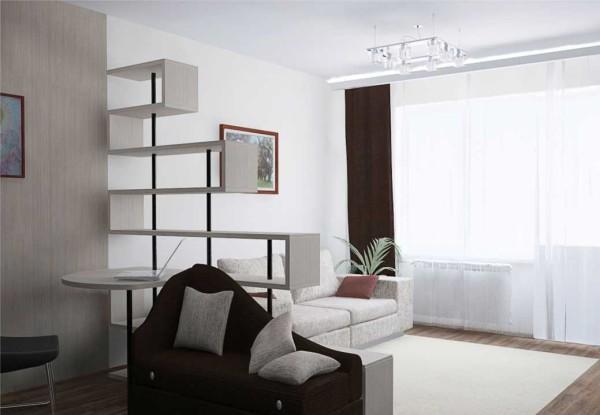
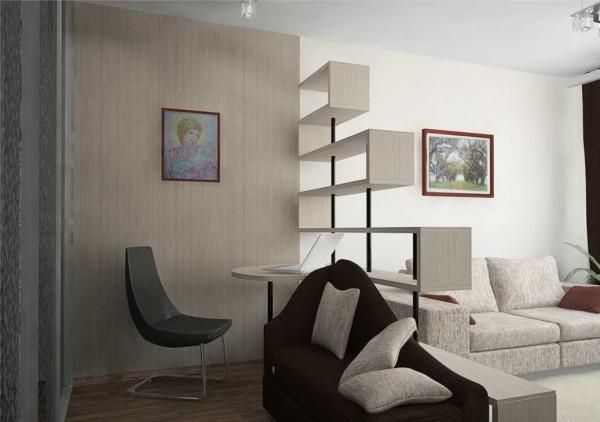
Huone on jaettu kahteen vyöhykkeeseen läpikuultavalla väliseinähyllyllä: työskentelyyn ja lepoon. Vyöhykejakoa korostavat erilaiset tapetit sekä maton läsnäolo virkistysvyöhykkeellä.
