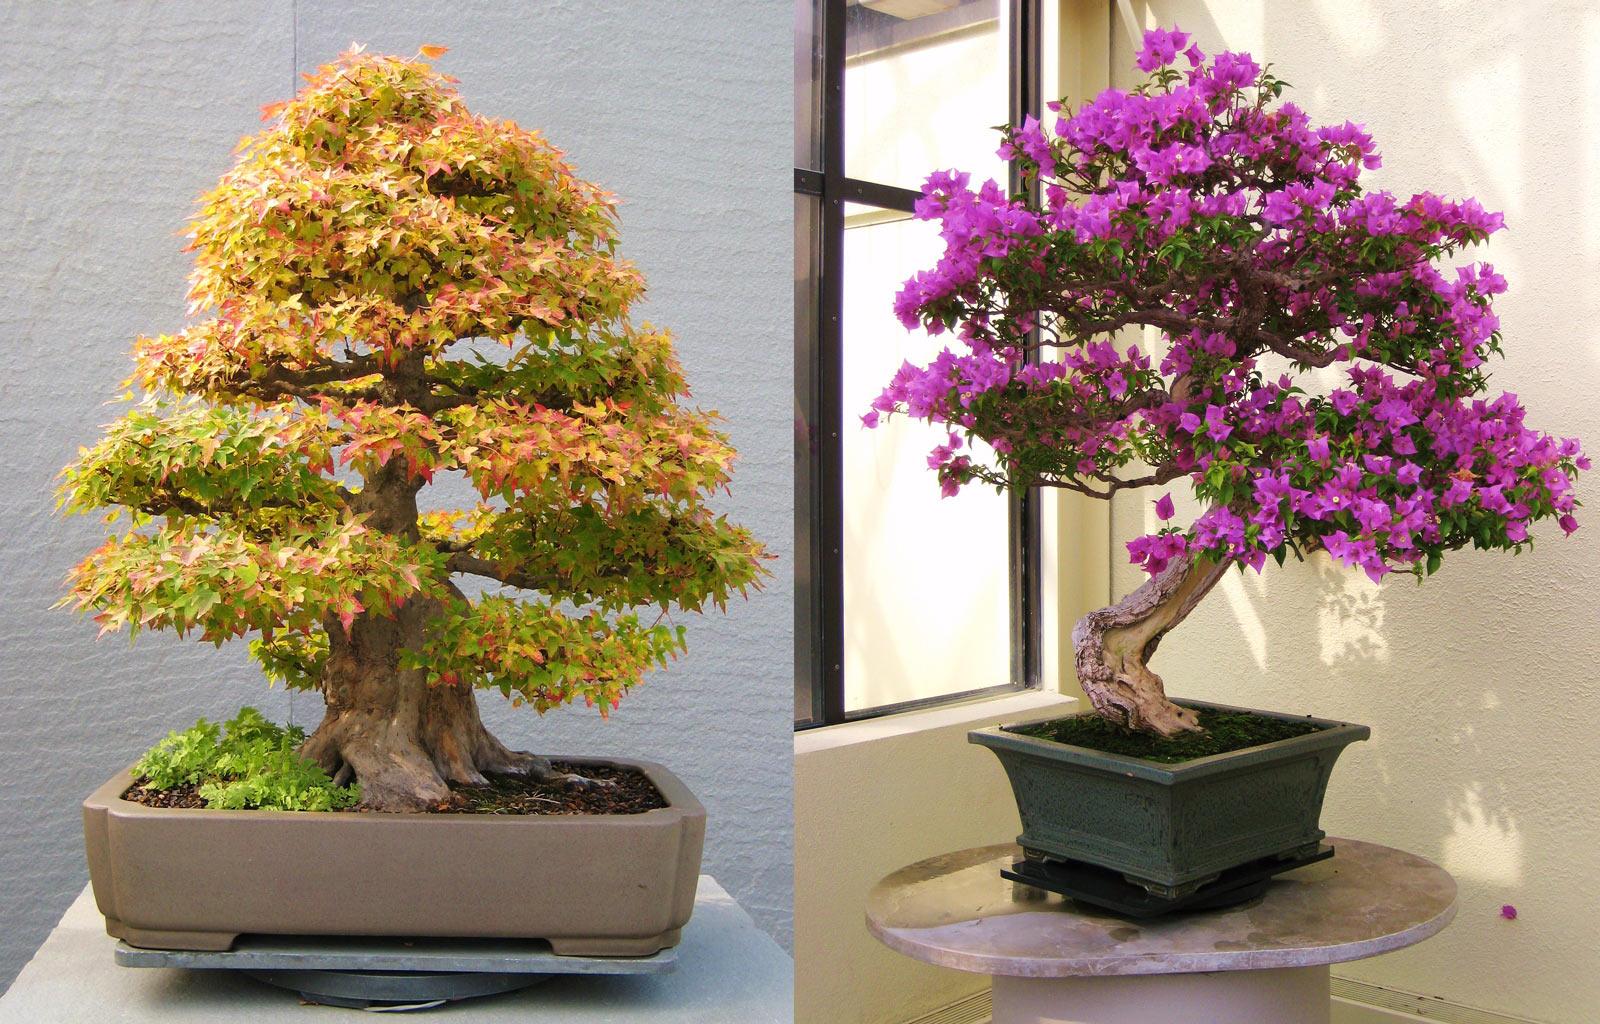
Бонсай е градинско изкуство, чиято задача е да се отгледа декоративно миниатюрно дърво. Представете си борово, кедрово или кленово дърво, което расте в малка саксия на перваза на прозореца ви!
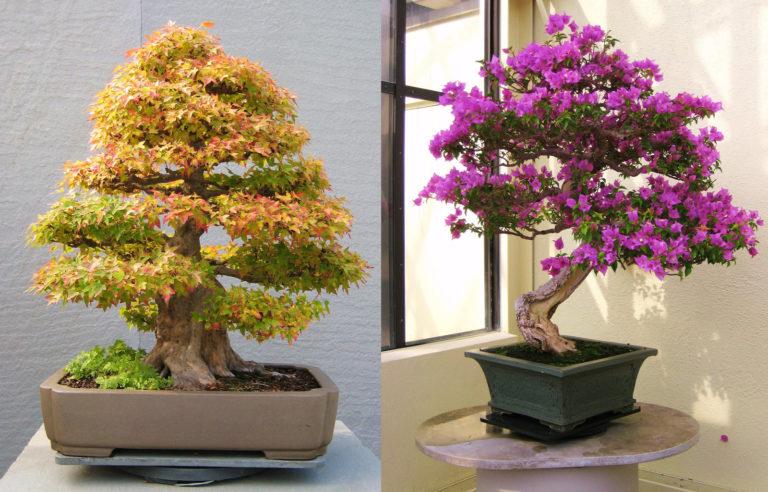
Това изкуство възниква в Япония преди повече от 2000 години, след това се пренася в Китай, а преди около век става популярно в целия свят. Нека поговорим за това как се отглежда бонсай, как да изберем растение, почва, саксия, как да оформим короната и т.н.
Съдържание на статията
Как да изберем растение за бонсай
Отглеждането на бонсаи може да бъде от всякакъв вид: всички широколистни и иглолистни дървета, цъфтящи или декоративно-листни. Всяко от тях ще повтори (и трябва да повтори) естествения цикъл. Най-добрият избор са растения с малки листа и много клони.
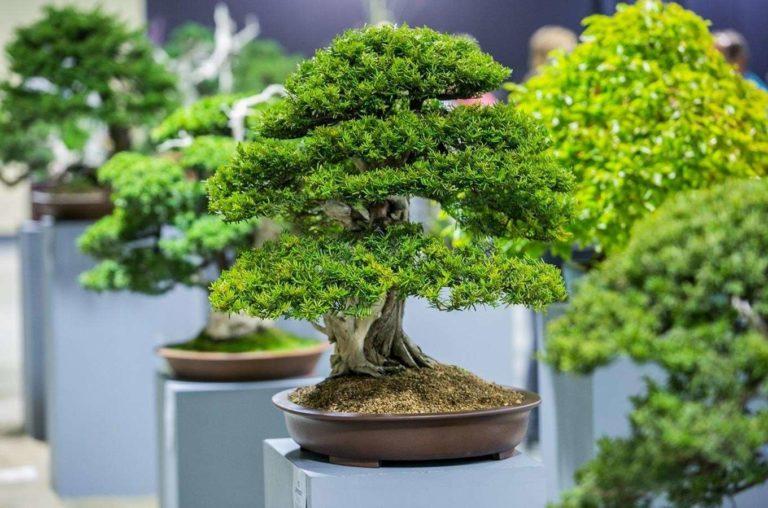
Има специфични видове, които се препоръчват за бонсаи:
- Японска дюля; дива дюля; китайска дюля;
- глог;
- дребнолистен бряст, приседнал бряст;
- Канадски смърч, обикновен смърч;
- обикновена лиственица;
- Китайска хвойна;
- аспен;
- фикус (почти всички, но най-добрият е Benjamin);
- ябълково дърво с малки плодове (може да бъде с червени или зелени листа), диво;
Можете да отглеждате бонсаи както в къщата, така и в градината. Избирате мястото за всеки поотделно. Промяната му не се препоръчва.
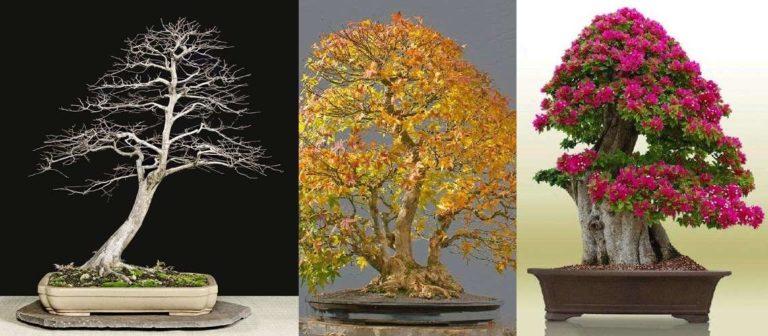
Вземете предвид, че широколистните растения променят цвета си и пускат листа през есента, а през пролетта - освобождават пъпки и цъфтят. Ако не искате да виждате голи клони през зимата, изберете нещо вечнозелено. Например иглолистни или други вечнозелени растения.
За начинаещите най-добрият избор е фикусът Бенджамин. Той расте бързо, има малки лъскави листа и ствол, който сам се удебелява. Още след 5 години ще прилича на старо дърво.
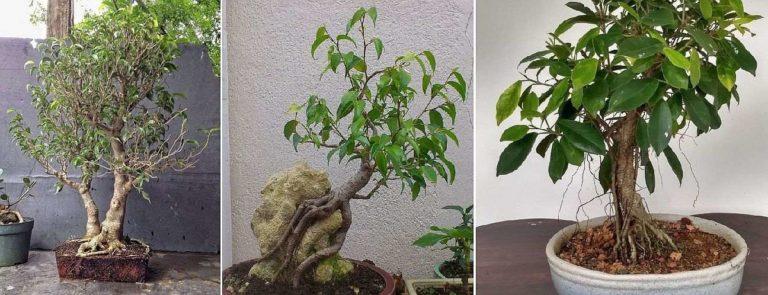
Успоредно с това можете да опитате да отгледате иглолистен или широколистен разсад. Ще видите разликата.
Стилове бонсаи
Това изкуство е на повече от две хилядолетия, така че само основните стилове са повече от две дузини. Първото нещо, което трябва да направите, е да изберете стила, в който ще оформите вашето миниатюрно дърво.
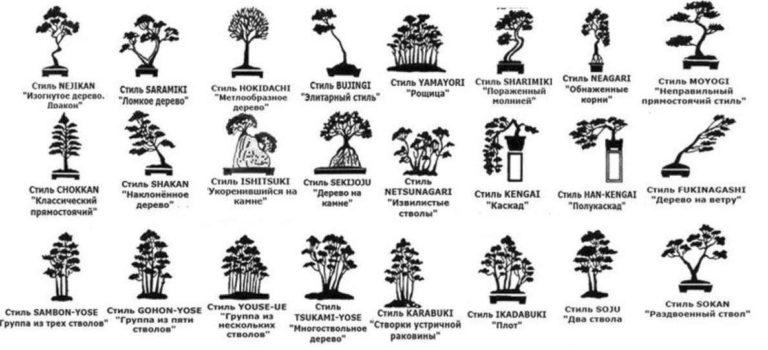
Обърнете внимание, че стиловете се различават не само по наличието или липсата на наклон, по броя на стволовете, но и по разположението на основните клони. Ако ви харесва този или онзи стил, намерете неговото подробно описание и няколко снимки. Всичко това ще ви е необходимо при формирането на ствола и короната.
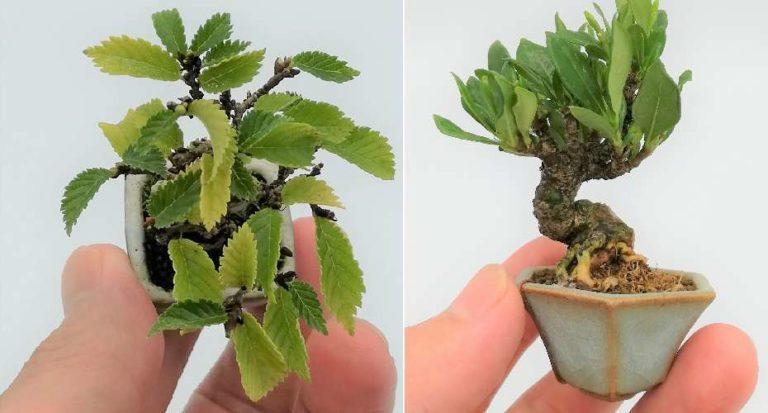
Съществува и разделение на бонсай дърветата по размер. Има пет основни класа, а в три от тях има и степенуване. Размерите на бонсай дръвчетата са дадени в таблицата по-долу. Съществуват и русифицирани аналози на японски/китайски имена.
| Клас | Подклас | Височина на дървото бонсай | Руско име | Размер на саксията за бонсай |
|---|---|---|---|---|
| Mame | Keshi-Tsubu | по-малко от 2,5 cm | Малък | 3-8 см |
| Sito | 2,5 см до 7,5 см | 5-10 см | ||
| Gafu | 8 cm to 3 cm | 10-15 cm | ||
| Sehin | Komono | 13 cm to 17 cm | Small | 12-20 cm |
| Myabi | 18 cm to 25 cm | 15-25 cm | ||
| Kifu | Katade Moti | up to 40 cm | Medium | 25-46 cm |
| Tyu/Tyuhin | Katade Moti | 40 cm to 60 cm | Large | 40-90 cm |
| Omono | 60 cm to 120 cm | |||
| Dai/Daiza | Bonju | over a meter | Huge | 75-125 cm |
Техники (методи) за отглеждането им
Next, we determine the starting point. There are three techniques for growing bonsai trees:
- from seeds (it will take 12-15 years to form a bonsai-like plant);
- from seedlings (minimum 5-7 years);
- by cuttings (some species will look like bonsai after 4-5 years).
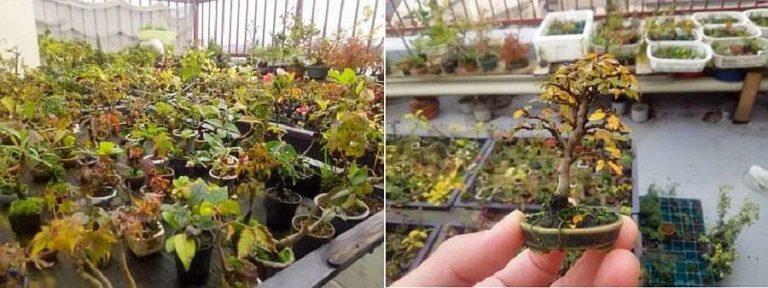
With any method of cultivation, the plant in the “starter” pot is grown to the desired height. The formation of the crown and bending of the trunk occurs while the “billet” is growing. In the “adult” pot is transferred already ready mini-tree, which has finished growing.
Какво да правим със семената
If you decide to germinate from seeds, put them for the cold season in a container with moss and put them on the bottom shelf in the refrigerator. Until spring. When temperatures are low, the seed prepares to grow when temperatures warm up. This process is called stratification. In the spring, plant the seeds in the ground, keep the soil slightly moist, but do not let it sour. Sprouts will quickly appear and will immediately go into growth.
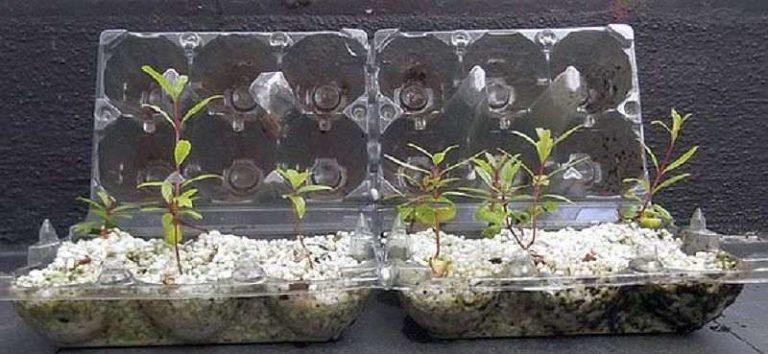
Stratification is necessary for plants in our climate zone. Germinate seeds from tropical trees after soaking them in water for 24 hours.
The germinated seeds are watered and left to grow. When they will be more than 10 cm high, you can transfer each to its own pot, wait a couple of months until they take root, and start forming.
Избор на разсад
It is faster to grow bonsai from a seedling. They are planted in the fall. It will be much easier if you buy a selected and prepared plant in a specialized store or garden center.
And in general, seedlings can be found in the forest, but it is better on the roof, on a rock or a fence. Where there is not enough soil. The plant should be no more than 15-20 cm high. It is desirable that it already has enough side branches.
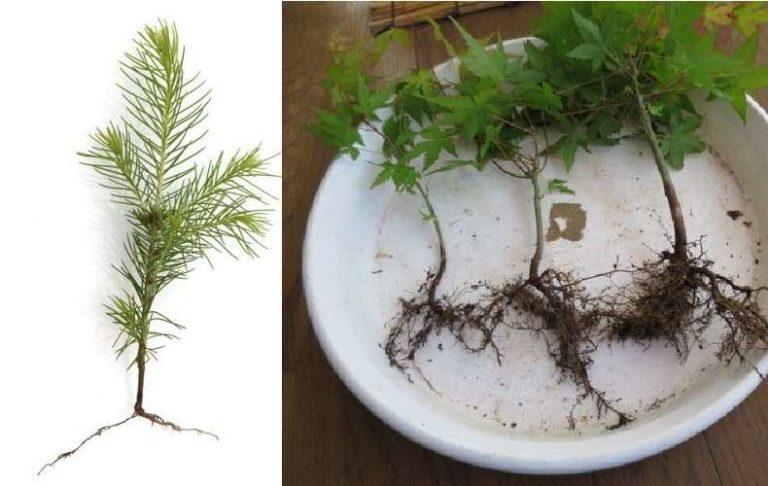
If you dig up, take a little “native” soil – adaptation will be easier. Until spring, let the plant take root in the pot.
Резници за бонсай
Cuttings you will have to take for exotic plants like ficus, figs, tea tree, etc. They are cut in spring from adult plants (before the appearance of young buds) from the trunk. The length of the cuttings is about 25 cm. Ideally, there should be several side branches. Cut the upper, too soft part of the cuttings parallel to the ground. The lower, too hard part is also cut off, but at an oblique angle. Remove the lower leaves, if there are large, cut off most of them, leaving half a leaf.
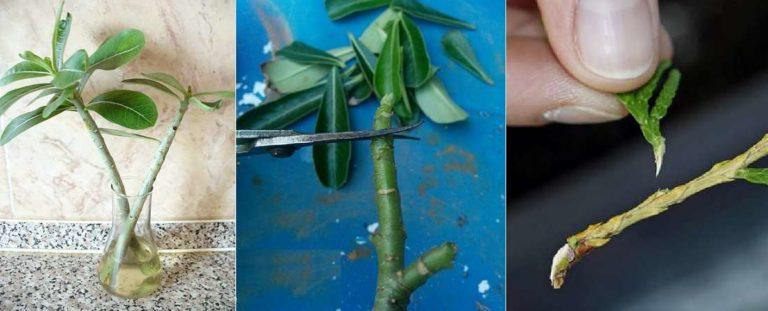
Dip the lower cut into rooting agent.
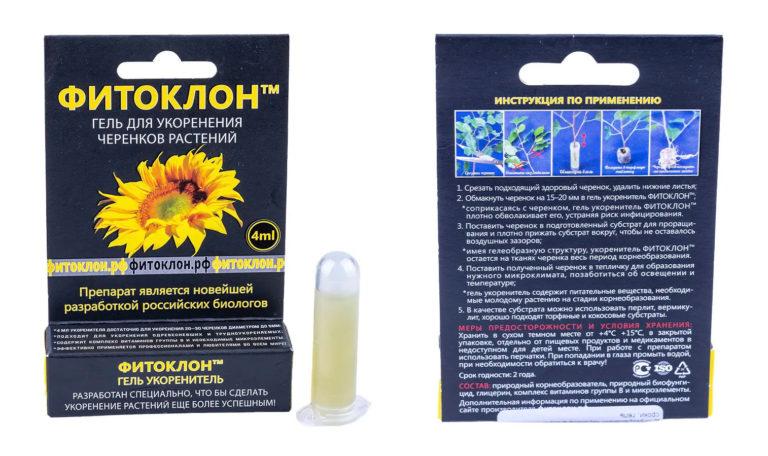
Cuttings can be kept in water until roots appear or immediately planted in a clay pot (ordinary) with ordinary garden soil. Deepen the cuttings by 5-7 cm. Put the pot/jar with cuttings in the shade and water regularly. When new leaves appear, gradually move the pot to a more lighted place, but not in the open sun. Feed once a month. Grow the seedling for a year or two until it reaches the desired height.
Саксия за бонсай
If you look at different photos, all mini-trees grow in wide and flat pots. And this is not a coincidence. It is by limiting the growth of the root system in depth that the growth of the above-ground part is suppressed. You need to find such a pot – wide, with sides of low height. Best of all – ceramic. Ideally, in general, stone. Approximate sizes of pots for each class of bonsai trees are given in the table above.
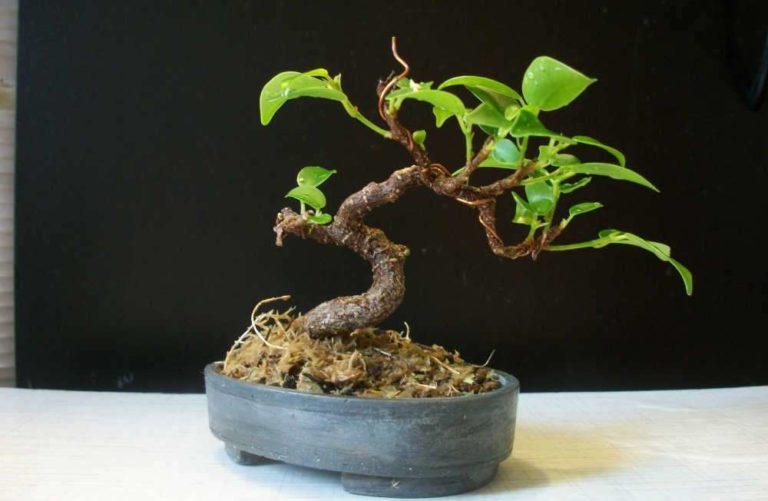
A bonsai pot should have several drainage holes. It is ideal if they are located two on each side. A wire is threaded through them, with which the plant is screwed on.
Note that during transplantation, the pot is not changed. When pre-growing (dispersal) use a “starter” pot. This is still not a bonsai, but only a billet for it. The rest of the life of the mini-tree will spend in the same pot.
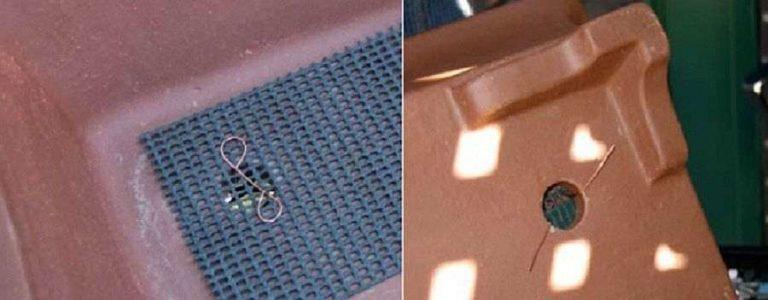
Since there is little space for the root system, the roots sprout into the holes for water runoff. To prevent this from becoming a problem, fasten a piece of garden mesh over the hole. It can be glued with silicone or fixed with a piece of wire, as shown in the photo above.
Почва
Soil for growing a bonsai tree will have to be composed by yourself. Recipe depends on the type of plant. For tropical species, take the following composition:
- river sand (coarse) – 40%;
- garden soil – 30%;
- organic fertilizer – 20%;
- crushed peat – 10%.
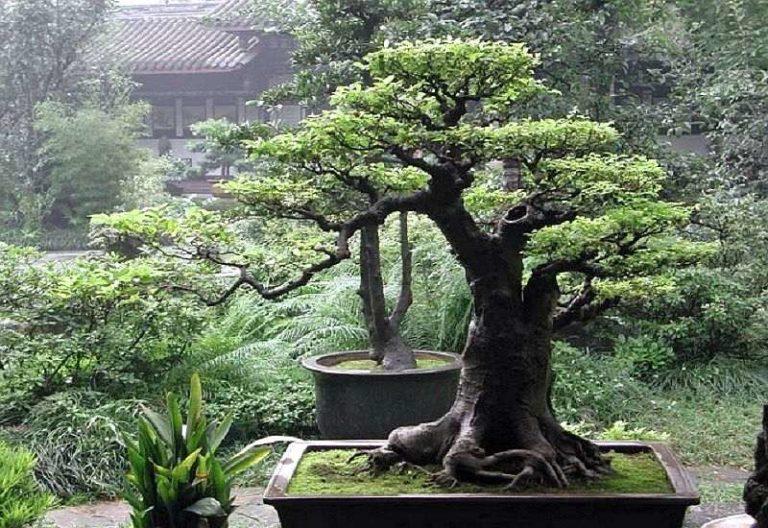
For plants of our climatic zone, take 3 parts of garden soil, 1 part each of sand and peat. These are approximate proportions, which can be adjusted. For example, for those plants that grow better in sandy soils, take more sand than garden soil.
Огъване и оформяне
To give the tree the desired shape or slope, thick aluminum or copper wire is used. It is wrapped around the trunk and branches. All of which are at the moment or only those that need to “move” or bend.
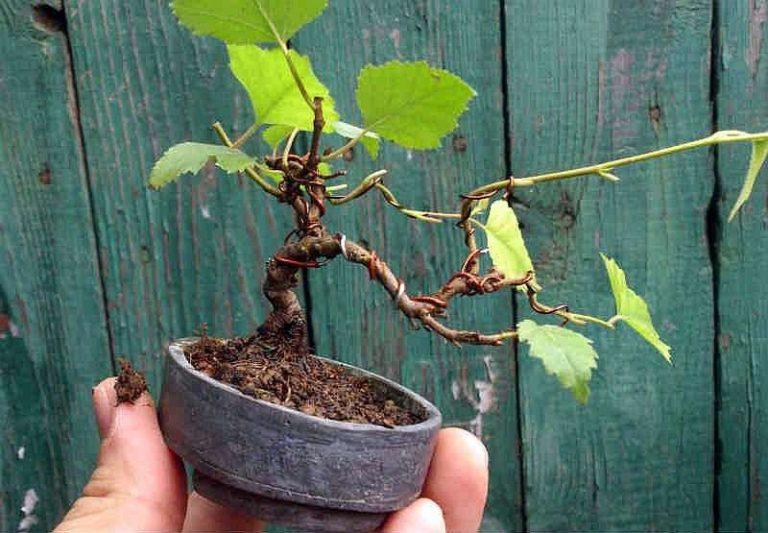
Start usually from the trunk. Start from the roots, moving to the top. Then move on to the branches. If you don’t want to leave marks on the wire, don’t twist it too tightly. Once the wire is in place, slowly and gently bend the plant into the desired shape. Sometimes you have to twist a double helix to hold the trunk.
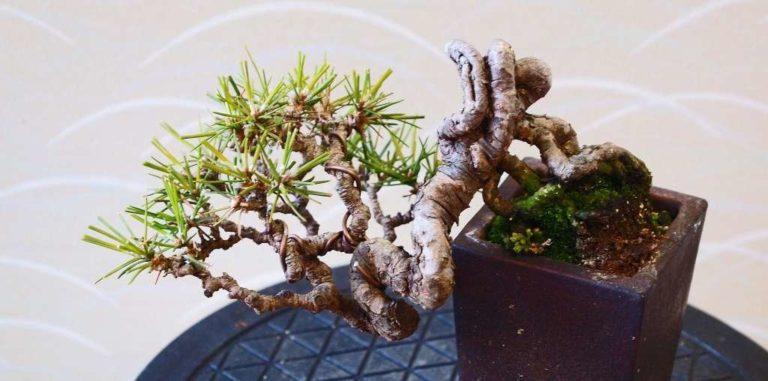
Be especially careful when bending conifers. For them you have to start shaping as early as the first/second year. Therefore, take young seedlings or two-year-old cuttings. When growing spruce, cedar, larch and pine bonsai, shape the branches as soon as the young shoots stop growing. Partially cut them off, wrap the rest with wire and guide them in the desired direction.
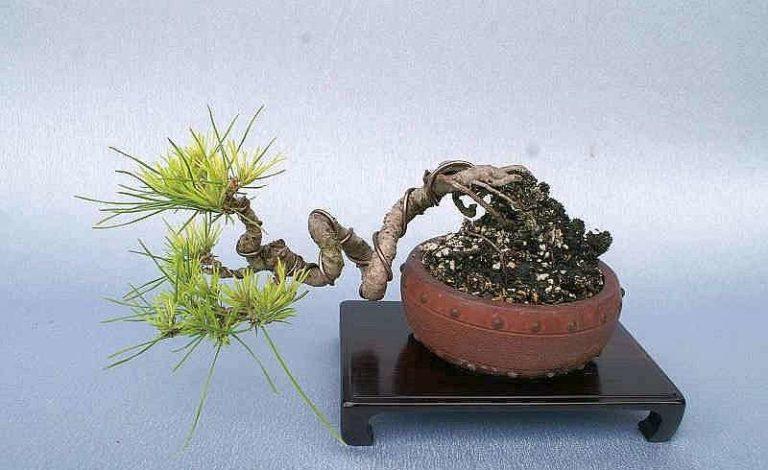
With a wire you keep the plant from half a year and more. During this time, you regularly water it, feed it with fertilizers for the growing species. Then you can remove the wire and transfer the plant to the “main” pot.
Подрязване
Pruning a bonsai tree is a constant process. The primary one is done before the wire is applied. You cut off all the excess branches, wait until the cuts tighten (the sap stops secreting and the bark grows). Now you can thread the wire. In the future, with the help of pruning, you maintain the crown of the desired shape and size, cutting off all the excess. During the growing season, it may be necessary to cut off the excess once a month.
To cut branches without introducing infection, use sterilized pruning shears or scissors. Lubricate the cut site with a horticultural fungicide to prevent rotting.
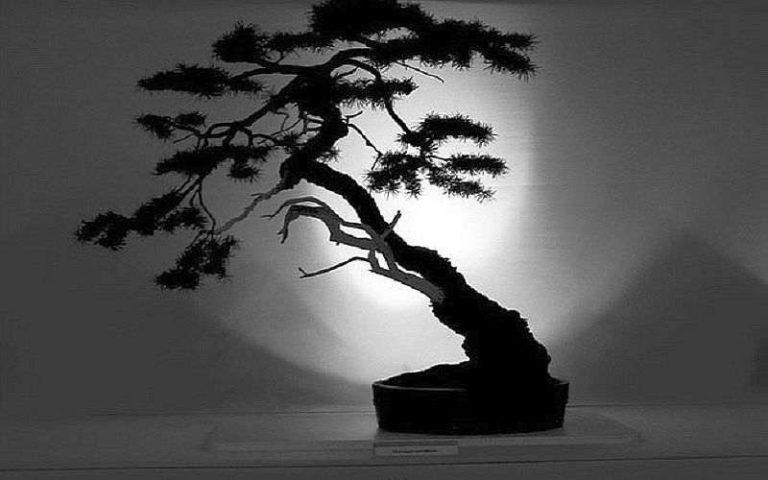
When pruning, keep in your mind (or in front of you) a picture of what you want to get. And shape the crown exactly as you want it to look. Pruning can be done either at the base (whether it is a trunk or a larger branch) or by leaving a “stump” of a few buds.
Пресаждане: правила, подрязване на корените, подготовка на саксията
Repotting bonsai is necessary to replace depleted soil and pruning roots, removing rotten and diseased fragments. It is required every 2-3 years. The pot is changed only once – when we transfer the tree from a “baby” pot to a permanent one. In the future, it is not changed.
When transplanting the pot is washed inside and disinfected. It is warmed up to 90-95 ° C boiled water, changing it several times. To keep the tree with rhizomes almost flat, a wire is threaded through the holes for the outflow of excess moisture. This will also hold the netting in place.

Remove the plant, shake off the soil and cut the roots. When transplanting from a nursery pot, remove up to 2/3 of the roots. Cut off those that are pointing downwards, leaving those that are horizontal. An example of such root pruning is shown in the picture above.
If the root system is more like a sponge and it is not possible to isolate the roots, take a thin wooden stick (skewer) and pierce the lump from top to bottom. At the same time, part of the roots are cut off, part is straightened. When you can already understand what and where, pull out with your fingers and start pruning.
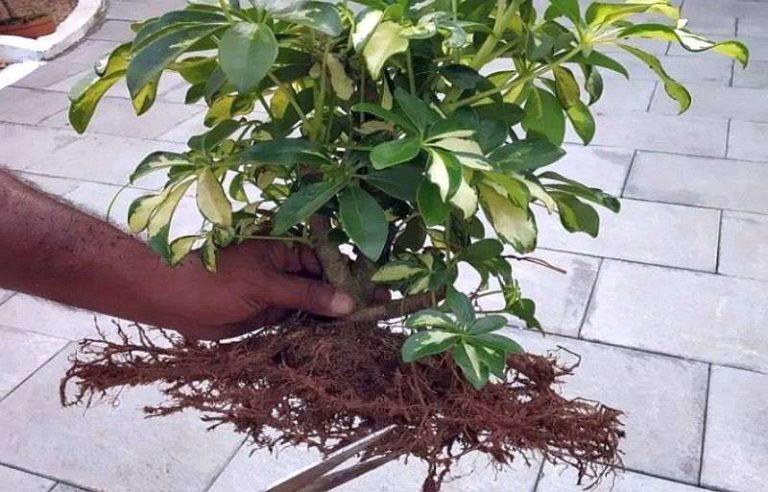
Place the prepared plant in the pot, thread a wire through the roots and secure the bonsai. Fill 3/4 of the volume of the pot with the prepared soil mixture. After transplanting a couple of weeks keep in the shade, water regularly, but make sure that the soil does not sour. Gradually move the pot to the place where it should stand.
This is a brief instruction on growing bonsai. The formed plant requires feeding and care, which this species needs. The difference from its “ordinary” counterparts is pruning and transplanting.

